Save Money by Learning How to Cut Your Own Curtain Bangs At Home

Today, I'm going to show you how to cut your own curtain bangs. Curtain bangs are a versatile, face-framing style that can elevate any look.
Whether you have short hair or longer locks, this guide will walk you through each step so you can confidently cut your own curtain bangs. Let’s dive in!
Tools and materials:
- Scissors (sharp hair-cutting shears)
- Fine-tooth comb
- Spray bottle (for water)
- Hair clips (for sectioning)
- Blow dryer
- Round brush
- Volumizing mousse
- Hairspray (light-medium hold)
1. Prepping your hair
The first step is to part your hair in the middle. Curtain bangs open in the center, so it's important to cut them either in a middle or slightly off-center part.
While some people prefer to cut their bangs when their hair is dry, I personally find it much easier to cut them when my hair is wet.
Wet hair allows for equal tension, and the cuts tend to be cleaner and more precise. After parting your hair, you're ready for the next step.

2. Sectioning for your curtain bangs
Now it's time to create a triangle section in your hair, starting from your middle part and extending out to your temples.

This triangle section will be the base of your curtain bangs. If you want thicker bangs, make the triangle larger by placing the point of the triangle further back on your head.
For thinner bangs, bring the point of the triangle closer to your hairline. Adjust this section based on how thick or thin you’d like your bangs to be.

3. Cutting a guide
Once you've sectioned off the triangle, you’ll need to create a guide to determine the length of your bangs. Take a small section of hair from the middle of your triangle and cut it to your desired length.
Personally, I prefer my bangs to hit somewhere between the bottom of my lip and my chin, which allows them to curve nicely along the cheeks.
If you want a more traditional curtain bang look, aim for a length around the bottom of your nose.

Remember, always start longer. You can always go shorter if needed, but you can’t undo a short cut. Starting with a longer length — like the top or bottom of your lip — gives you room to make adjustments later.

4. Cutting the bangs
Now that you’ve cut your guide, release the remaining hair from your triangle section and cut it to match the length of the guide. Once you've done this, begin shaping your curtain bangs.
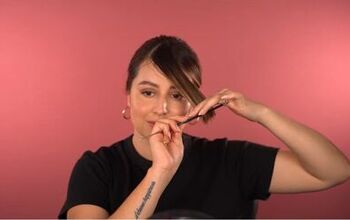
To do this, comb the hair from your middle part over to the opposite side of your face. Keep your fingers parallel to the part line, and cut off the small corner of hair that sticks out.
This technique creates a natural angle while softly layering the bangs.
Repeat this process on the other side, and you’ll see the bangs start to fall from short in the middle to long on the sides, giving you that signature curtain effect.

5. Cross-checking and refining
It’s important to cross-check your work after cutting. Comb the entire triangle section forward to ensure both sides are even.
If one side is longer than the other, you can easily fix this by curving the hair in your hands and snipping off any uneven pieces. This will help ensure that both sides are symmetrical and balanced.

6. Softening the bangs
Once you’ve checked for evenness, the next step is to soften the line you just cut. This helps the bangs sit more naturally around your face. To do this, blow-dry your bangs forward with minimal volume. This makes it easier to see how the hair sits, and where you might need to make adjustments.
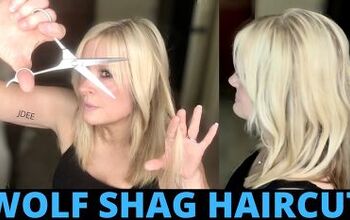
Next, part your hair down the middle and direct it to the opposite side. This will help you see how strong the line is. Then, point cut into the line with your scissors to soften it.
Make sure your scissors are pointing straight up and down so you don’t accidentally remove too much length. Take it slow, cutting only a little bit at a time, and check how the hair falls after each snip.
If you feel like the bangs still need softening, you can comb the hair forward (as you did when you initially created the guide) and cut into it again.
Be careful not to angle your scissors, as this can change the balance of the cut. Always keep the blades vertical to soften the line without losing length.

7. Blow-drying for volume
After softening the bangs, it's time to blow-dry for volume. To get that perfect lift, I like to apply a volumizing mousse to the roots. This ensures the bangs don’t sit flat against the forehead.
When blow-drying, alternate between blowing the bangs forward and backward until they’re completely dry.
This helps create the natural curve that curtain bangs are known for, giving them a soft, bouncy appearance instead of being flat and lifeless.

8. Set with hairspray
The final step is to set your bangs with a light-medium hold hairspray.
Shape your bangs with your hands or a comb and lightly spray them to hold their shape throughout the day. This will keep them in place without making them stiff or unnatural.

How to cut your own curtain bangs: DIY curtain bangs
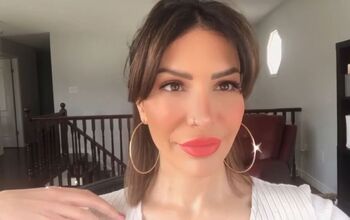
Once styled, your curtain bangs should frame your face beautifully.
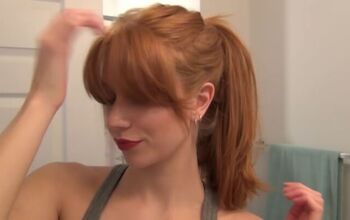
Whether you wear your hair down, half-up in a claw clip, or even in a messy bun, curtain bangs can instantly elevate your look.

With just a few minutes of blow-drying in the morning, your bangs will look polished and fresh, no matter how you style the rest of your hair.

Now you know how to cut your own curtain bangs. I hope you found it helpful! If you have any questions, feel free to leave them in the comments.
Next, learn How to Add Volume to Thin Hair.
The author may collect a small share of sales from the links on this page.


Comments
Join the conversation