Easy DIY Hair Tutorial: How to Cut Curtain Bangs With a Razor

Have you ever asked for curtain bangs in the hairdresser and got regular bangs instead? Well, never again.
Today, I'm going to show you step-by-step how to cut your own curtain bangs with a razor.
Tools and materials:
- Razor
- Scissors
- Leave-in conditioner
- Blow dryer
- Round brush
- Comb
- Spray bottle
Here is my before look.
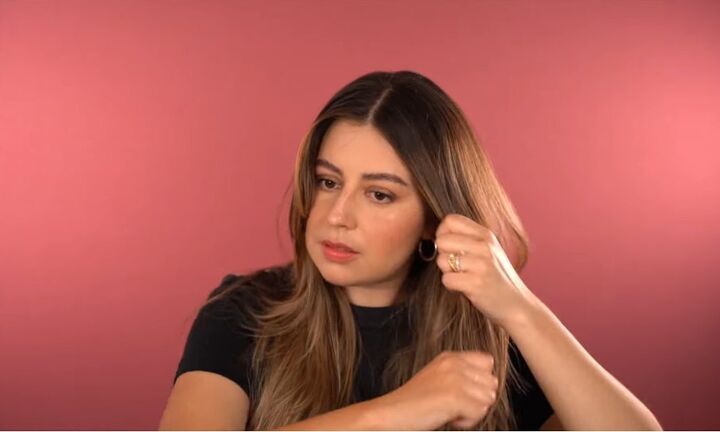
1. Prep your hair
I love cutting my bangs dry because I know from experience that when I do it wet, I usually cut them too short.
But I also learned that using a razor on dry hair can actually split the ends of your hair, and I am more afraid of short bangs than of split ends.
However, there is a solution to this which will allow you to cut your hair when dry. You can use a leave-in conditioner to protect your hair from splitting when cutting it dry with a razor, so apply the leave-in conditioner to all of your hair and make sure that you coat the front.
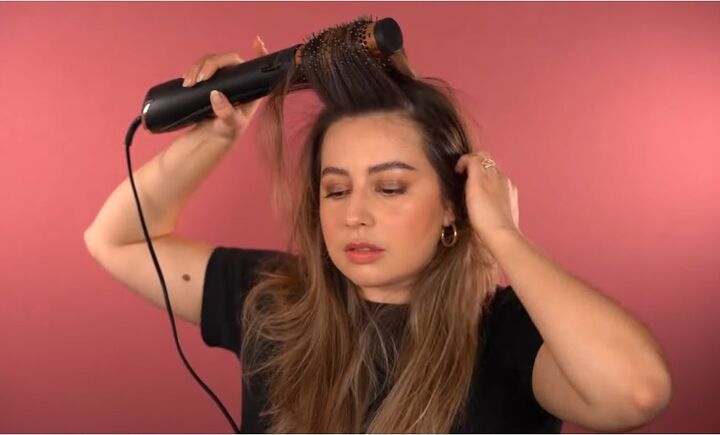
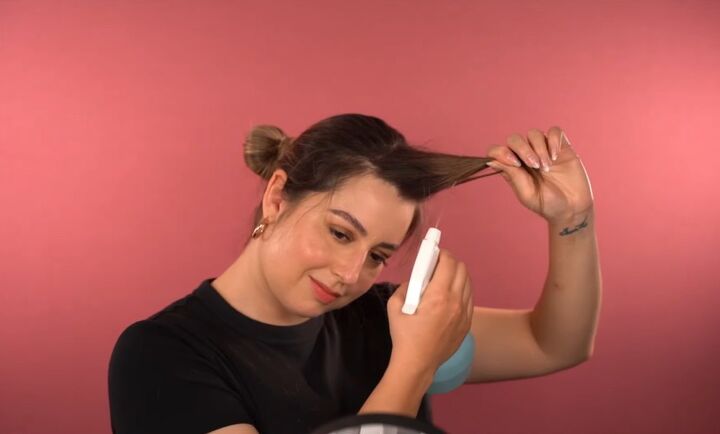
2. Blow dry hair
Now blow dry the front of your hair by using a round brush and blow dry the hair straight up. Imagine you have rollers and follow that shape.
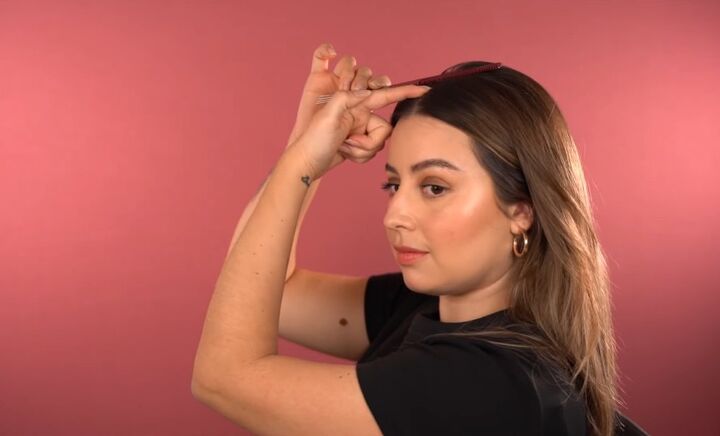
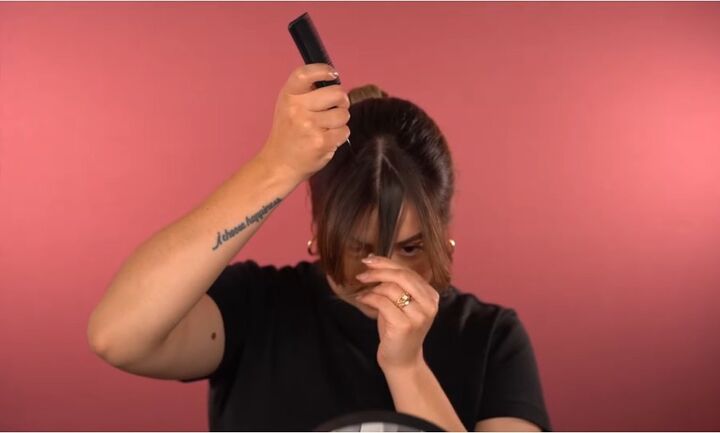
3. Place a comb on your head
Place a flat comb on top of your head. Where it separates from the head is going to be the thickest part of my bangs.
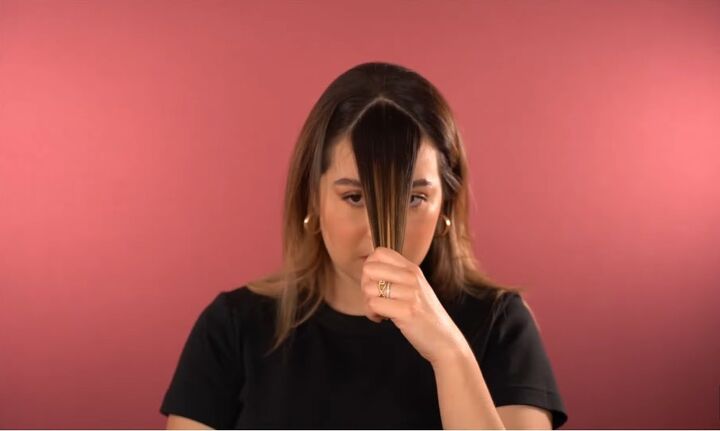
4. Create a triangle
From that point, create a triangle to the arch of your brows.
Take your time creating this triangle and make sure it is perfect, and it is the amount of hair that you are comfortable cutting.
You can always add more hair to your bangs later, but you can’t add length, and because of that reason, we're going to start long. Under the nose is going to be our guide.
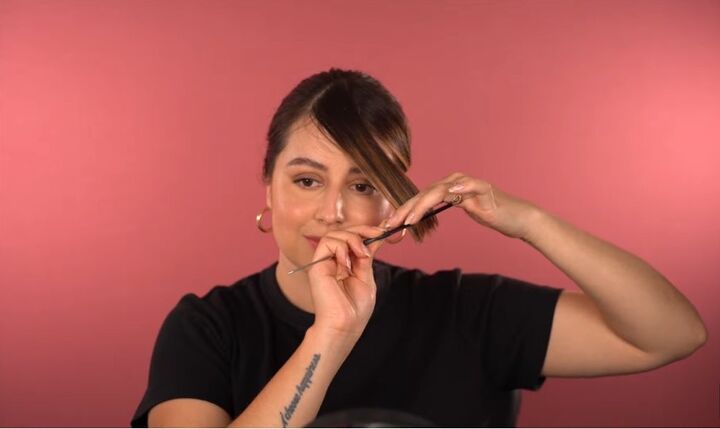
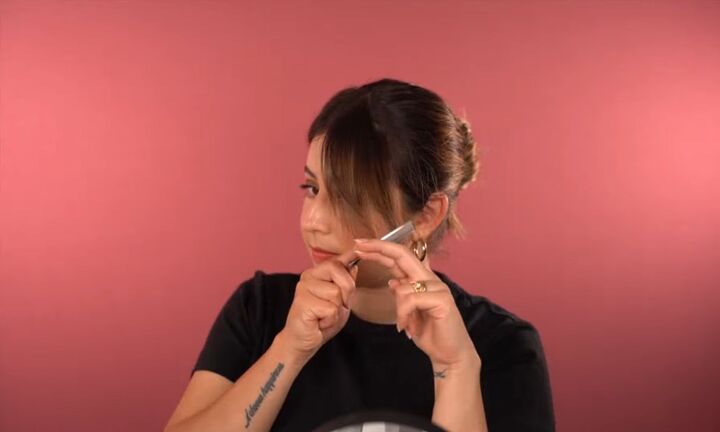
5. Bring your hair across and cut
Part your hair in the middle and over-direct the hair across to the other side.
Make sure your fingers are parallel to the part of the triangle that's the angle that you want for your bangs.
With the hair elevated around 90 degrees, start cutting with your razor perpendicular to the hair and just touching the hair softly.
Start doing long strokes from the center to the bottom while lowering your hand and turning your head to the opposite side.
Take it nice and slow to see what length you're comfortable with instead of just going too far and too short.
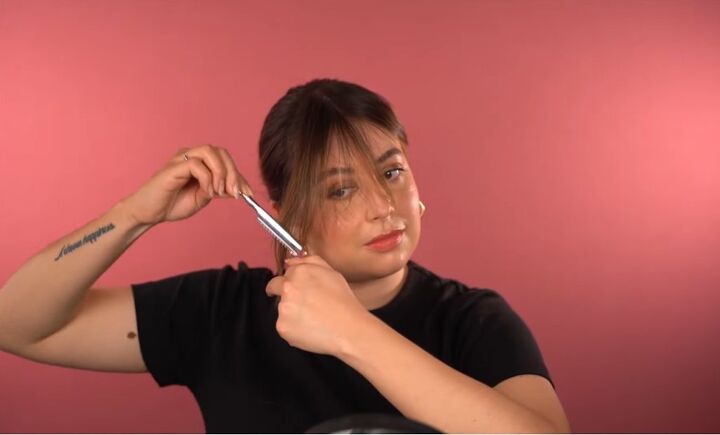
6. Cut the other side
Now that the long part is almost in my cheekbone and the short part is a little bit long but it's getting there.
I'm going to stop, and I'm going to continue to the other side.
7. Create another triangle
When both sides are the same length, create a smaller triangle in the middle, a smaller version of the triangle that you already have.
Then carefully repeat the same process as before. Just remember not to cut a lot and always check after each cut to see if you really need to go higher.
8. Continue cutting
If you want your curtain bangs to be on the longer side, then you can leave it like this, and it looks beautiful.
But I want mine to be a little bit shorter. Now that I've finished, I'm going to repeat the whole process, starting with the big triangle and then moving onto the smaller triangle very slowly, so I don't cut too much.
9. Blow dry and finish cutting
When you're pretty close to what you want, I recommend that you wet your hair, blow dry it again, and just style it before you go ahead and cut more.
When I was in the danger zone of going too high, I just scraped the ends with my razor. But make sure that if you're going to do this, you have a guarded razor, so you don't cut your fingers!
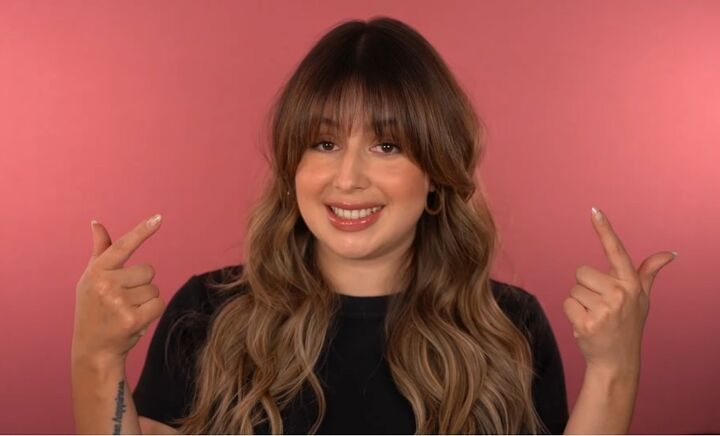
How to cut curtain bangs
And that is how you can cut your own curtain bangs at home. I am super happy with the finished look and to me, it looks just as good as if I’d had it cut in a salon.
I hope you’ve found this tutorial easy to follow and you give it a try if you’re confident enough to do so.
If you enjoyed this curtain bangs tutorial but aren't quite sure whether or not to make the chop, check out my post on Everything You Need to Know to Make Fake Bangs Look Super Cute.
The author may collect a small share of sales from the links on this page.


Comments
Join the conversation
Super! They look gorgeous! I may try this! Thanx for sharing!
Awesome job on your bangs!!
Your bang cutting guideline is just in time because I plan on cutting mine today or tomorrow and it just so happens I already have a razor blade hair cutting tool here from years ago.