How to Apply Cream Contour: Simple Tips & Tricks for Beginners

Today’s tutorial is not your regular “how to blend contour” tutorial. I’m going to take it up a notch and show you how to apply cream contour. Using cream contour is super easy to apply and blends naturally with your face. Want to see how? Let’s get contouring!
I’m using a SEINT cream color palette but you can use any eyeshadows of your choice.
Tools and materials:
- Cream contour makeup
- Assorted brushes
- Setting spray
- Perfector sponge
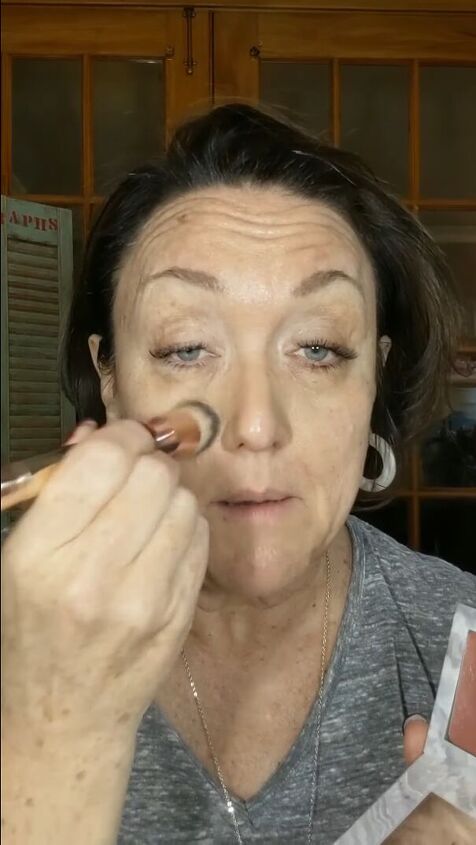
1. Apply foundation
I’m starting with the foundation and dabbing it on my face with a fluffy brush.
2. Apply contour
Adding contour is not the same as a bronzer. Contour is like adding a shadow to your face to define certain areas, like the natural bone structure of your cheeks.
Apart from that, it also hides the parts you don’t particularly want as a main focal point; in my case, that’s my neck area.
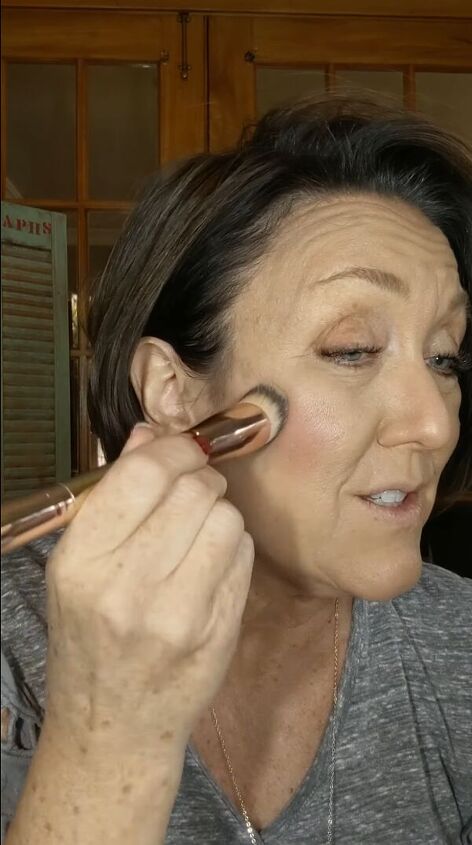
Apply the cream contour from the side of your cheek and move downward, right underneath the cheekbone. Do this with gentle dabbing motions.
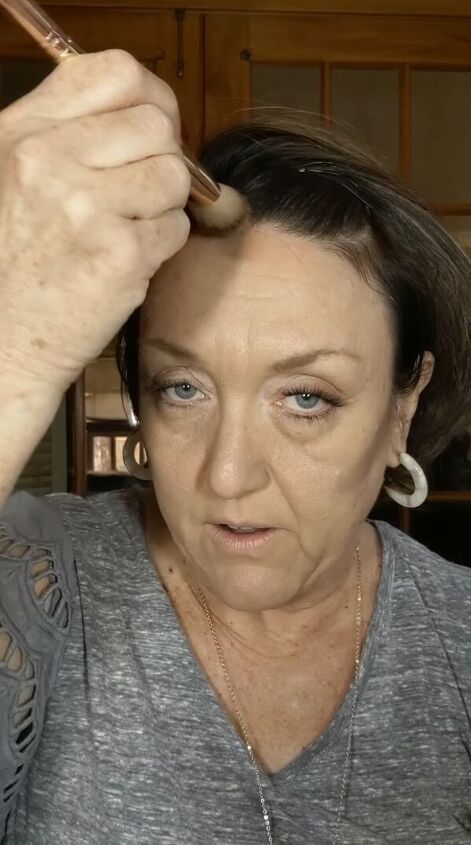
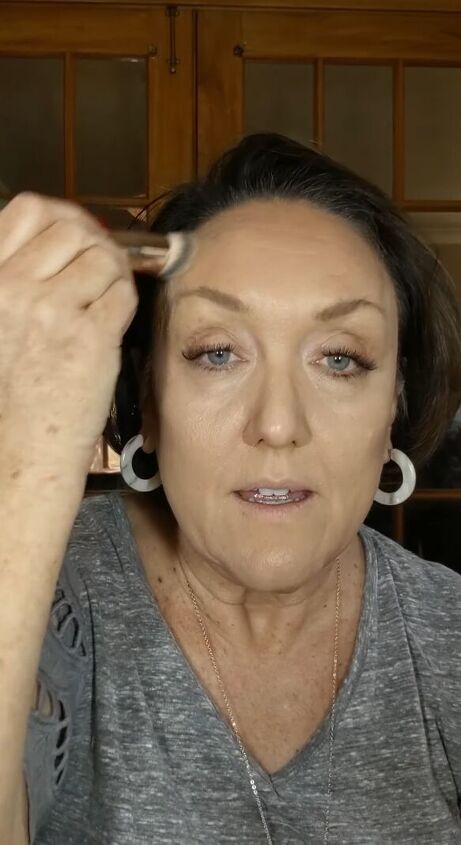
Next, apply contour to the hairline. This is great for those with broader foreheads and who want to enhance their eye area. Make sure to feather the color downward, so it has a gradient effect.
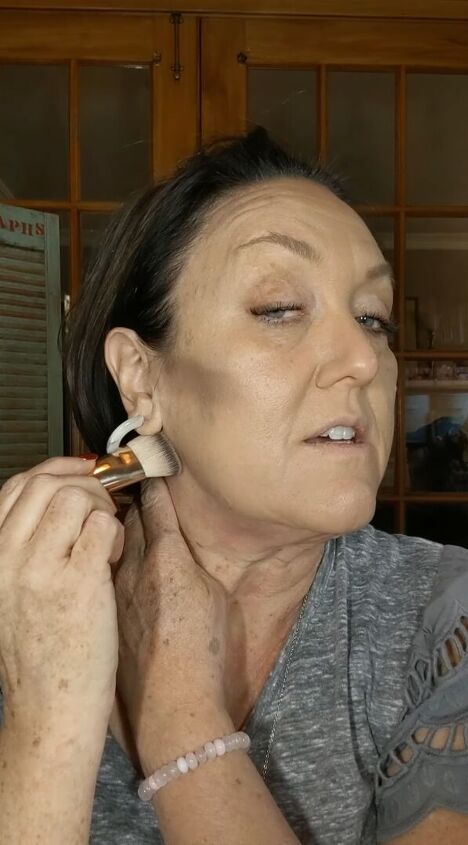
Also, applying contour right under the jawline will help shift the attention from under your chin to your face.
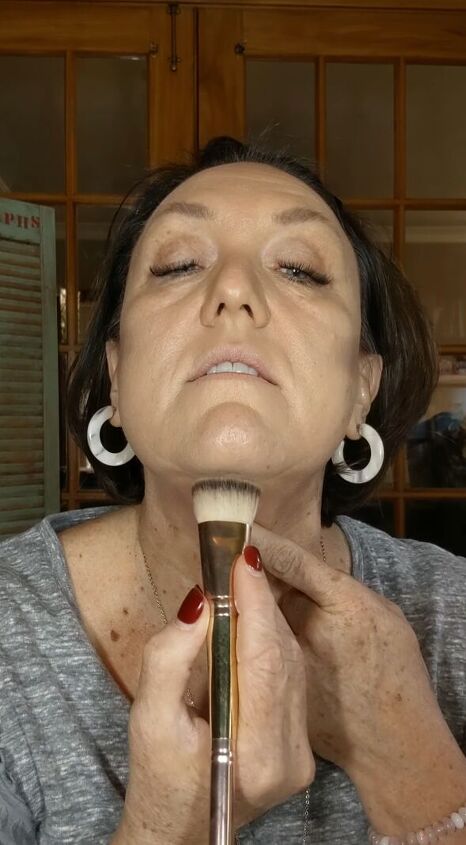
Then, dab a little contour right underneath the chin.
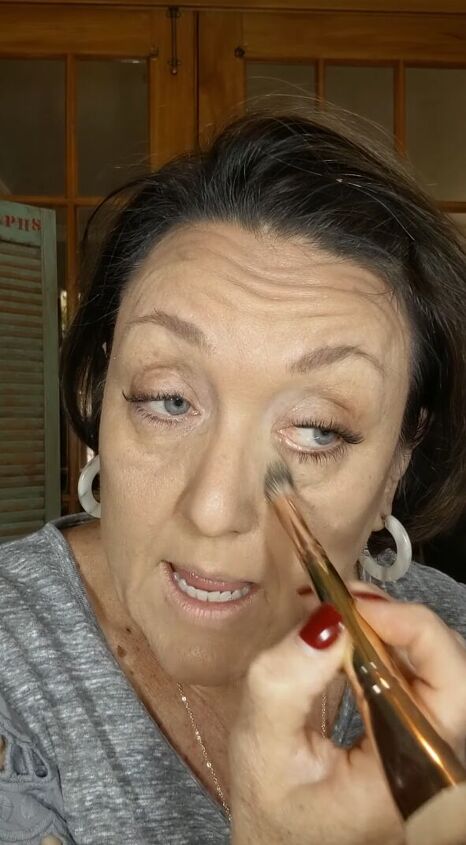
3. Add a brightener
Now, let’s work on the under eyes. I’m using a brightening color to cover my under-eye and bring some life into them. Simply tap on the brightening cream in an upside-down pie shape with a smaller brush.
Can you see the difference? My right eye looks brighter and fresher.
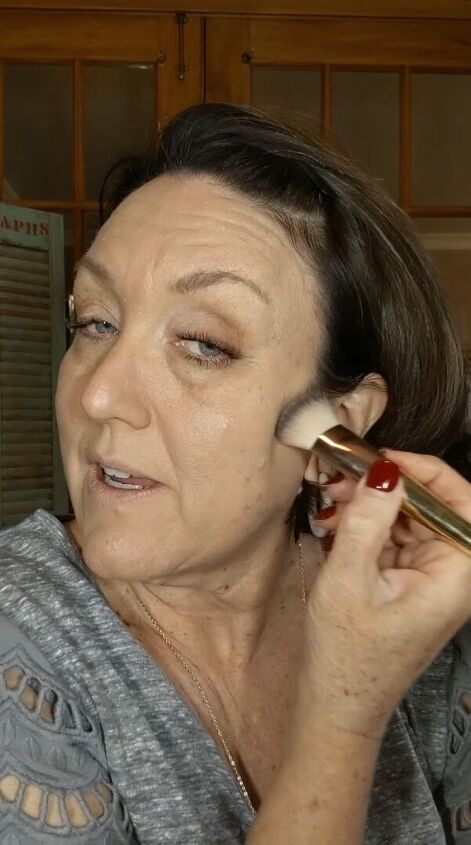
4. Blend
Part of the secret on how to apply concealer and contour is to blend! Blending transforms the harsh lines into an au naturel feel. So, using a fluffy, soft buffing brush, go ahead and blend in everything.
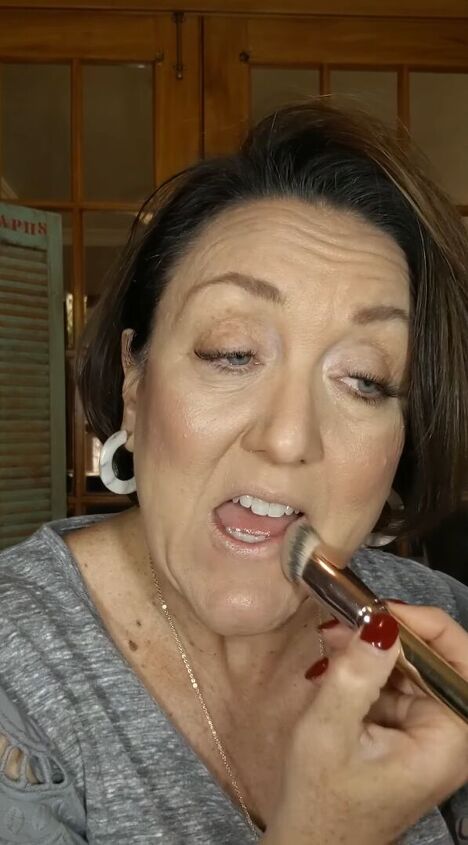
5. Add lip and cheek color
I’m using a glossy light pink color for my cheeks. Again, it’s cream-based so it’s way easier to work with. I’m using the buffing brush for this step, too.
Using light tapping motions, apply the color right on the apples of your cheek. Also, focus on blending this color with the contour line to make both colors mix cohesively.
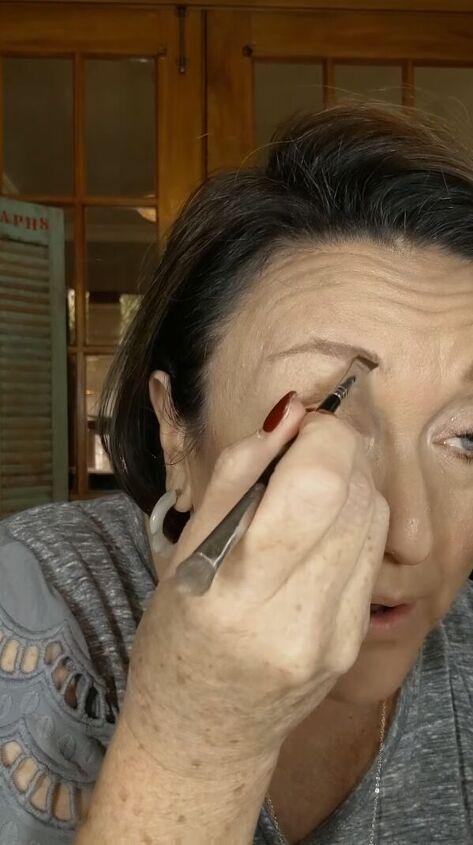
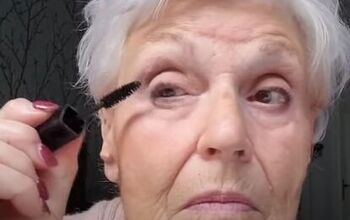
6. Define your eyebrows
Did you know that you can use your contour to define your eyebrows? It gives off such a great color! This is best applied with a small, angled brush.
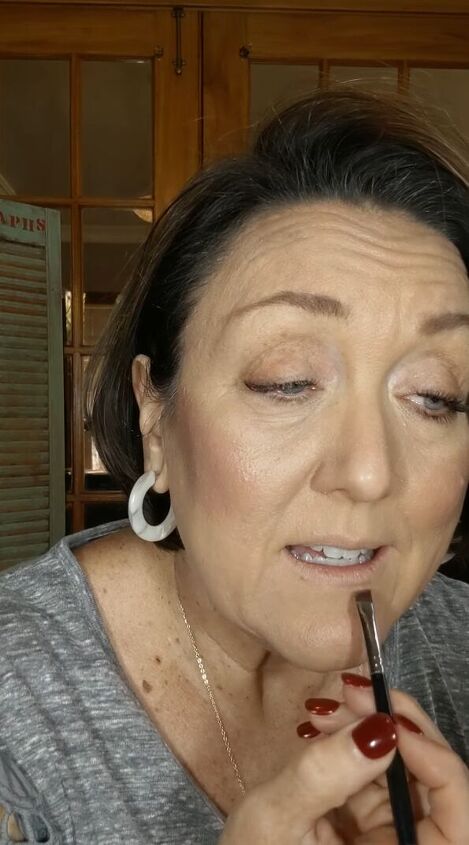
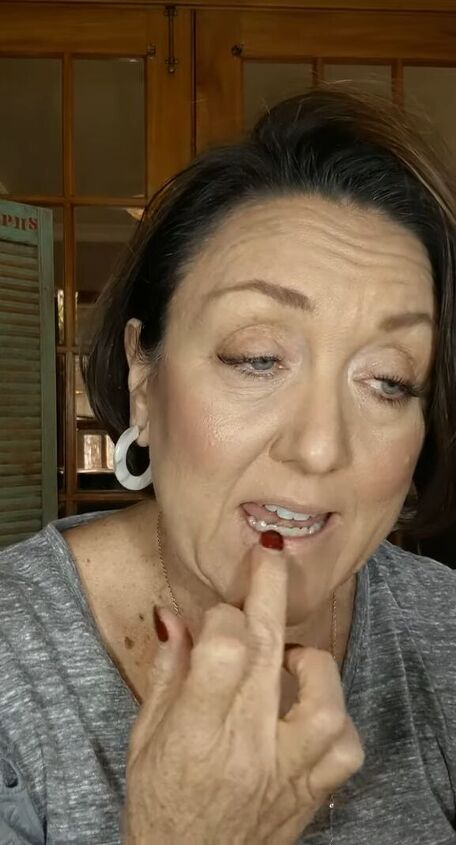
7. Define your lips
Another fun thing you can do is use cream contour to define your lips. It’s a great alternative to a lip liner.
Then, blend it out with your buffing brush.
Next, add your cheek and lip color to your lips for that lovely soft sheen finish!
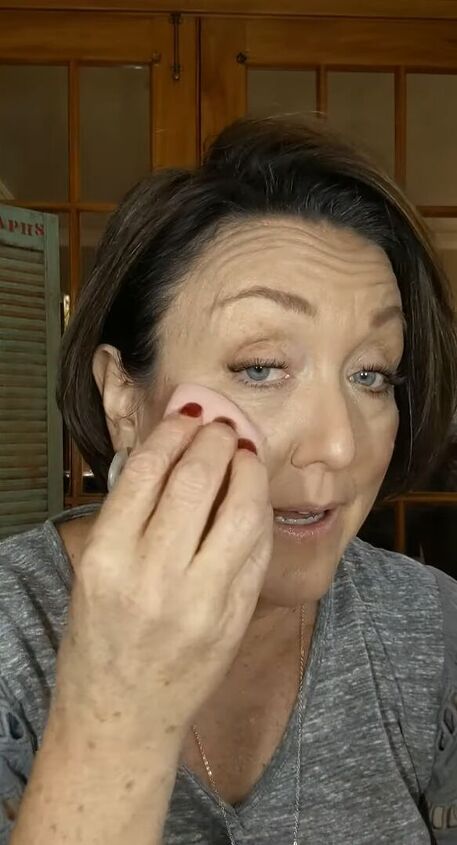
9. Set your makeup
Now, spray a little setting spray to your perfector sponge and dab it right on your cheeks.
Lastly, spray your face with a few pumps of your favorite setting spray, and you’re good to go!

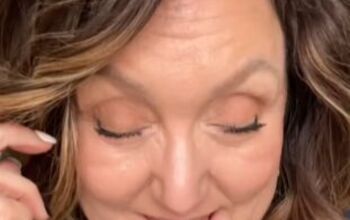
How to apply cream contour tutorial
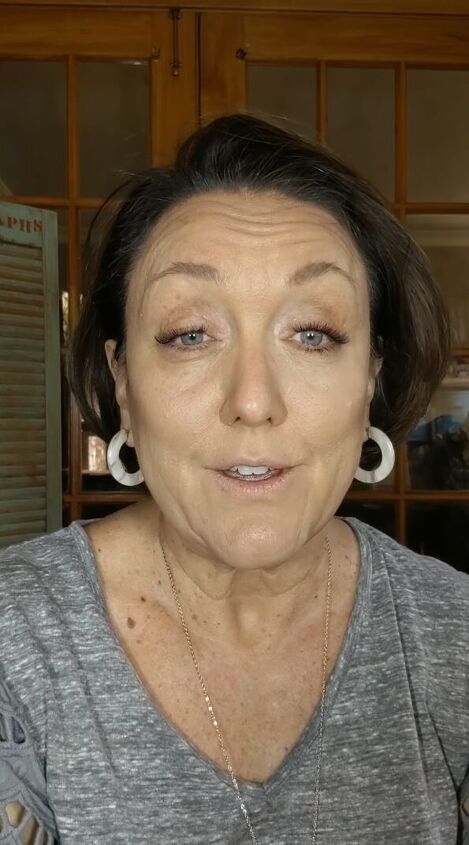
I hope you guys liked this tutorial! Not only did you discover the best way on how to apply cream contour but also, you got to see some tips and tricks on how to blend contour.
As you can see, there are so many uses for contour, and it really works wonders when applied correctly. What do you guys think of my final look?
The author may collect a small share of sales from the links on this page.


Comments
Join the conversation
Great job! Now if I can learn to do that!
Can you come by and show me?