Quick and Easy MARBLE Nail Art at Home

Do you want to know how to make easy nail art at home?
Here, I’m going to share with you a nail art DIY idea that is quick and easy to do - we’re going to create a gorgeous marble nail art design. Take a look!
Tools and materials:
- Nail polish
- Fine nail brush
- UV light
- Top coat

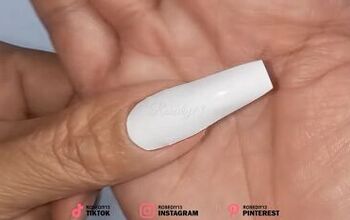
1. Paint orange dots
Begin by applying a light neutral base coat. Then, use orange nail polish to add dots on top.

2. Paint brown dots
Next, apply brown nail polish as dots in the gaps between the orange dots to create an abstract design.

3. Paint white dots
Then, add white dots to the remaining gaps, but make sure not to cover your entire nail with dots.
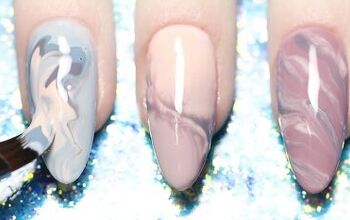
You can use different colors than the ones I am using, but if you do, just make sure that they all complement one another as we are going to blend them together, and we want the final design to look cohesive.

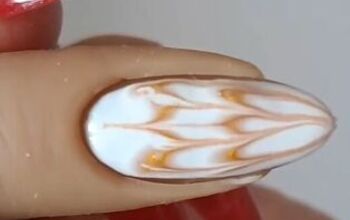
4. Blur the paints
Next, use a fine nail brush to blend the colors by making vertical lines from the bottom of your nail toward the top.

5. Dry the nails
Once finished, place your nails under a UV light to dry them.

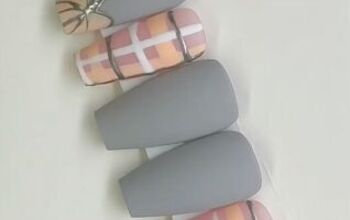
6. Apply top coat
Now, apply either a shiny or a matte top coat. Then proceed to place them under a UV light again to dry them.

Easy marble nail art
Here is the finished DIY marble nail art design! I love how all of the colors have been mixed together to create this gorgeous abstract design.
I hope you enjoyed this simple nail art idea to do at home and you’ll give it a try for yourself. If so, comment down below.
For more nail inspiration, check out Create This STUNNING Fairy-Butterfly Nail Design in 10 Minutes.
The author may collect a small share of sales from the links on this page.


Comments
Join the conversation