Easy DIY Rosewater Tutorial for Glowing Skin

In this tutorial, I'm excited to show you how to make your own DIY rosewater.
I’ll discuss the fantastic properties of this product for your skin and how to incorporate it into your daily routine.
Once you’ve made the DIY rosewater DIY, you’ll have a great rosewater toner for your face!
Upstyle Recommends!
Tools and materials:
- Big pot with lid
- Smaller ceramic pot or bricks
- Clean heat-resistant bowl
- Stove
- Small containers
- Measuring cup
- Small plastic bag
- Ice
- Spray bottle
- Water
- Organic rose buds
- Additional flowers and witch hazel (optional)
- Castile soap (optional)
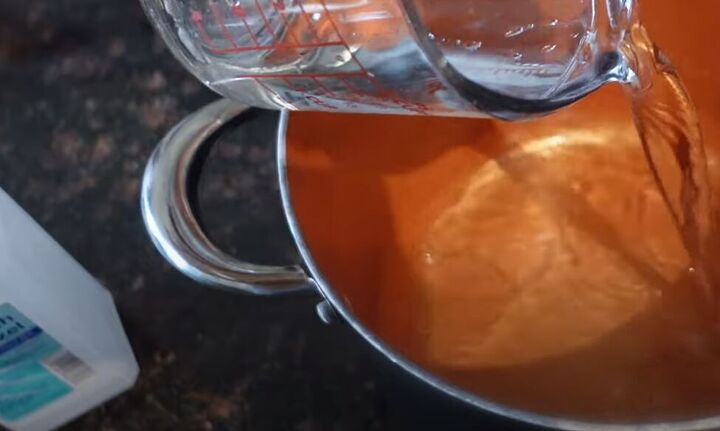
1. Set up the distillation process
Put equal parts water and witch hazel in your large pot.
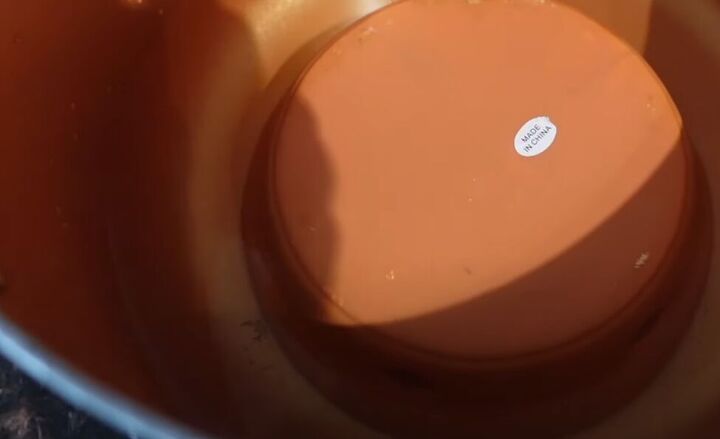
Place your smaller ceramic pot or bricks in the big pot to support a bowl above the waterline.
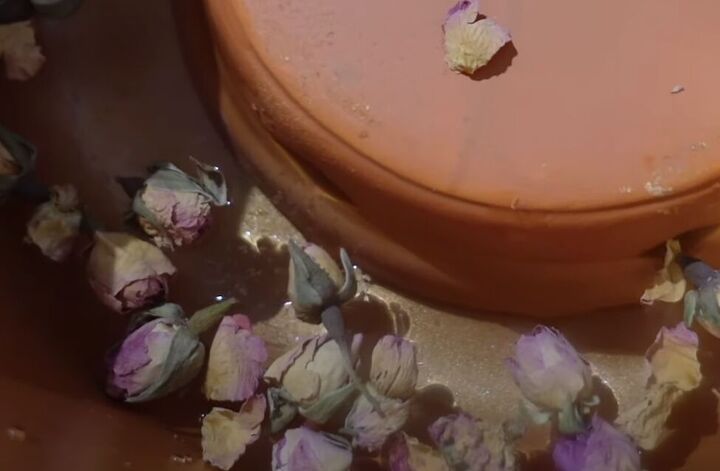
Add your rose buds and any additional flowers you have to the pot.
Put a clean bowl on top of the support, and cover the pot by placing its lid on upside-down.
Place the pot on the stove and set the heat to medium (4 to 5). The goal is to make the water boil.
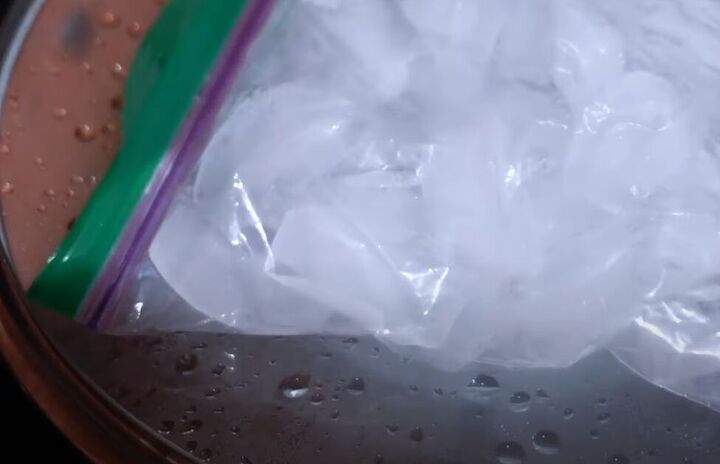
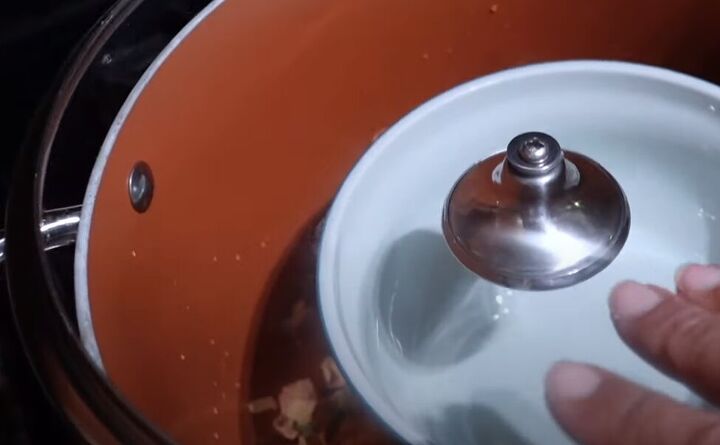
2. Distill the rosewater
Put a small bag of ice on the center of the upside-down lid.
This will create the distilling process. As the water boils, it will evaporate and then condense when it hits the cold lid, turning back into water.
That water will collect in the bowl, and that will be your distilled rosewater!
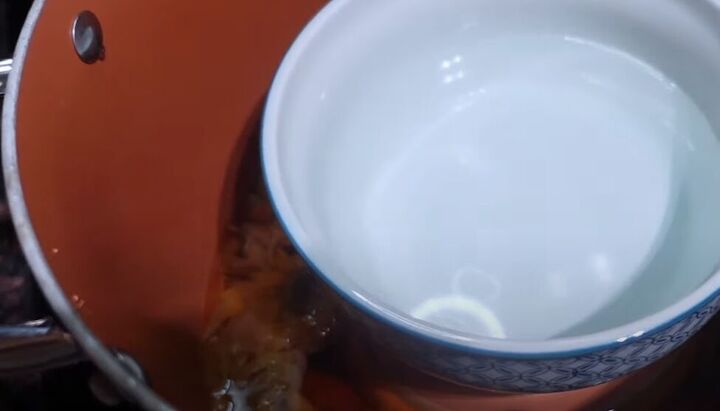
3. Cool and store your water
Let the water cool down for about 15 to 20 minutes.
You will have two types of water: the clear distilled rosewater in the bowl, and the infused water (which may look like tea) in the pot. Keep both.
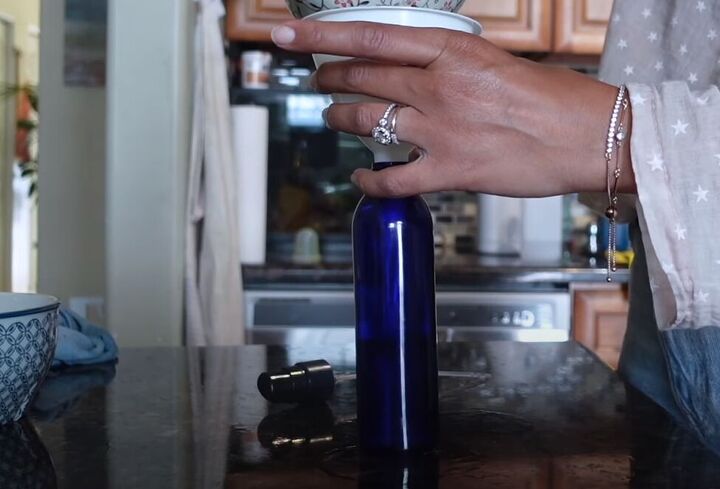
4. Transfer the rosewater
Clean your containers thoroughly to ensure there's no bacteria. Use small containers, as homemade rosewater has a limited shelf life (approximately 10 days).
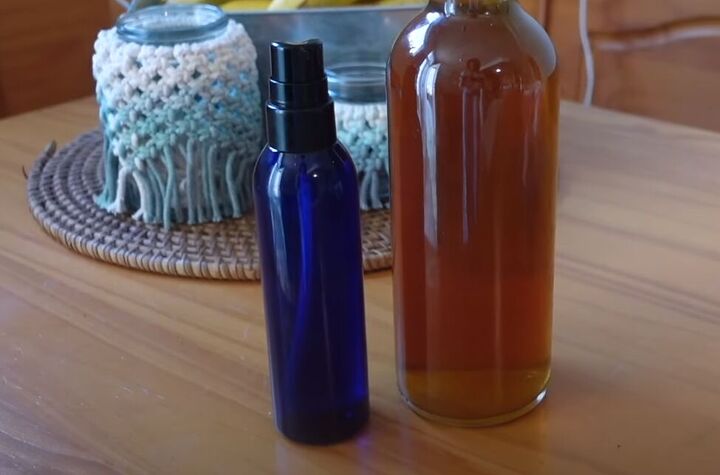
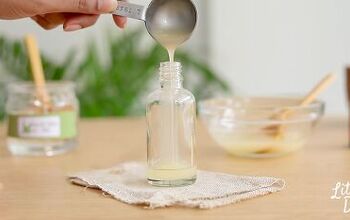
Carefully transfer the distilled rosewater into your clean containers, preferably glass spray bottles.
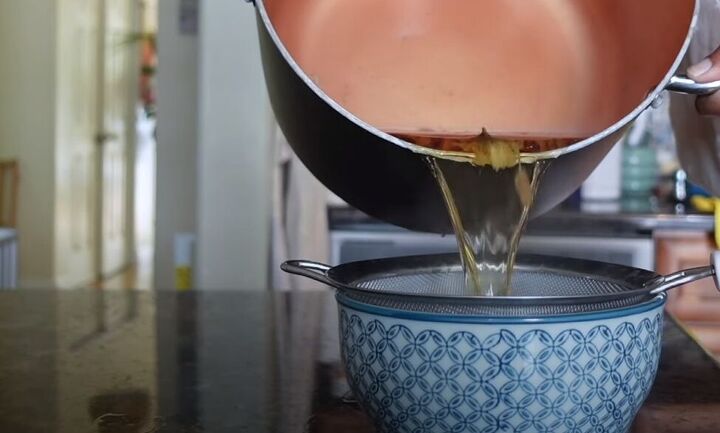
Strain the infused water into a clean bowl.
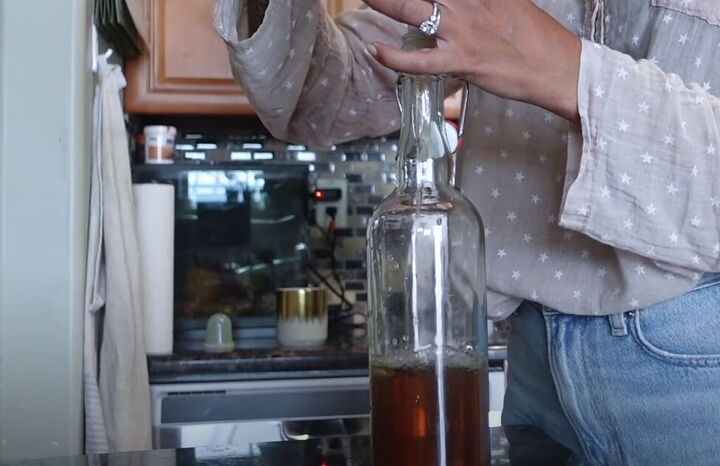
Then transfer it into a clean glass bottle.
I like to use the infused water as a hair rinse.
5. Understand rosewater's properties
Rosewater is not only refreshing but also great for your skin. It:
- hydrates your skin,
- opens up your pores, aiding in product absorption,
- balances skin oils,
- naturally moisturizes,
- offers antioxidant properties,
- helps reduce redness and inflammation, and
- improves overall skin tone.
6. Learn how to use rosewater
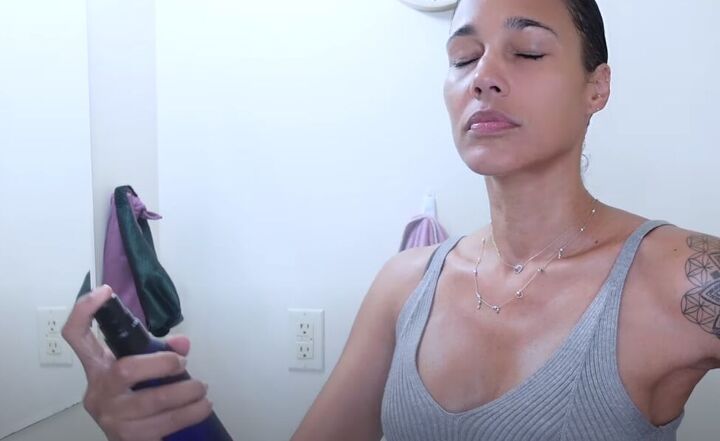
Spray on rosewater as a face toner in the morning to wake up your skin. It hydrates, balances oils, and refreshes your face.

To use your rosewater as a skin cleanser after a shower, spray rosewater on your face and let it air dry.
Follow with your choice of acid (like hyaluronic acid) and moisturizer.
If you want a gentle cleansing option, mix a few drops of castile soap with rosewater to create a micellar water.
Use this on days when you're not wearing makeup or when your skin needs a gentle cleanse.
7. Store your rosewater with care
Make sure to keep your containers clean for a longer shelf life.
Do not pour hot rosewater into plastic containers; use glass if possible.
Store extra rosewater in the fridge rather than freezing it to avoid excessive temperature fluctuations.
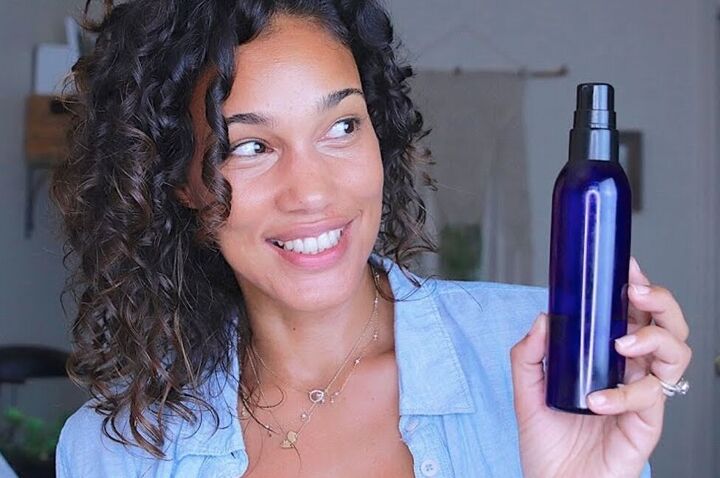
DIY rosewater
And that's it! You've successfully made your own rosewater, and you know how to use it to benefit your skin.
If you have your own rosewater DIY tips or favorite store-bought rosewater products, share them in the comments!
The author may collect a small share of sales from the links on this page.


Comments
Join the conversation