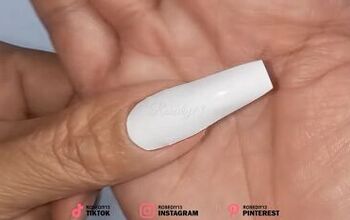
Create This STUNNING Fairy-Butterfly Nail Design in 10 Minutes

Hello everyone! Are you ready for a stunning nail tutorial featuring a beautiful butterfly design?
If you adore fairies and butterflies and everything whimsical, then you'll adore this butterfly fairy nail look.
I’m going to guide you through each step to create this fabulous look. Let’s get started!
Tools and materials:
- Nail polish
- UV light
- Nail stickers
- Tweezers
- Top coat
1. Paint nails
Start by painting your nails with blue nail polish.
2. Dry nails
Then dry your nails under a UV light for a minute.
3. Apply nail stickers
Next, use a tweezer to carefully pick up the butterfly nail stickers from the paper.
Now apply the stickers onto your nails. This nail design works best on long or artificial nails. While it can be done on shorter nails, you may need to use smaller stickers to fit properly.
Use your fingers to press the stickers down onto your nails so that they adhere nicely.
4. Apply top coat
The next step is to apply a clear top coat to your nails.
5. Dry nails
Then place your nails under a UV light again to dry the top coat.
Blue butterfly nail design
Here’s the finished look! I’m thrilled with how the silver stickers stand out against the dark blue background.
I used a different butterfly sticker on each nail, but the cohesive theme gives the design a beautifully unified appearance. I hope you’ll give this butterfly nail design a go for yourself!
For more nail art ideas, check out this Glam Nail Art Design Tutorial With Foil.
Enjoyed the project?
The author may collect a small share of sales from the links on this page.


Comments
Join the conversation