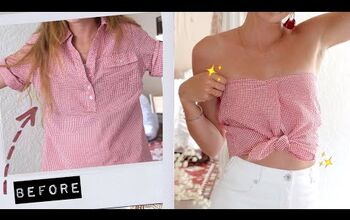
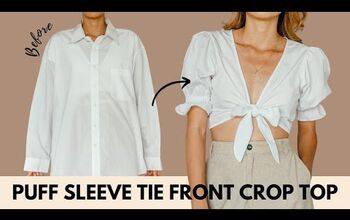
How to Sew a Cute Summer Top Out of an Old Gingham Shirt

In this DIY, I’m going to show you how to sew a summer top. We’ll be upcycling a thrifted item to make this crop top. Let's get started.
Tools and materials:
- Shirt
- Seam ripper
- Scissors
- Elastic
- Sewing machine
- White ribbon

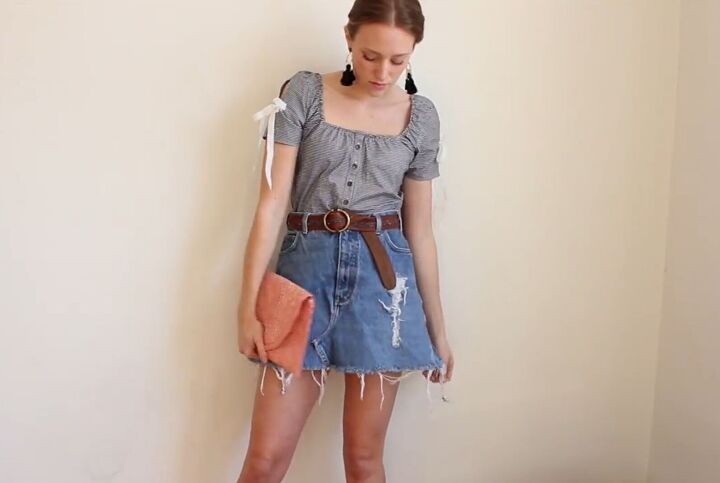
Here’s the shirt I’m starting out with, and I bought it because of the material; I really like this black and white gingham print. The shirt also fits me nicely.
A top thrift tip of mine is to look for prints and fabrics that you like instead of the perfect piece. You can always make alterations and turn the piece into something that you really love.
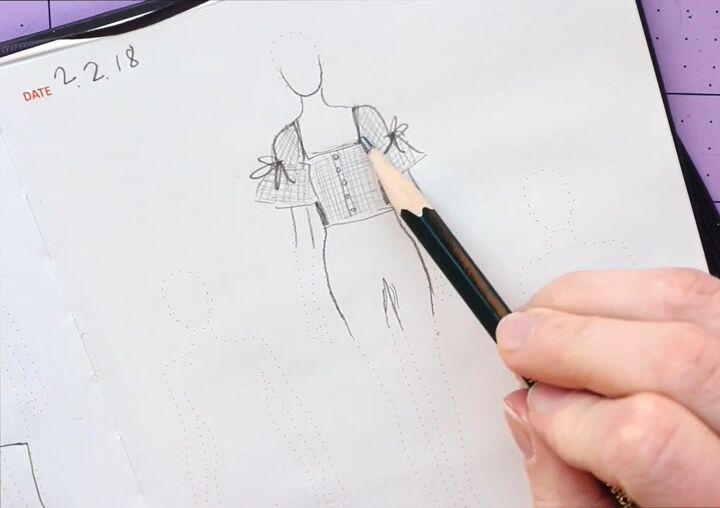
My idea for the new top is a square neckline with elastic edges for a ruffled, playful look.
I tentatively designed the sleeves depending on the amount of fabric I had leftover, but I knew no matter what, I wanted ties to be added on the sides of them.
The back is going to be the same as the front with a square, elastic neckline.
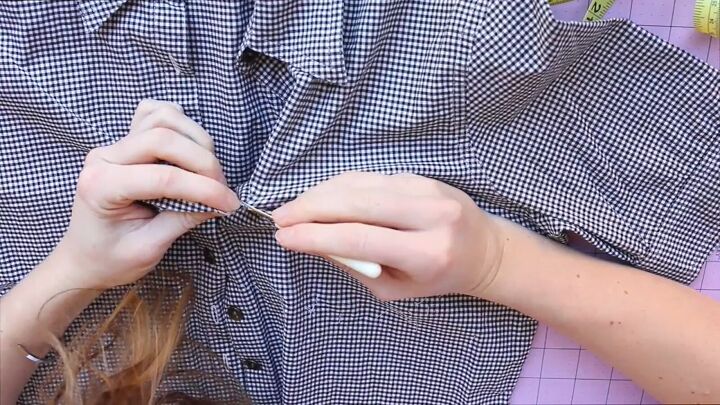
1. Remove the pocket
First things first, if your shirt has a pocket like mine does then you need to seam rip that off of the front.
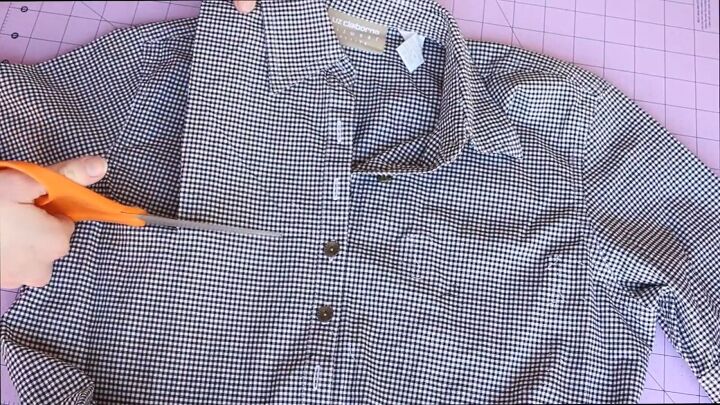
2. Cut
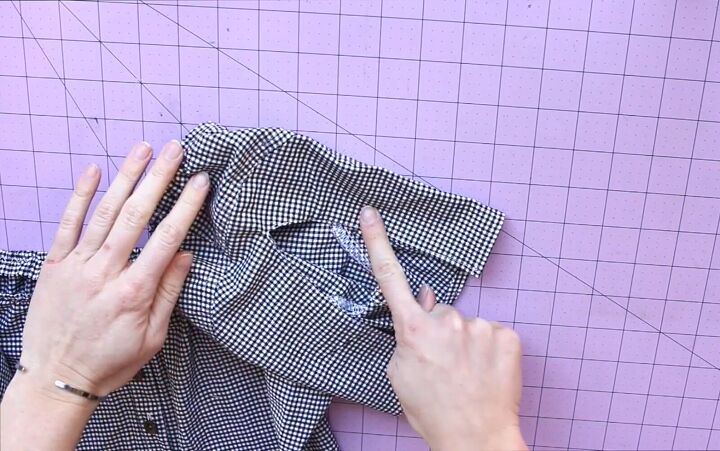
Once that’s done, you can create your square neckline, cutting through the front and the back.
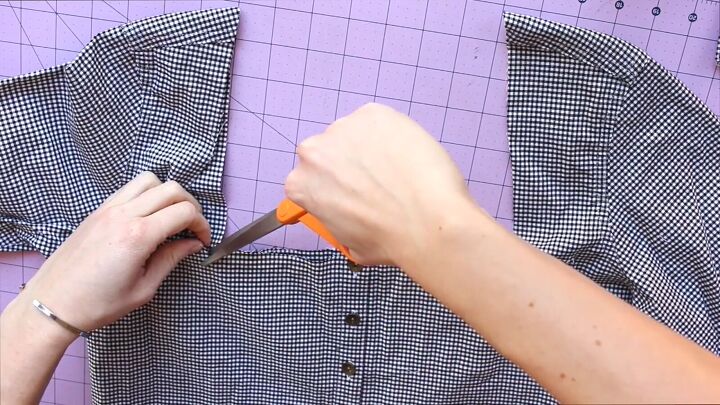
3. Cut slits
Next, cut slits on each corner to provide some room to fold the fabric over the elastic that you’re going to add to the top.
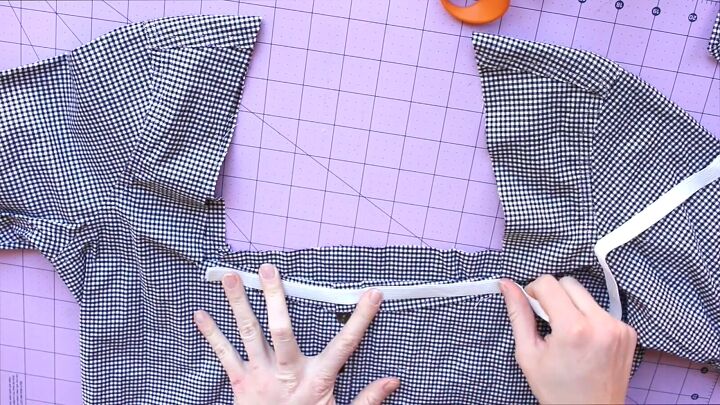
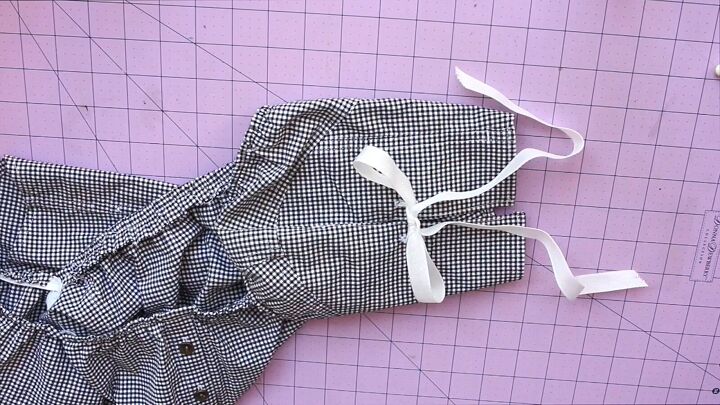
4. Add elastic
Cut the elastic to size; you want to place it around each section of the square neckline on the front and back (so you’ll need six pieces in total).
When you sew the elastic to the top, be sure to pull on it and stretch it out so when the stitch is all done, it will snap back and create the ruffles that we want.
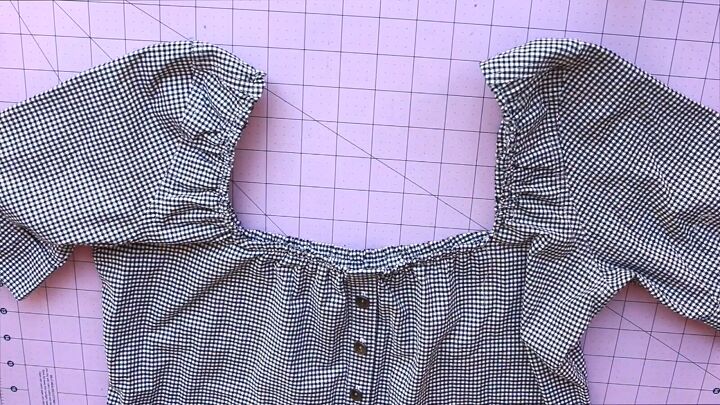
Here’s what that looks like all done.
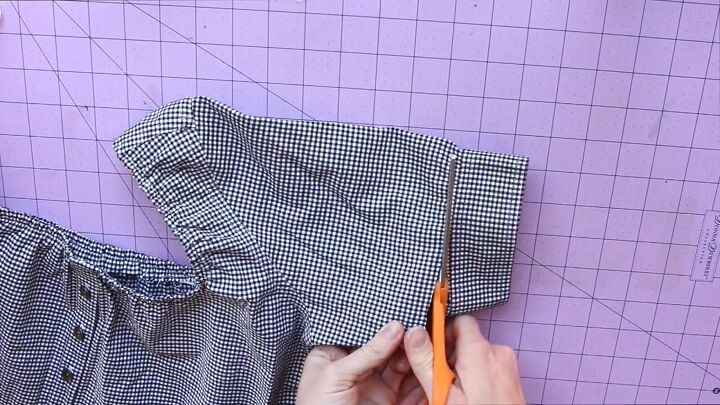
5. Remove the cuffs
Now for the sleeves, cut off the original cuffs and save them for later.
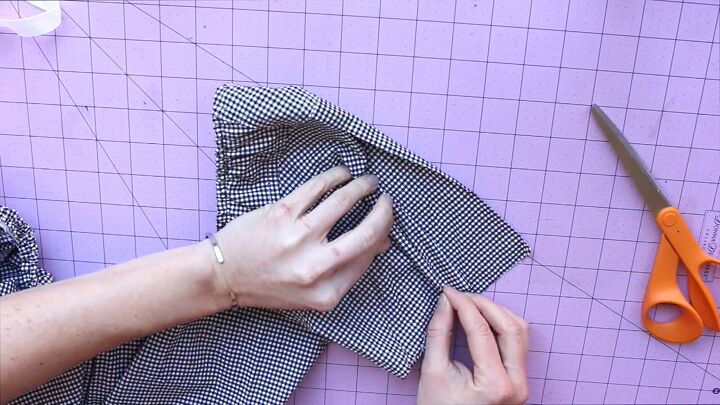
6. Cut and sew the sleeves
Cut a slit right up the middle of each sleeve. Then double-fold under each of the new raw edges that you just cut and stitch them down.
After that, do the same to the bottom of the sleeves, sewing all the way around.
7. Add buttonholes
Once those edges are finished off nicely, add two buttonholes to each side vertically.
8. Add ribbon
Next, lace some white ribbon through and tie a little bow on each sleeve.

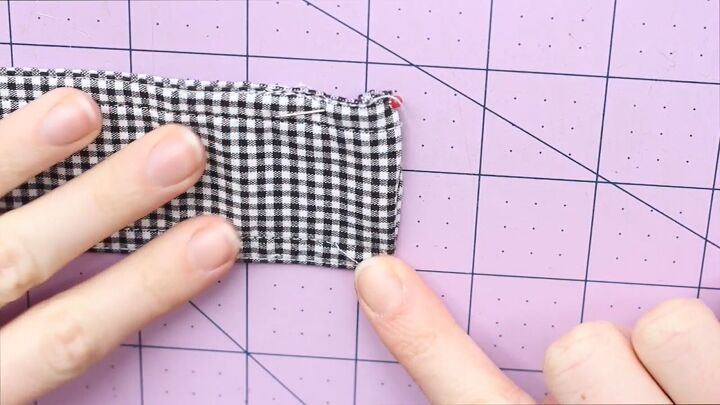
9. Sew the cuff to make a choker
I decided to use one of the leftover cuffs to make a choker to go with the top. To do this, start by seam ripping the topstitch that encases the raw edges.
Once you’ve done that, you can trim the raw edge just below the stitch line, so when you stitch it back down, all the raw edges will be encased on the inside.
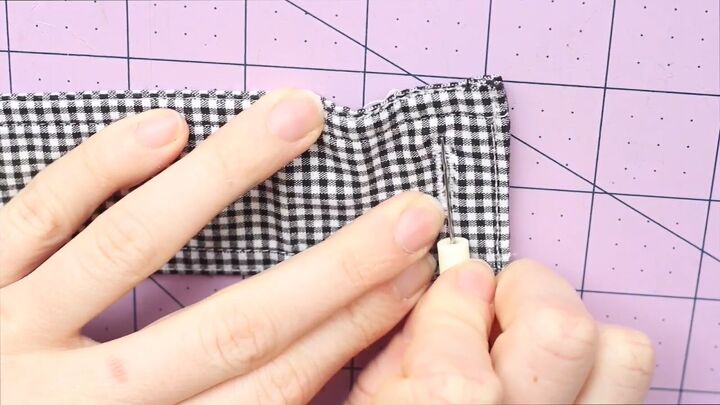
10. Cut and sew edges
Cut off the pointed end of the cuff and separate the seams just enough on those ends to fold them back in towards the inside to stitch that back down, making a new squared-off end to match the other one.
11. Add buttonholes
Seam rip the button off and add two buttonholes to each end which you will then lace ribbon through and tie a bow.

How to sew a summer top
Here’s how the top and choker turned out - I’m really happy with the finished look. The bow details on the sleeves look really cute, and the choker is the perfect matching accessory.

The elasticated neckline also means that you have the option of wearing the top either on or off your shoulders.
This shirt-to-summer top DIY was a really fun sewing transformation to do; I hope you’ll give it a try!
The author may collect a small share of sales from the links on this page.


Comments
Join the conversation
I love it!
What a creative eye you have :)