Easy 2 Methods for Curling Your Eyelashes

Treating your lashes with a little TLC is an easy way to give your face that little something extra.
Follow along to learn now to curl your lashes in 2 different ways.
Upstyle Recommends!
Tools and materials:
- Original or precision eyelash curler
- Mirror

The following 2 eyelash curling methods yield the same results, it’s just a matter of which way suits your eye shape best.
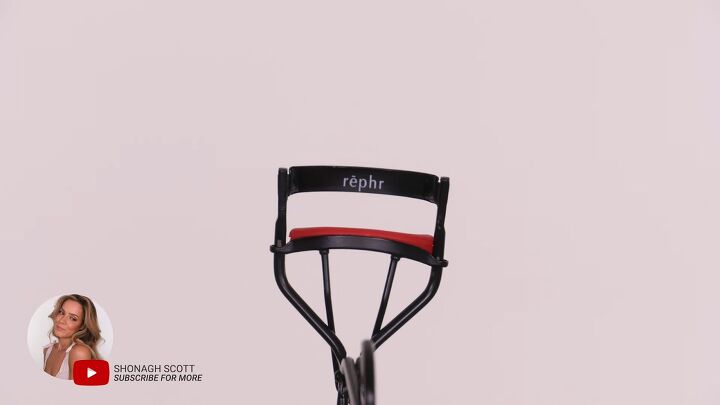
This eyelash curler by rephr is my recommendation if you prefer the original type of eyelash curlers:
This next type of eyelash curler is better for those of you that need more precision if your lashes are particularly straight, very short, or you struggle to curl the inner or outer corner of your eyelashes:

It fits nicely between your fingers and your thumb, and you can go along the length of your lashes, giving them a nice curl.
Original eyelash curler method
1. Check eyelash curler size
Line the eyelash curler up against your eyelid to ensure that you can fit all of your lashes between the curved space.

2. Scoop from the outside
Once you’ve determined that the curler is wide enough for your lashes, open it and scoop the lashes into the open curler from the outside corner inward.

When you blink up and down, you should see that all your eyelashes are sitting in between the clamps.

3. Align the base
The rubber base of the curler (in red here) needs to sit at the base of your eyelashes, as close to the root as possible.

Viewing from a side angle, you can see that the red base is right at the lash base.
If you look downward, you should be able to feel it.

4. Curl
Look straight ahead or downward. Raise your eyebrows to stretch your skin.
Begin curling by squeezing your thumb and forefinger to gently clamp at the base of the lashes, being careful not to pinch your skin.

For a nice curl, you can also tip the curler backward, and as you let it go, you will see the beautiful result:

Curling your lashes makes a huge difference in how open your eyes look!
If you have super straight lashes, one hack is to warm up your eyelash curler, but I don’t recommend this if you’re a beginner.
Precision eyelash curler method
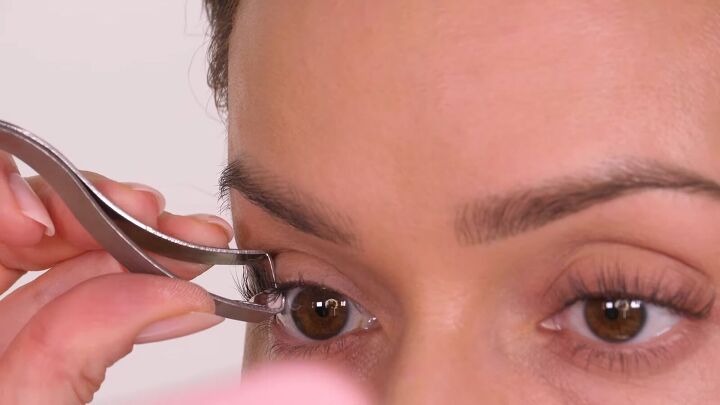
1. Position the eyelash curler
This precision curler has a rubber piece as well that should sit at the root of your lashes.
Start at the outer corner of your lashes and avoid pinching your skin with the top portion of the curler.

2. Clamp the lashes at the exterior corner
Look straight ahead into a mirror and clamp your lashes down and rotate the handle slightly backward, toward your eyelid.

You can see, after only working on the outer corner, what a difference this has already made:

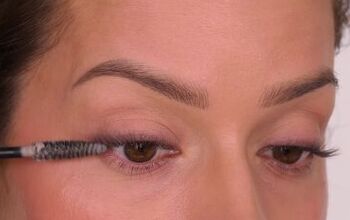
3. Continue curling along the lashes
Keep at this curling method, clamping and rotating the next section of lashes.
Work gently with this tool and avoid pulling the lashes down from the roots.
Another option is to use the regular lash curler and supplement the curling at the inner and outer corners with the precision curler.
Whichever type of eyelash curler you prefer, I recommend keeping the tool clean, since it comes in close contact with your eyes.
Here’s the final result of the precise eyelash curler:

Both curling methods have fantastic results:

How to curl your eyelashes
Curled lashes add a simple yet stunning touch to your eyes, so I hope this “how to curl your eyelashes” tutorial was helpful for you!
Which method is your favorite? Let me know in the comments.
You might also like these easy hooded eye makeup hacks.
The author may collect a small share of sales from the links on this page.


Comments
Join the conversation