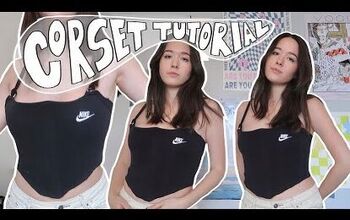
Super Cute Corset Top DIY Tutorial

DIY corset tops can be difficult to sew and the patterns are often expensive. I’m here today testing out a free pattern for a corset top by Mood that comes in sizes S to XL. It does require signing up to their newsletter to get the pattern.
I used zip or cable ties for the optional boning, but you could use regular plastic boning or leave it unboned if you prefer that fit.
Tools and materials:
- Corset sewing pattern
- Paper for pattern
- 0.5 to 1 yd (0.5 - 1 m) non-stretch fashion fabric
- 0.5 to 1 yd (0.5 - 1 m) lining fabric
- 20 eyelets
- Eyelet kit
- 4 zip/cable ties or boning (optional)
- File (optional)
- 0.75 inch (2 cm) wide ribbon
- Fabric marker
- Pins
- Scissors
- Iron
- Sewing machine

1. Cut out the fabric
I’m using a cream satin that I had in my stash for the outer fabric.
Print out the pattern and cut out your size.

I prefer to trace the pattern pieces onto the fabric and cut around the outline. You need to cut the same pieces from the outer fabric and the lining.
Transfer all the pattern markings to the fabric.

2. Sew the darts
The darts are the two large triangle cut-outs in the front outer and lining pieces, which we have to close with the right sides together.

On the pattern the dart points are a long way above the dart cut-outs.

I sewed one dart from the dart point and pinned the other one from the top of the cut-out to see which I preferred. I decided the longer dart gave a much better fit, so sewed the other darts to match it.

3. Assemble the top
Putting the top together is quite straightforward.

Join the pieces on the main fabric and lining.

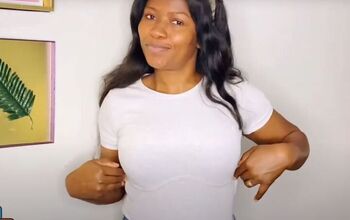
4. Try on and adjust
When I wrapped the top around me it was clearly too big.
I took all the side seams in by about half an inch (1 cm).

I pinned the top to myself again to get a better idea of fit.

I still felt it wasn’t as tight and figure hugging as I would expect a corset top to be. I pinned along each dart to take in the excess fabric, which turned out to be about half an inch (1 cm) on each.
I resewed the darts and pressed them. I made the same adjustments to the lining and pressed all the seam allowances open.

5. Insert the boning (optional)
To make the channels for the boning, I folded the four side seam allowances over and top stitched them on the outer layer of the top only.
I made the channels about half an inch (1 cm) wide).

I cut the cable ties to length and filed them smooth.

I inserted the ties into the channels, making sure to leave at least half an inch (1 cm) at the top and bottom of each for the seam allowance.

6. Attach the lining
Pin the lining and outer fabric with the right sides together.
Sew all along the top and bottom edges.

Snip into the seam allowance, especially around the curves, to allow the fabric to lie flat.
Turn the top right side out through the back opening and push out the corners.

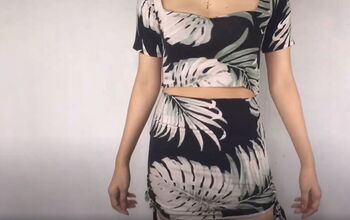
I wasn’t too sure about the point at the center front, so I tried on the top with the point tucked inside and decided I preferred it with the straight lower edge.

I turned the top back inside out and sewed a straight line to get rid of the point.
I cut off the excess fabric, turned the top right side out again and pressed all the seams flat.

To finish the back opening, I folded the raw edges inside and top stitched them.

7. Back closure
I marked the position of the eyelets along the back edges.

I also decided to use eyelets instead of rings to close the shoulders.

I followed the instructions on my eyelet kit and placed eight eyelets on each side of the back and one on each shoulder, making 20 in total.

Thread the ribbon through the eyelets from the top to the bottom of the back. Thread a shorter piece through the shoulder eyelets and tie in a bow.


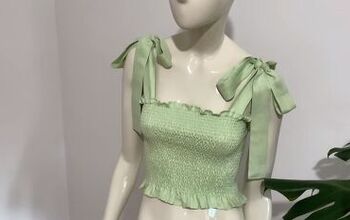
Corset top DIY
My corset top DIY turned out well and it was simple to sew. I have to say that the back closure makes it difficult to put on if you’re on your own, and I much prefer the styles that have the lacing at the front.
However, it’s a great pattern to learn how to sew a corset top for beginners, as the instructions are very straightforward.
Let me know what you think and if there are any other patterns you would like me to test, by dropping me a comment below.
Next, check out my tutorial on Upcycling a Leather Jacket Into a Gorgeous Bucket Bag.
The author may collect a small share of sales from the links on this page.


Comments
Join the conversation