Too Hot For Sleeves? Refashion a Long Sleeved Shirt...

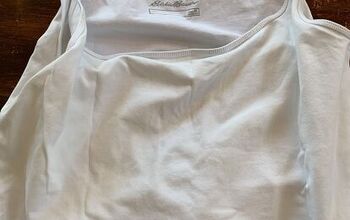
Were supposed to hit 116* F this weekend in Arizona so I thought, “I’m gonna refashion a long sleeved shirt!” Although this shirt is rather plain and boring, I thought that cute little red button was adorable. I knew it could be made into something worthy of that button. So I hatched a plan to make it not just summer ready, but cute as a Red Button.

Just Eyeball it …
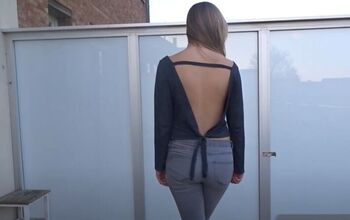
I tried it on and as you can see from the pictures above, it does absolutely nothing for me. So I folded it in half and with tailor’s chalk I drew a shirt outline, with a square neck on the front and a regular curved one on the back. I just eyeballed it but you could use another shirt you have or even a pattern if you want.

It’s not Rocket Science …
The pieces you see below I didn’t really think much about how to do them. For the sleeves I used the shape of the original sleeve, but just made it a bit smaller to fit the shirt. Then I used the bottom of the shirt I cut off to make a band for the shirt hem. I just made it two inched smaller than the width of the shirt. The bottom part of the sleeves that I cut off was used to make the neck facings for the front and back neckline. I’ll explain below how I made the facing.

Neck Facings …
Once I cut the neck to that shape I wanted it to be, I slid some paper under the shirt and traced the neckline and shoulders. I did it for the front and the back. Then I made it about 1 ½ inch wide and cut it out. That’s how to make a neck facing pattern piece. You just have to cut out your fabric and iron some fusible interfacing to it.

Attach it to Your Shirt Neck …
Once you have the neck facing cut out and interfaced you can sew the front and back facing pieces together at the shoulders. Before you sew it to your shirt neck make sure to do a stay stitch around your shirt neck so it doesn’t stretch out bigger than your facing. Once you do that you can attach it to your shirt neck. Make sure to match up the shoulder seams, right sides together and sew!

Do Some Clipping …
Before you turn the facing to the inside of the shirt clips into the corners on the front and the curve at the back. Doing this will help it lay nice and flat. After you do that, flip it to the inside and iron it.

Then you can do another wide stitch all the way around to hold it in place.

One More Thing …

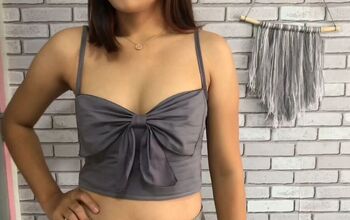
I decided at the last minute to add a red band to the sleeves to match that cute Red Button. And I’m really glad I did. It’s simply cute as a button now! It looks great with these Red Bike shorts I made a while back. Maybe I’ll wear this for July 4th.

Let’s be friends!
If you are looking for a pattern suitable for more than one occasion, hopefully this post helps you figure out what will work best with your wardrobe needs. Let’s be friends on all the socials! Come follow along on Pinterest, Instagram, Facebook and TikTok so we can chat about all our sewing projects!


The author may collect a small share of sales from the links on this page.


Comments
Join the conversation