How to Make a DIY Maxi Skirt With a 180-Degree Flare

This DIY maxi skirt is a full circle flare skirt that is ultra-flattering and so much fun to wear! I’ll teach you how to make a maxi skirt using just your measurements and 3 yards of Ankara fabric.
You’ll learn how to sew a maxi skirt in just about 2 hours, but you need to already know how to insert a zipper. If you’re ready to sew a DIY maxi skirt, let’s get started!
Tools and materials:
- 3 yards fabric
- 3 yards lining
- Scissors
- Ruler/measuring tape
- Tailor’s chalk
- Pins
- Sewing machine
- Iron
- Zipper - 13 inches or longer
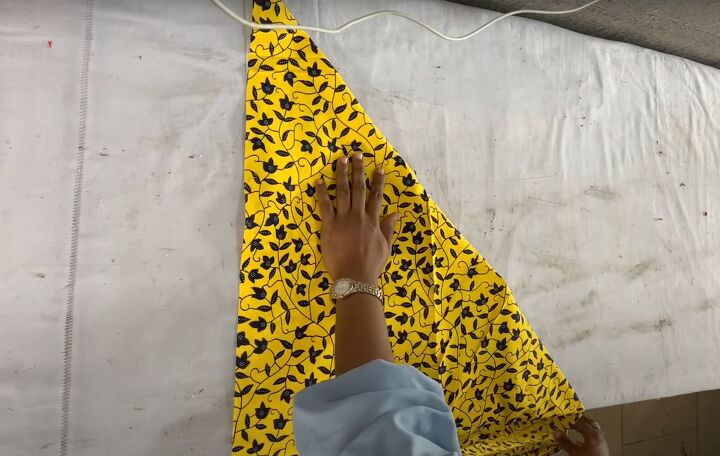
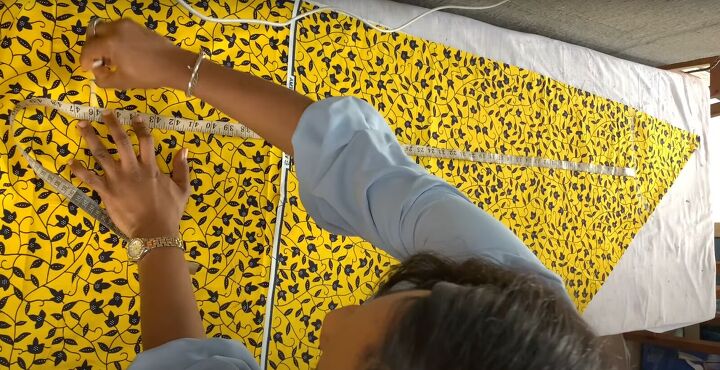
1. Make the pattern
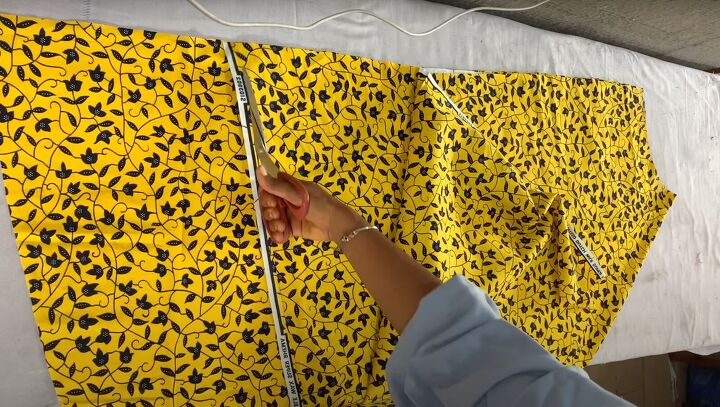
When making a circle skirt, fold the fabric diagonally rather than in half.
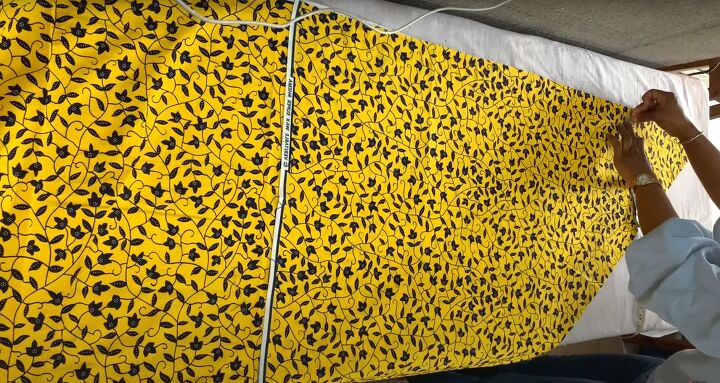
Divide your waist measurement by 4. Lay the measuring tape across the top point of the diagonal fold to find the divided waist measurement. Mark on the fabric.
Then measure down from the point to mark this measurement equally across the fabric, spanning the fabric. Draw a curve to mark that line.
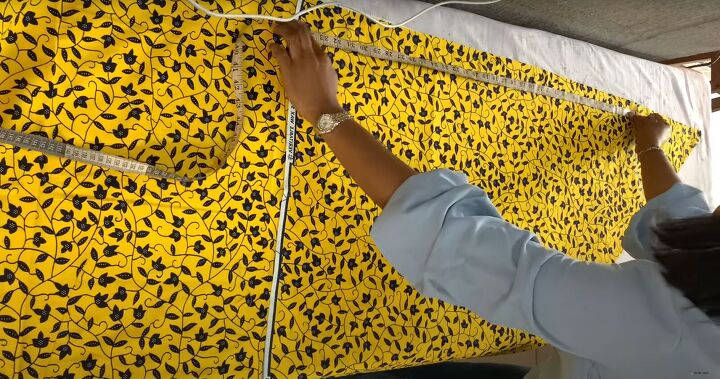
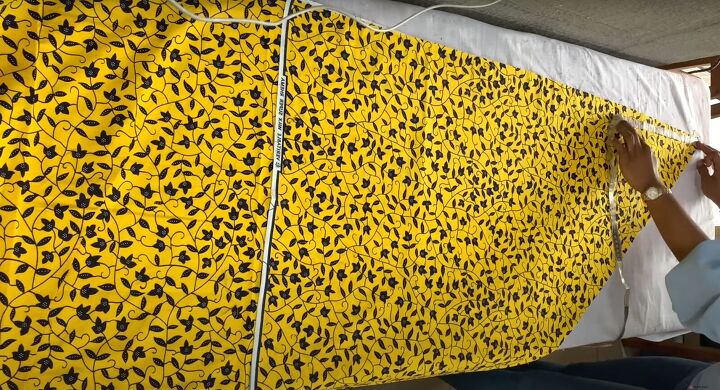
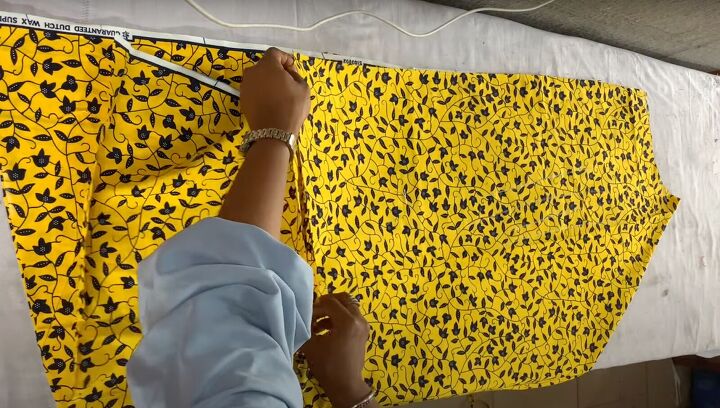
From that point, measure down the length of the fabric for your desired length.
Mark across the fabric.
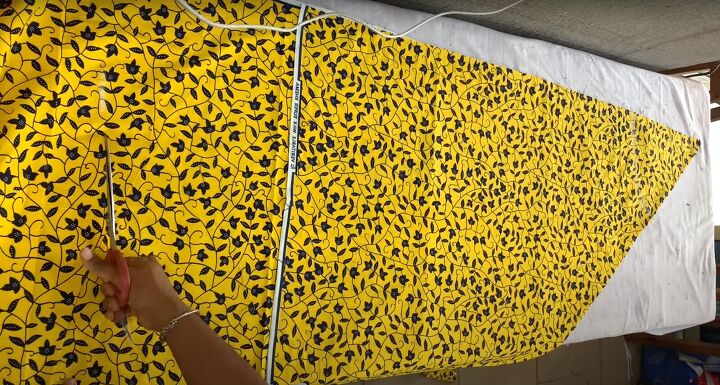
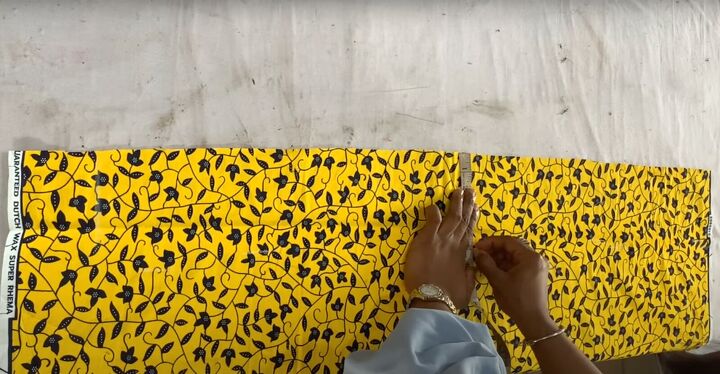
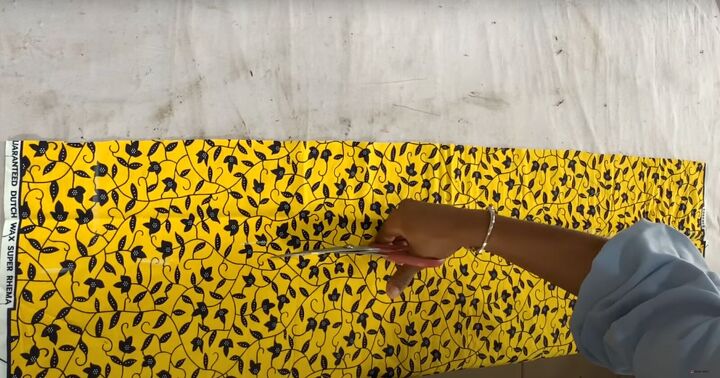
Cut the curve along the measured length.
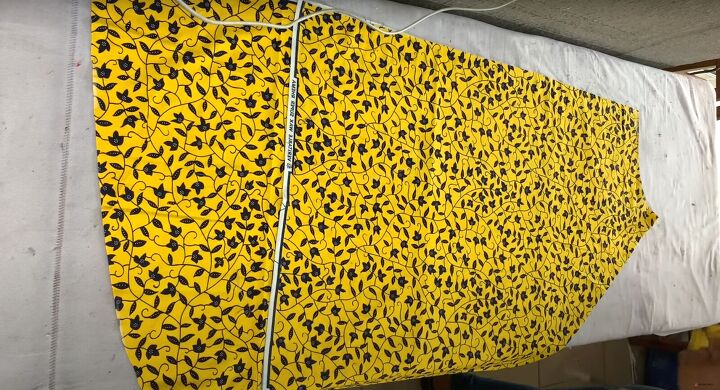
Then cut the waist curve out. Congratulations! You’ve made the front panel!
To make the back panel, follow these steps exactly, using the front piece as a pattern for the back piece.
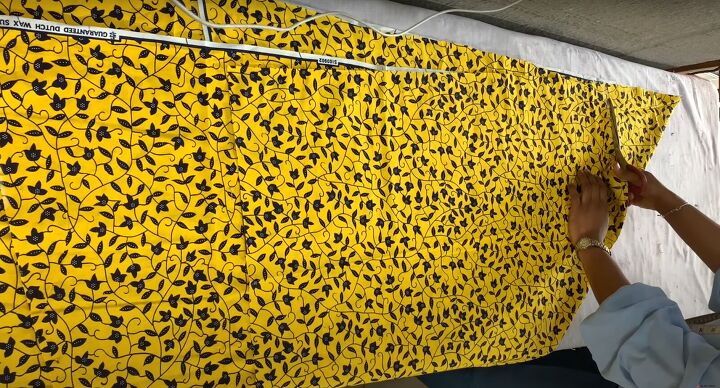
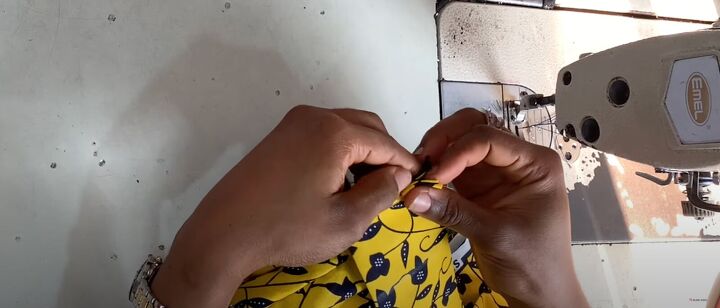
Cut off any visible selvage that will show.
If you don’t have enough fabric to match the length, you can use a piece of fabric cut to match to make it up on the panel. Pin in place and sew with a straight seam right at the edge.
When making a full circle skirt, it’s best to use a pattern where such additions can’t be easily seen.
2. Make the waistband
Mark 5 inches for the width of your waistband.
Cut the length a few inches longer than your natural waist measurement.
3. Attach the lining
Cut a lining fabric to match the skirt pattern on both the front and back pieces.
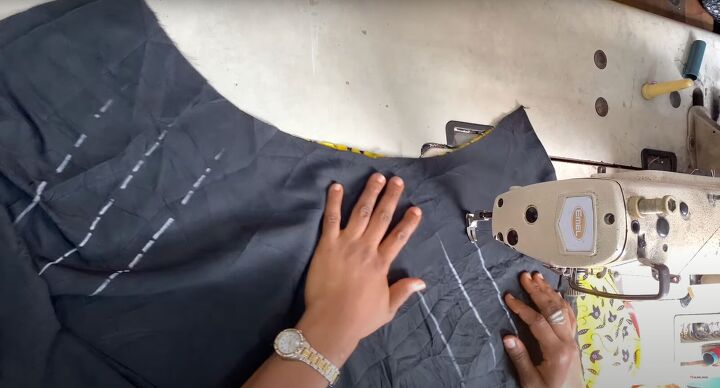
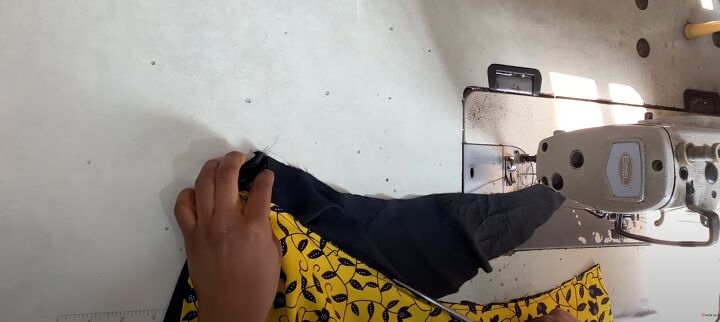
If you’re using a full-length lining like shown here in the tutorial, start by laying the outer fabric panel and lining right sides together on one of the panels.
Stitch the lining along the hemline. Trim any excess threads.
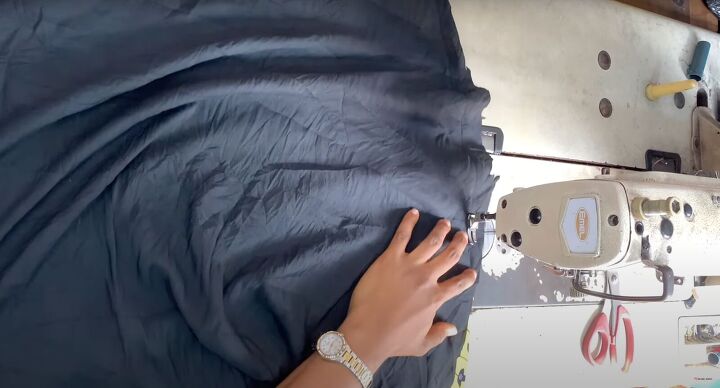
Open up the skirt and topstitch, making sure the seam allowance faces the lining side.
If you decide to use a shorter lining, stitch it along the side seams and waistband, without needing to stitch it along the hemline.

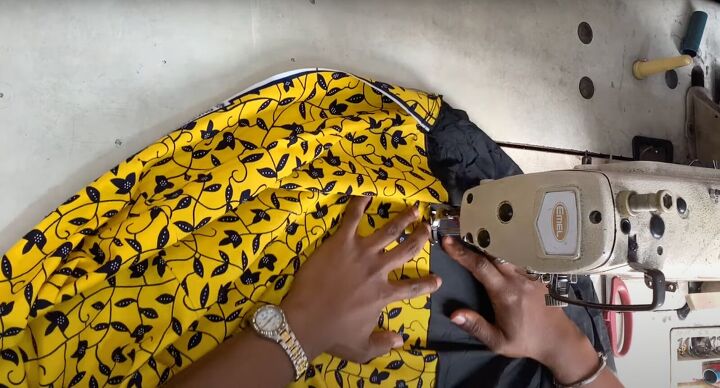
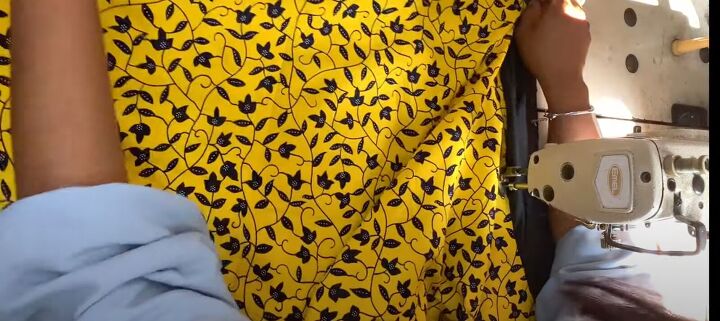
Sew the sides up, making sure a bit of the outer fabric peeks through so the lining is inside the skirt.
When you get ready to sew the waistband, you may have excess lining fabric. You can easily trim this off.
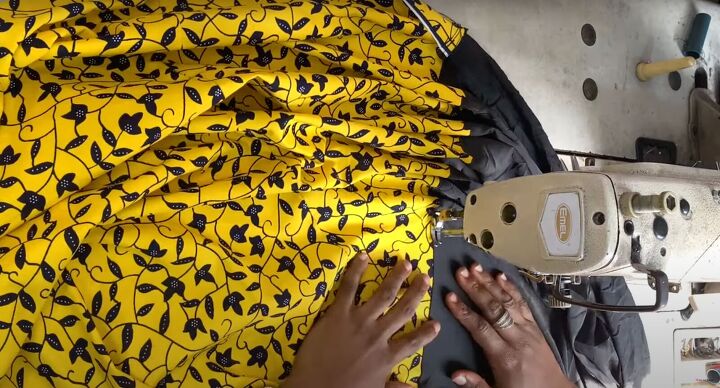
Sew the top of the panel at the waistband.
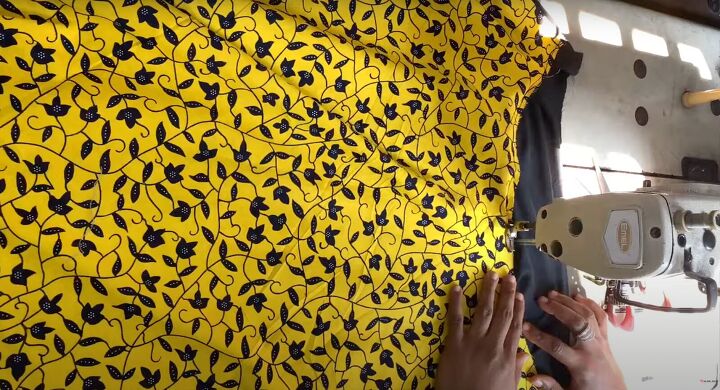
Then sew the second panel in the same way.
4. Sew the skirt together
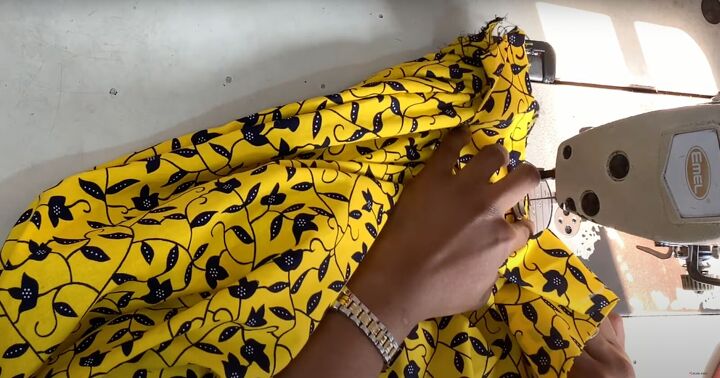
Once both pieces are fully lined, place them right sides together. Sew one side seam with a 1-inch seam allowance.
Fold the waistband in half. Press hard with the iron to make it as flat and smooth as possible.
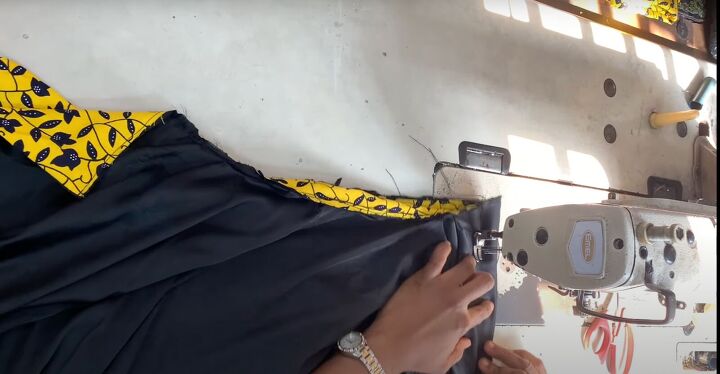
Lay the unfolded edge to the waistband of the skirt and sew with a straight stitch all around.
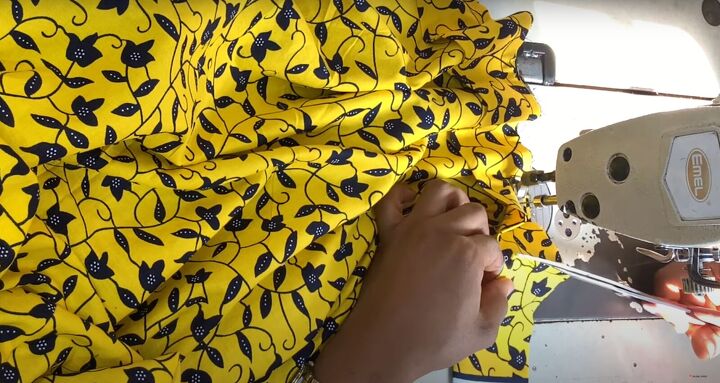
Trim any excess fabric from the waistband.
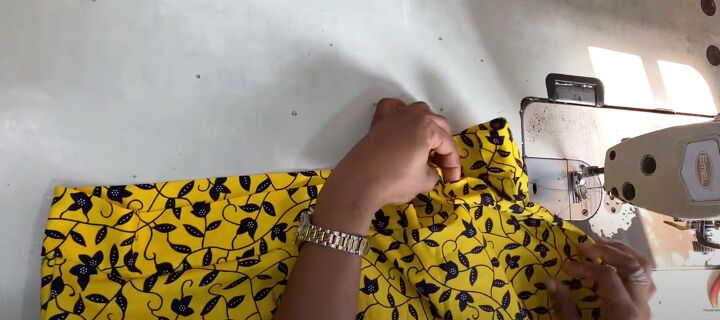
Insert a zipper using your preferred method on the unsewn side seam. Sew up that side seam and voilà! Your skirt is done!
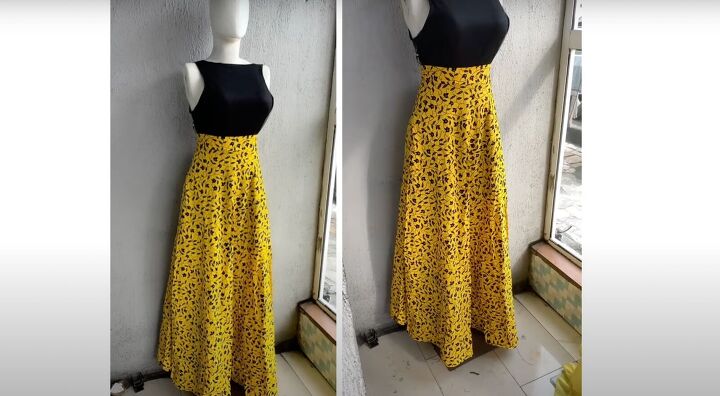
DIY maxi skirt tutorial
I hope this DIY maxi skirt tutorial helped you make this beautiful skirt. Let me know in the comments what you think of this tutorial and the results.
If you make your own maxi skirt, don't forget to share your photos!
The author may collect a small share of sales from the links on this page.


Comments
Join the conversation
Thanks for sharing it looks lovely for spring summer :)