Cute and Easy Skort Pattern Tutorial

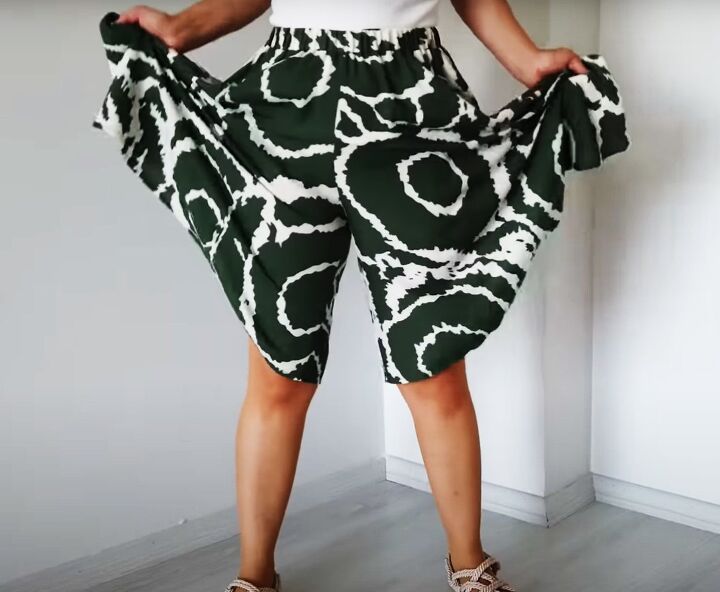
Today, I have a skort pattern for girls who love to ride their bikes in summer but want to wear something more flattering than shorts.
This is an easy make with step by step instructions that you can adapt to a pattern for a circular skirt as well.
I give instructions for size 38 European and also for L, XL and XXL.
Tools and materials:
- 1.5 yards (55 cm) viscose or similar fabric, 60 inches (150 cm) wide
- 1.5 - 2 inch (4 - 5 cm) wide elastic
- Safety pin
- Fabric marker
- Measuring tape
- Pins
- Scissors
- Sewing machine
- Serger (optional)
1. Cut out the skort sewing patterns
Cut a 55 inch (140 cm) square of your fabric.
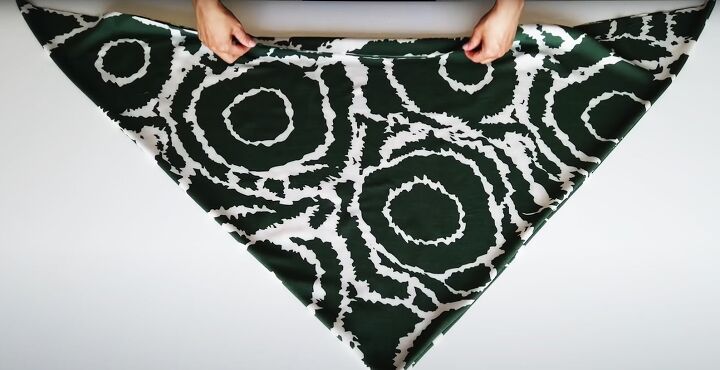
Fold it in half diagonally and then fold the long side in half again.
Place it flat in front of you, with the open edges towards you and the folded side to your right.

Draw a line 4 inches (10 cm) up from the open edges.
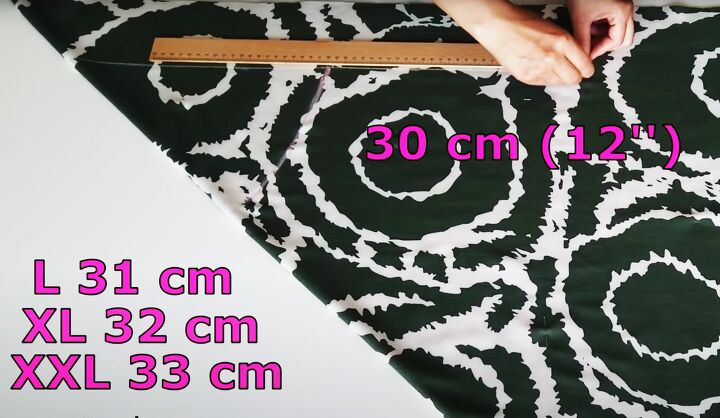
From the point where the line meets the folded edge, measure 12 inches (30 cm) for size M, 12.6 inches (31.5 cm) for size L, 13.2 inches (33 cm) for XL and 13.8 inches 34.5 cm for XXL.
Continue drawing a quarter circle at that radius until you reach the folded edge. This is the skort waistline.
Measure 12 inches (30 cm) from the curved line along the straight line for size M for the crotch depth.
Adjust this measurement to 12.5 inches (31 cm) for size L, 12.8 inches (32 cm) for XL and 13.2 inches (33 cm) for size XXL.
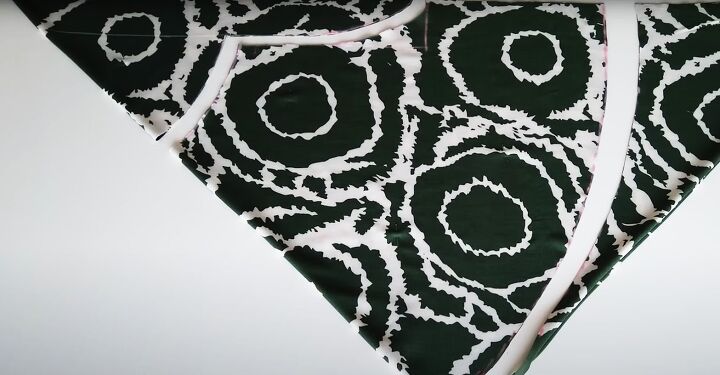
Join that point to the open edges with a straight line and curve the corner between them.

Measure the length of the folded edge from the start of the curved waistline.
Use that measurement as the radius for the hem of the skort.
Cut out the skort.
2. Shape the front crotch and waist
Open the two pieces out flat.
Measure and cut half an inch (1.5 cm) from the straight edge on the left.
Mark 2 inches (5 cm) from the waist edge down the front crotch and curve the waistline to meet it.
Cut out both pieces.
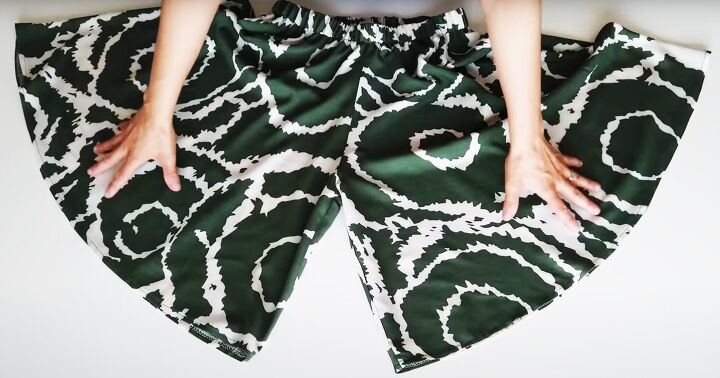
3. Assemble the skort
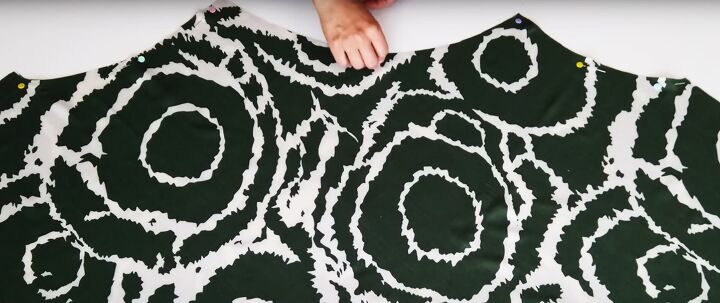
Pin and sew the front crotch seam together with the right sides facing and repeat for the back crotch.
Join the inner leg seams.
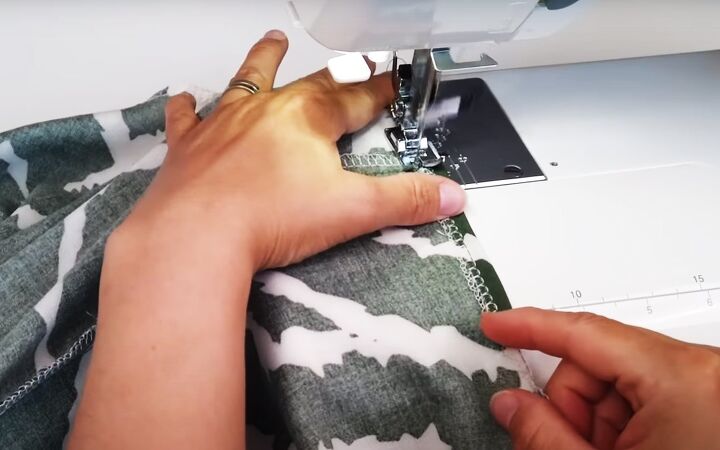
Finish all the raw edges.
4. Attach the elasticated waistband
Cut a strip of fabric 40 inches (102 cm) or the length of your waistline wide and 3 inches (8 cm) deep.
Join the short edges into a circle.
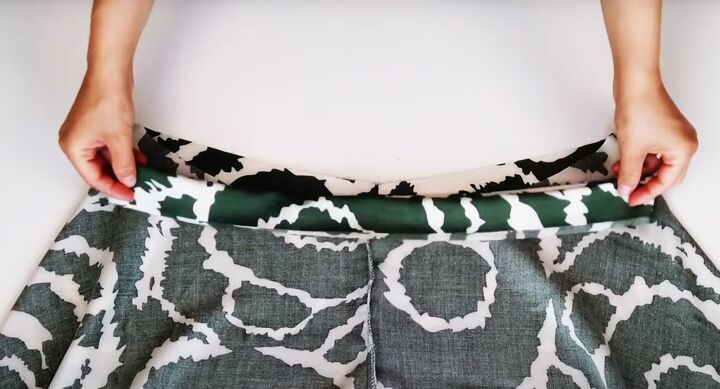
Fold the waistband in half with the wrong sides together.
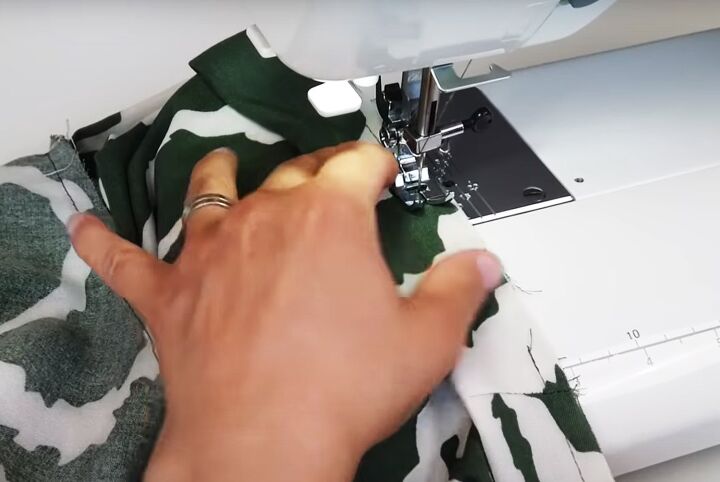
With the waistband seam to the center back of the skort, pin and sew the waistband to the right side of the waistline, sewing through all three layers.
Leave an opening near the center back seam to insert the elastic.
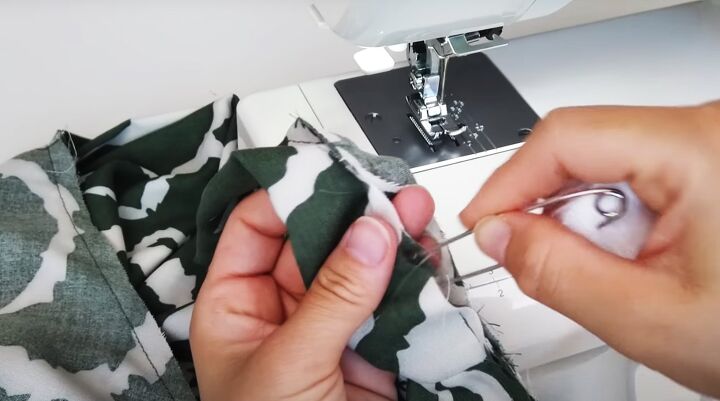
Cut the elastic to 25 inches (64 cm) or to your waist measurement. Use a safety pin to thread the elastic through the waistband.
Overlap the ends of the elastic and sew them securely together.
Sew the opening closed, being careful not to catch the elastic in the stitching.
5. Finishing
Turn up a narrow single or double hem at the lower edge of each skort leg.
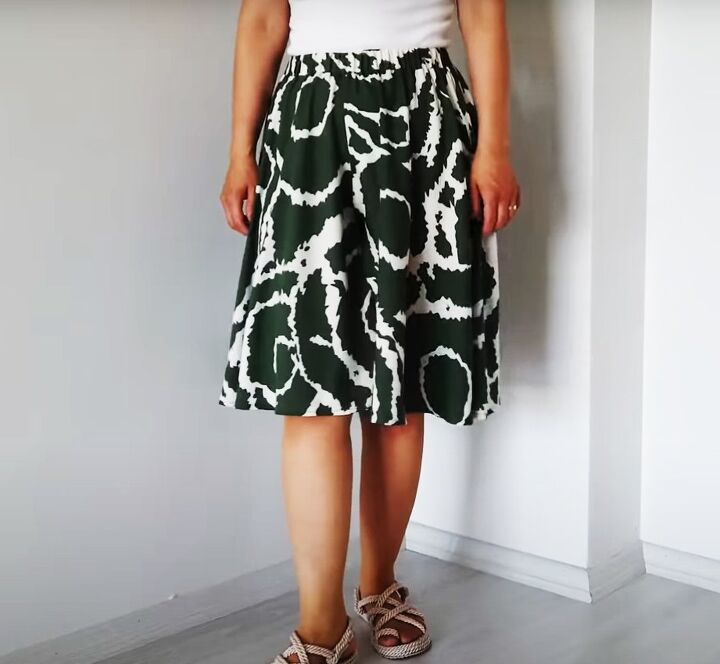
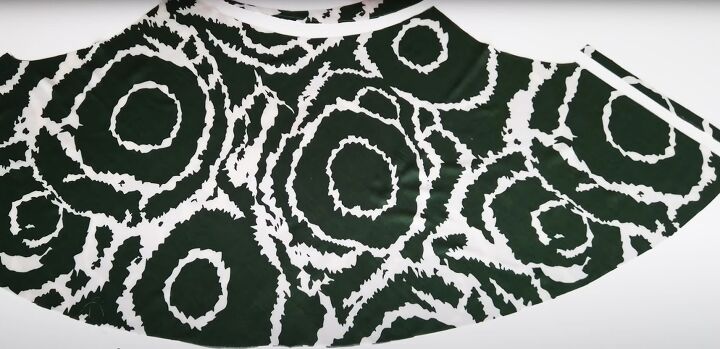
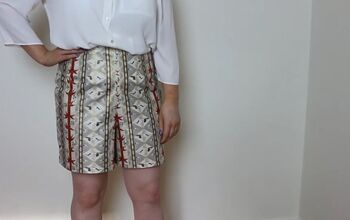
Skort pattern
I love this practical and feminine skort pattern. It’s so full that it looks like a cute flared knee length skirt until you climb on your bike. It’s very comfortable and easy to wear too.
If you’re a more advanced sewist, you could open the side seams and insert pockets if you wanted. This is a basic design that can be adapted in several ways.
I’d love to know if you like it and if you’re going to make it. Please leave a comment below and follow me on TikTok too: @tugbaisler
The author may collect a small share of sales from the links on this page.


Comments
Join the conversation
That s soooo cute!