How to Do Dip Powder on Short, Natural Nails

Here's how to create a stunning all-neon manicure on your short natural dip powder nails!
As we go, I’ll be giving you a whole bunch of tips and tricks for dipping your nails when they're short. Let’s jump on in!
Upstyle Recommends!
Tools and materials:

1. Push cuticles back
Start by pushing your cuticles back with a cuticle pusher.
2. Apply base coat
Then a clear dip base coat. It's important to avoid flooding your cuticles, particularly when your nails are short. Short nails provide less space, making it harder to manage excess liquid and keep it away from the cuticles.
As soon as you take the brush out of the polish jar, you want to make sure to wipe off any excess liquid.
I also recommend using an orange wood stick around your nail before you apply the dip powder to remove any excess dip liquid that might be on your skin.
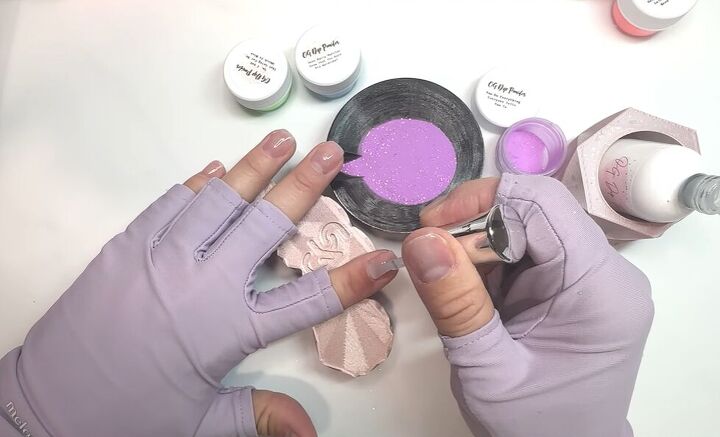
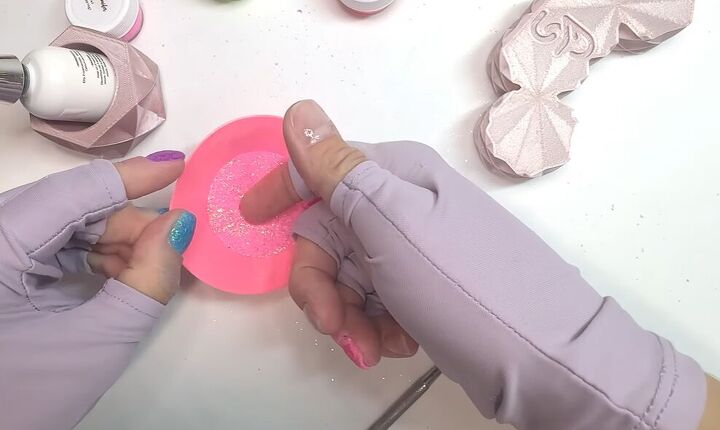
3. Dip the nails
Now dip your nails in the dip powder - I am using some gorgeous flaky dips.

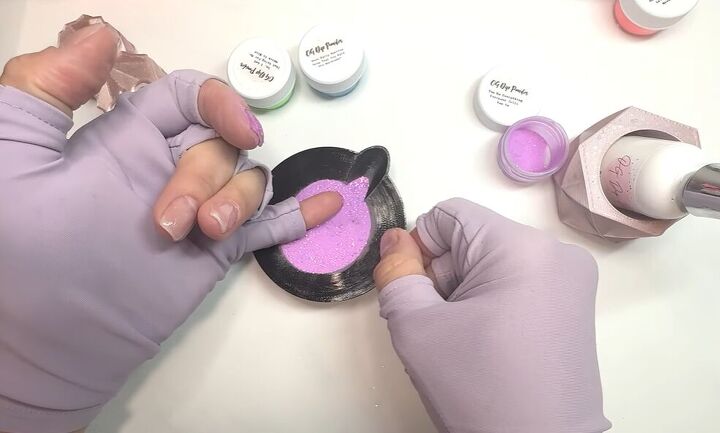
4. Remove excess
Use a cuticle stick to clean away any excess polish and powder around your nails. If you leave dip base and dip powder on your skin after each application, your nails are more likely to lift, which you definitely want to avoid.
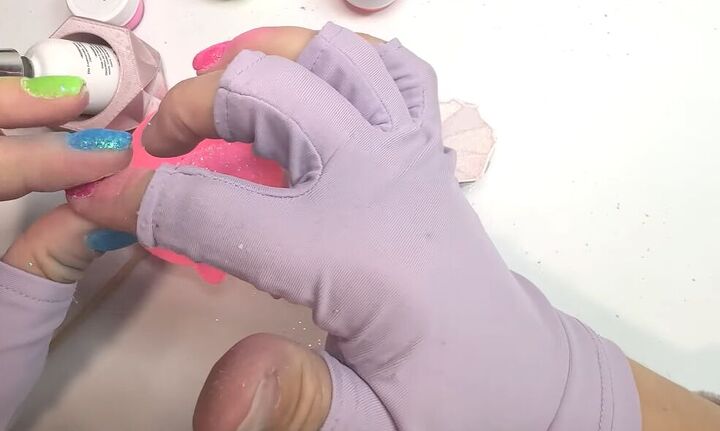
Another tip is to apply tape to the index finger on the other hand and use it to pick up excess powder. This is a practical technique for managing and cleaning up any stray dip powder or polish around the nails.
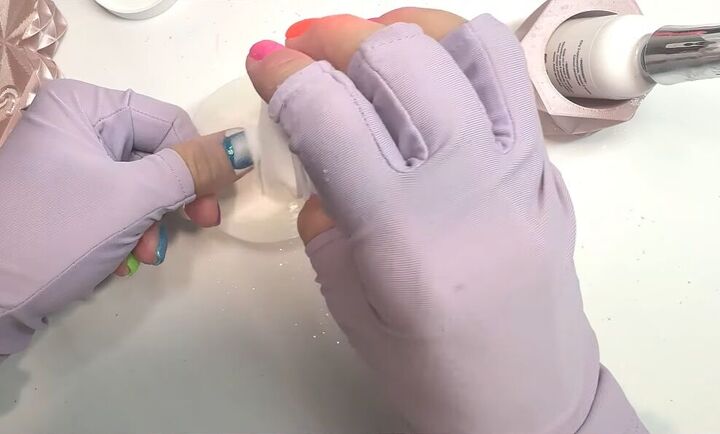
5. Apply base coat
Once you’ve dipped your nails, apply a clear base coat.
6. Apply second layer
Then you can go in with a second layer of dip powder.
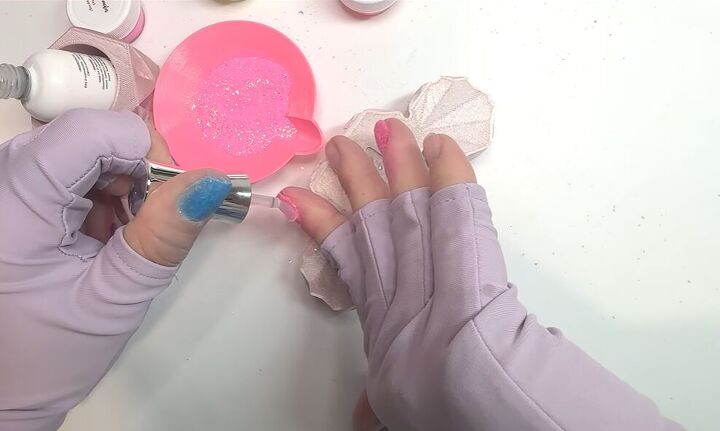
7. Apply clear dip powder
Next, apply clear white dip powder by pouring it over the top of your nails. This will seal the colored dip powder underneath and add a shiny top layer, giving the nails a polished look.

8. Apply top coat
Now apply your clear activator. The clear nail activator is designed to react with the dip powder to harden and cure it. It helps prevent chipping and peeling by creating a more solid and resilient surface.
Once your nails are hardened, you can tap on them to make sure that they make a tapping noise, and that's how you know they're hard enough to file.

9. File nails
Now file, shape, and buff your nails. When my nails are very short, I first focus on correcting their shape.
Short nails can become uneven and thick, so I use a hand file to refine the shape and ensure it's crisp before moving on to buffing.

10. Spray the nails
Once you’ve shaped your nails, spray them with isopropyl alcohol and wipe them off with a lint-free wipe.
This is going to make sure that all the dust and everything is removed before you go to do your top coating.
I also like to push my cuticles back again before applying the top coat.

11. Apply top coat
The final step is to apply the top coat. Be sure to follow the instructions provided with your dip liquids, as top coat application can vary between different products.

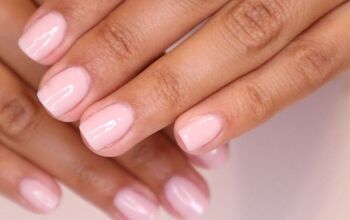
Short natural dip powder nails
Here's the finished look! I love how vibrant and eye-catching the colors are - they're perfect for summer. The shimmery dip powder really stands out.
I hope you found this dipping tutorial for short nails helpful and feel inspired to try it yourself. If you have any questions, just drop them in the comments!
Next, check out This Watercolor Nail Art Design is so Easy to Do.
The author may collect a small share of sales from the links on this page.


Comments
Join the conversation