Cute and Easy Nail Stamp Design Tutorial

I’m going to show you guys how to work with nail stamps and reveal some of my favorite tips and tricks. Before we get to nail stamping ideas we’re going to experiment with some dip powder nail designs. Let’s get started!
Upstyle Recommends!
Tools and materials:
- Builder gel
- Peal base
- Thermal dips
- Nail scrubber
- Orange wood sticks
- Clear dip powder
- Glitter
- Washi tape
- Stamp pad
- Stamp applicator
- Smudge-free topcoat
- Dip topcoat

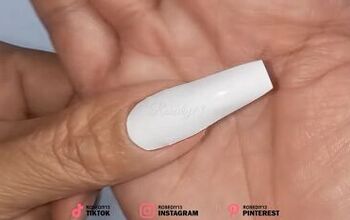
1. Dip mani
Put builder gel down as a base on your regular nail. You can use a peel base on top of that and then do your dip.

I’m using thermal for mine and whenever you’re dipping with a thermal you want to stir up the thermal power really well before applying.
I also find pouring the powder on rather than dipping your nail in helps. Apply thin layers for each layer as well because thermal powder tends to be a bit thick. Scrub off the extra powder between each layer to prevent splotching.
I go around my cuticles between each layer using my orange wood sticks. Then I use clear dip powder for my final layer.

2. Activate
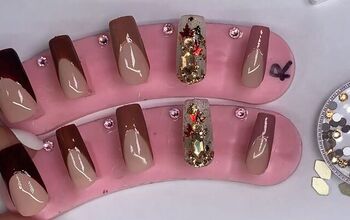
Now it’s time to activate. I activate my solids and shimmers first. Activating the solid and shimmer nails prevents me from getting any glitter, flakes, or foils into those nails. I recommend using a dip cup for foils and glitters.
Another good tip for glitters and foils is to place some washi tape on another finger to press the glitter into the nail. You don’t want to get that glitter on your skin. The washi tape acts as a barrier.
Once you’re done with the glitter, go over with a layer of clear dip powder and activate. To determine whether your nails are ready to be buffed and shaped, tap on them.


4. Stamping
Use a nail art barrier for your skin when stamping.

Then paint on the stamp.

Scrape the excess paint.

Press the stamper onto the stamp pad.

Press your nail into the stamper.

5. Stamp shrinking
Use the stamper on the stamp pad as usual. Then twist up the stamper so that it expands the top of the stamp as much as possible. Untwist it and it shrinks everything up.
After you’re done stamping you can peel off the nail art barrier and try to remove any excess polish.

6. Topcoat
Once your stamps are totally dry, use a layer of smudge-free topcoat and go over the edges too.

Once that smudge-free topcoat is totally dry, you can go over everything with a dip topcoat. Just make sure the smudge-free topcoat is totally dry. I like to give it about 10 minutes.

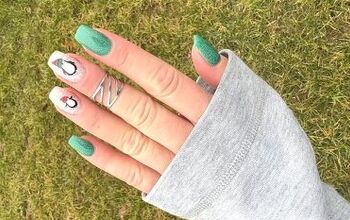
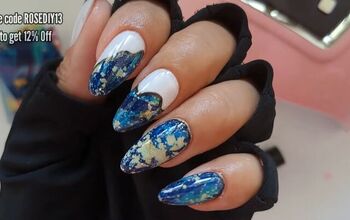
Cute nail stamp design
I love how my purple thermal mermaid-inspired nails came out. I hope I gave you some cute dip powder nail ideas. I just loved the stamped nail designs. Give this look a try and leave me a comment to let me know how it goes.
Next, learn How to DIY Viral Fairycore Nails at Home.
The author may collect a small share of sales from the links on this page.


Comments
Join the conversation