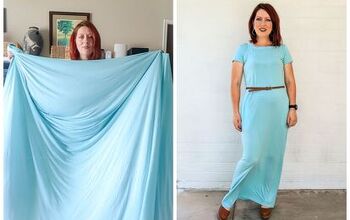
How to Make Overalls From an Old Bed Sheet?!

I’ve had this pair of loose, baggy overalls for years. I wear them all summer long and I’ve never been able to find another pair like them.
Today I thought - why not make a pair myself out of an old bed sheet that I knew I had in my stash?
And that’s exactly what I’m going to do. So follow along and see step by step how to make overalls without a pattern and by upcycling fabric you already have.
Upstyle Recommends!
Tools and materials:
- Single flat bed sheet in cotton or polyester/cotton mix
- Tank top and sweatpants or overalls as templates
- Lace or bias tape trim (optional)
- Fabric marker
- Scissors
- Iron
- Sewing machine

1. Check you have enough fabric
Fold your bed sheet or fabric in half lengthways.
Stand in front of a mirror or co-opt a friend to help.
Check that the fabric is long enough to reach from your shoulders to your feet and wide enough to wrap around you.

2. Choose your template garments
Iron your fabric before you start.
Fold it in half lengthways with the right side inside. Fold it in half lengthways again, so you have four layers.
If you don’t already have a pair of overalls to work from, you can get the basic shape you need by combining other garments.

Here I’ve arranged a tank top and a pair of sweatpants into roughly the same outline as a set of overalls.
I folded them both in half lengthways and lined up the side and lower edges.
Because I want my overalls baggy, I’ve left a wide space between the center front of the tank top and the centerfold of the fabric.
Adjust this space to get the general fit that you want.

As I do have a pair of overalls I love, I’m using those as my template.
Again, I’ve folded them in half lengthways and lined them up with the folded fabric, as I want my new pair to have the same fit as these.
I’m going to use the already hemmed lower edge of the sheet as the hem of my overalls, to make this as easy as possible.
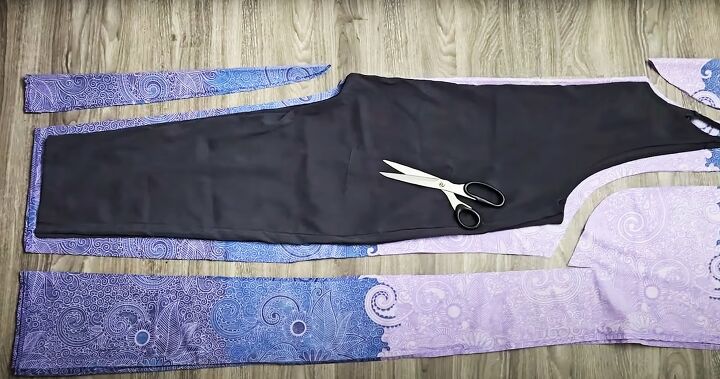
Depending on how confident you are, you can draw the outline of your new overalls first, or just freehand cut around your template garment.
Whichever way you do it, make sure to leave plenty of fabric around the outside edges of your new overalls. It’s much easier to trim off any surplus than try to make a too small garment larger.
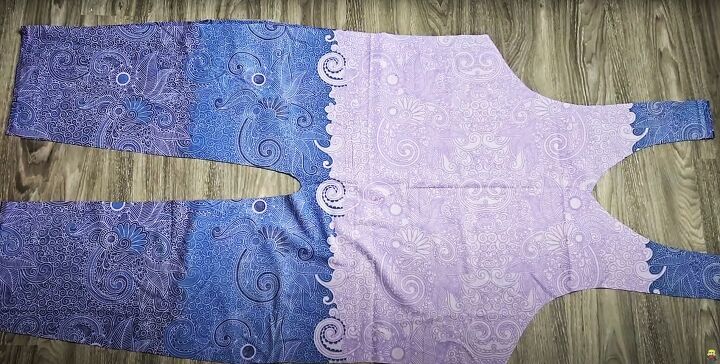
3. Assemble the overalls
Open out the fabric into two layers.
You can pin, tack or sew the two layers together before trying them on.
Because I was working from overalls that I knew already fitted me, I sewed the side seams, shoulders and inner leg seams.

4. First try on
Put the overalls on with the wrong side out, so they’re easier to adjust.
In general I’m really happy with the fit, but they do need taking in at the sides around my hips. They look a bit like clown pants at the moment!

I’m going to take in a tapered seam about 8 inches (20 cm) long from the outer edge of each leg and then check the fit again.

5. Second try on
Try them on again with the right side out this time.
I’m happy with these, so I’m going on to the next step.
If you need to make any more size or fit adjustments, make them now.

6. Raw edges
There are a few ways you can finish the raw edges.

You can turn in a simple narrow double hem around the armholes and neck and sew it with a straight stitch.

I found some purple lace edging in my stash and I’m considering using it to either bind the raw edge or add it as a trim afterwards.
You could also use bias tape binding to finish off the edges.

In the end I decided on a simple double hem with no trim.

7. Belt
For a simple tie belt I cut a strip of fabric from the bed sheet, folded it in half lengthways with the right side inside and sewed and long edges and one short edge together.
Then I turned it right side out, pressed it and finished the other short edge.

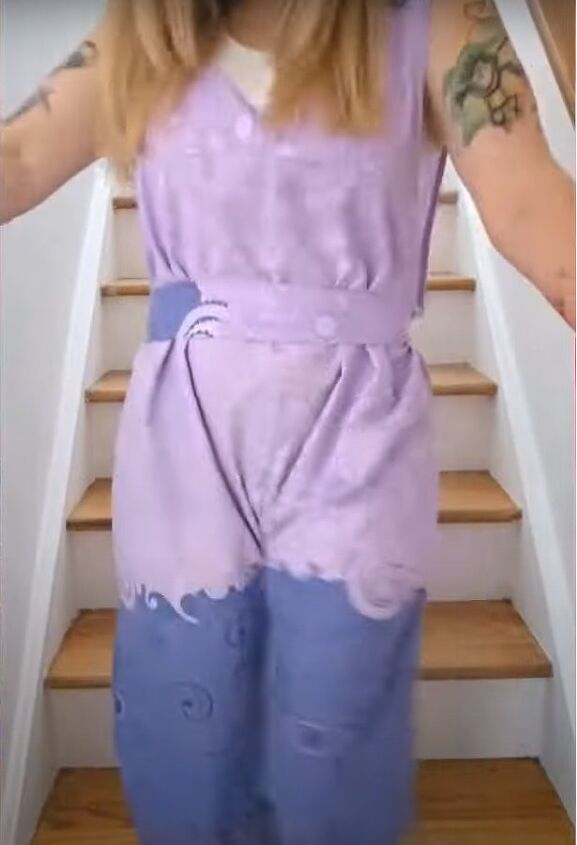
DIY overalls
My DIY overalls turned out just as I wanted them. They’re going to be beachwear, so I can put them on over my swimsuit on the way to and from the beach and they’ll be easy to get on and off.
I love to come up with simple upcycle ideas like this. As long as I end up with something wearable at the end, I’m going to make it as quick and easy as I can.
If you’ve enjoyed this, please let me know in the comments.
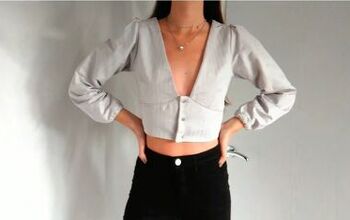
Next, learn How to DIY a Cute Vintage Upcycled Bag.
The author may collect a small share of sales from the links on this page.


Comments
Join the conversation