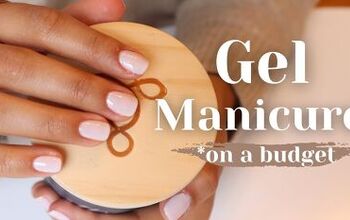
How to Do a Glam Gel Manicure at Home

In this tutorial, I’m going to show you how to do a gel manicure at home.
If you’re looking for perfect nails but don’t want to spend the money going to a salon, you’ve come to the right place. Let’s get started!
Upstyle Recommends!
Tools and materials:
- Nail file
- Crystal file
- Buffing cube
- UV protective glove
- UV lamp
- Cuticle pusher
- Nail dehydrator
- Base coat
- Nail polish
- Top coat
- Isopropyl alcohol
- Cotton pad
- Cuticle oil

1. File your nails
Grab a nail file and file your nails in one direction. This can be tricky to do, but it is very important so that you don't peel or split the nails.
Round out the top of the nails to take a bit of the length off.
I recommend using a nail file that has a finer and a grittier side so that you have the option of which one to use.

2. Smooth nails out
Once all your nails are reshaped, go in with a crystal file to smooth them out.
With this file, you don’t need to be afraid of using the back-and-forth motion as this file is much more gentle.

3. Clean up
Next, go underneath each nail and pick out any dust or filings so they don’t get stuck in the polish.

4. Prep the nail bed
Use the nail file to lightly buff the perimeter of your nail around the cuticle area and up the sides.
Then, take a buffing cube and lightly go over each finger. Once done, rinse your nails off.

5. Put on UV protective gloves
Pop on some UV protective gloves, as these will help to protect your hands when they’re under the UV lamp.

6. Push back cuticle
Gently push your cuticle back.

7. Apply nail dehydrator
Now apply a nail dehydrator, which will remove any oils and dust from the nail plate, and get it ready for your first coat of polish.

8. Apply base coat
Apply a nice base coat on each fingernail and try to cap the edges.
You don't want to use too much polish for this step because we are going to be doing two coats of color and a top coat as well.
Remove any polish that you may have got around your nails, and then put them under the UV light.

9. Apply first coat
Now, it’s time to apply the first coat of polish. I’m going with a light milky pink color.
You want enough polish that the nail is going to be covered, but you don't want too much that it's going to be gooey and thick.
Cure the first coat once done.

10. Apply second coat
Proceed to add the second coat for more color saturation, and then pop your nails back under the lamp.

11. Apply top coat
Next, apply a clear, glossy top coat.
Make sure to cap the edges of your nails and then cure the final coat.

12. Spray with alcohol
Spray your nails with isopropyl alcohol and then rub them down with a cotton round. This will cleanse the nails.

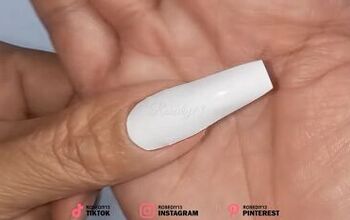
13. File nails
Take your crystal file and lightly file the edges if you feel anything sticking or poking out.

14. Apply cuticle oil
The final touch is to apply some cuticle oil to each finger and gently rub it in.

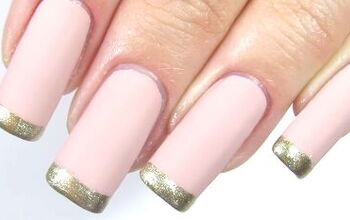
How to do gel manicure at home
And this is how I do my nails at home, I hope you enjoyed following along!
I’m so happy with how these nails turned out. They also hold up so well that even a week after you’ve done the manicure, it will still be in perfect condition.
Give them a go, and let me know what you think!
The author may collect a small share of sales from the links on this page.


Comments
Join the conversation