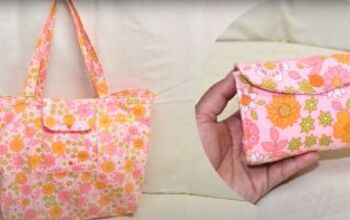
Quick and Easy Shoulder Bag Pattern Tutorial

This cute pouch purse is quick and easy to make in light to medium weight cotton fabric. I’ve made it as a handbag, but you can make a shoulder bag pattern simply by lengthening the webbing strap.
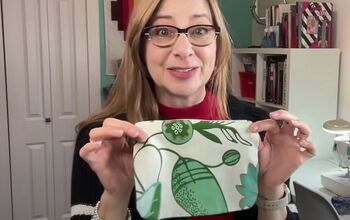
Have fun learning how to sew a handbag!
Tools and materials:
- Cotton outer fabric
- Cotton lining fabric
- 1 inch (2.5 cm) wide webbing strap
- 2 plastic snap buttons
- Fabric marker
- Ruler
- Pins or fabric clips
- Scissors
- Iron
- Safety pin or kirby grip
- Sewing machine

1. Prepare the fabric
Cut a 21 1/4” (54 cm) square from both the outer fabric and the lining.
Trim the webbing strap to 34 1/2” (88 cm) long for the handheld version of the bag.
Cut two bias strips of the outer fabric, 12 inches (30 cm) long by 1 3/4” (4.5 cm) wide.

2. Make the pleated section
Place the outer fabric and lining squares together with the right sides facing.
Sew two parallel sides, taking a half inch (1 cm) seam allowance.
Turn the bag right side out and press.

Find the center of one of the open edges.
Starting from the center, mark the points for the pleats. Make the first mark 3/4” (2 cm) from the center. Measure 1 1/2” (4 cm) between the first and second points and 3/4” (2 cm) between the second and third points.
Repeat the sequence until you have six points in total on one side of the center.

Copy the marks to the other side of the center, so you have twelve points in total.

Starting on the right edge, fold the second mark to meet the first and pin in place.
Fold the fourth mark to the third and the first mark to the second, so you have three pleats on the right side.

Continue the pleat sequence on the left side in the opposite direction, folding the mark nearest the center to the one next to it.

Repeat all the steps on the other open edge.
Sew the pleats in place at both ends.

3. Bind the edges
With the right sides facing, place the bias strips over the pleated edges.
Fold the short ends underneath the bag and align the long raw edges. Sew in place, taking a half in (1 cm) seam allowance.

Flip the fabric over and double fold the strips over the raw edges.

Top stitch on the right side.

4. Webbing straps
Turn under the long edges by 1 1/4” (3 cm) and sew in place.

Use a safety pin or kirby grip to thread the webbing strap through one of the channels.
Take it up the side of the pleats and feed it back through the other channel in the reverse direction.
Make sure the webbing stays flat.

Overlap the ends of the webbing and sew them together.
Feed the seam back into one of the channels to hide it.

Pull the webbing through the channels, gathering the side edges of the bag, until the free section of the strap is the same length at both ends.

Sew the strap to the ends of the channels.

5. Finishing
Attach a snap button to the center of the top edge of the bag on each side, just below the binding.

DIY shoulder bag
Although this DIY bag is unstructured, it’s large enough to be useful.
It makes a pretty addition to a summer outfit and it would be easy to make several of them to match your dresses or tops.
You could also make a macrame strap for a different look that’s very on trend this year.
Please let me know in the comments below how you get on making this handbag and shoulder bag pattern.
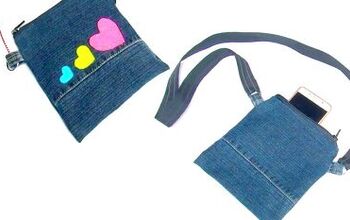
Next, learn How to DIY a Cute and Fun Crossbody Bag.
The author may collect a small share of sales from the links on this page.


Comments
Join the conversation