Easy Halloween Blood Hand Nails Tutorial

Hi everyone. Today, I’m going to show you how to create Halloween blood nails for the upcoming spooky season!
This nail DIY is super simple so let’s jump into it.
Tools and materials:
- White nail polish
- Red nail polish
- Black nail polish
- Dotting tool
- Fine line brush

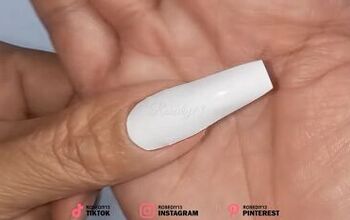
1. Start off with a white base
Paint your nails with a white polish.
2. Draw the blood hand print
With a dotting tool and red nail polish, add five dots to your nails, spaced out as fingertips are.

Then pull the dots downward to create five lines. These are the fingers.
Connect the bottom of the two outer fingers together, then draw another connecting line above this to complete the outline of the palm.
Fill the palm in.

Add dots to below the three central fingers.

3. Emphasize the hand
Take a black polish and a fine line brush. Emphasize the curve of the palm and add a straight line to each finger.

Halloween blood nails
And you’re done! You now have a cool Halloween blood nail design ready for the spooky season.
Will you give this design a go? Let me know in the comments down below.
The author may collect a small share of sales from the links on this page.


Comments
Join the conversation