Glamorous Gold Grid Nail Design Tutorial

Hi everyone! Today, I’m going to show you how to create a glamorous grid nail design using gel art liners. Let’s get started!
Upstyle Recommends!
Tools and materials:
- White base coat
- Black gel art liner
- Gold gel art liner
- Topcoat
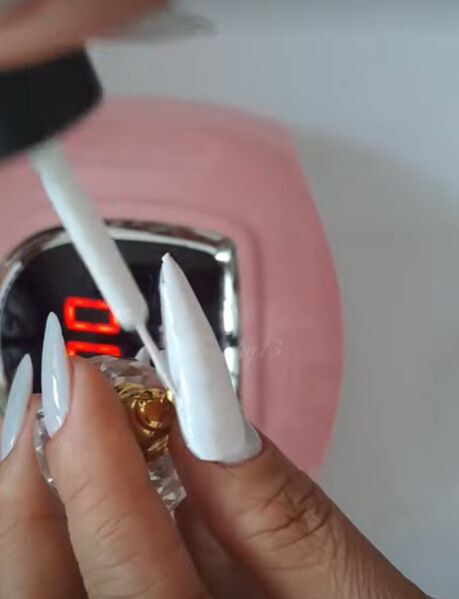
1. Apply a base coat
I started out by applying a white base coat to the nail.
I’m demonstrating this nail design on an acrylic nail, but you can go ahead and do this directly onto your natural nails if you’d prefer!

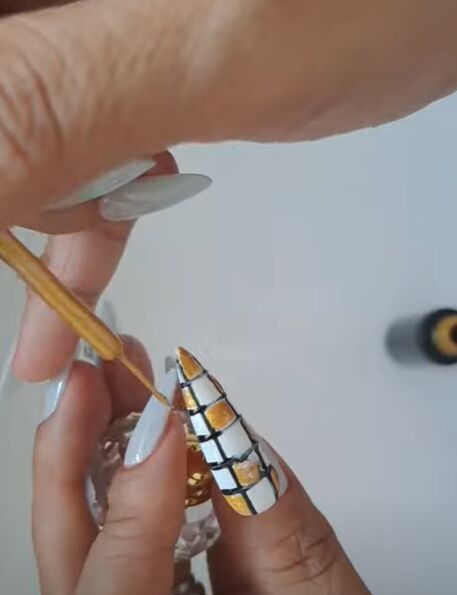
2. Paint on your grid
Using a black gel art liner, paint two vertical lines up the nail.

Then, paint five lines across (you may need fewer or more depending on the length and width of your nails).
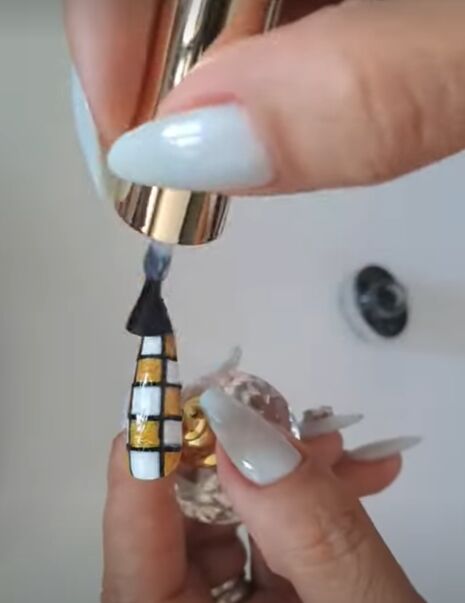
3. Fill the boxes in gold
Next, fill a few of the boxes in using a gold gel art liner.
You can follow the pattern I created, or get experiential and create your own!
4. Apply a topcoat
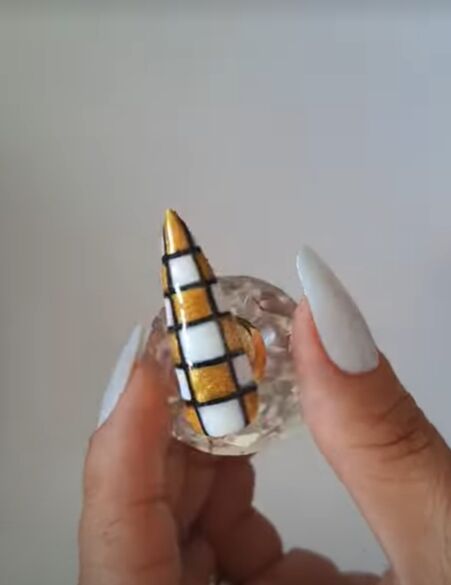
Grid nail design
And you’re done! How cute is this simple grid nail design? I’m completely obsessed.
Will you give this look a go? Let me know in the comments down below. I love to hear from you all.
Next up, check out this Awesome Hack: How to DIY Nail Extensions Using Tissue and Baby Powder.
The author may collect a small share of sales from the links on this page.


Comments
Join the conversation