White Flower Nail Art: How to Do Gel Nail Extensions Easily at Home

In this tutorial, I’ll guide you through the process of creating beautiful gel nail extensions at home using false nail tips and gel. This method is perfect for achieving a professional look without a salon visit.
Whether you're looking for simple white flower nail designs or just want to explore nail extensions at home, you’re in the right place. Let’s get started!
Tools and materials:
- False nail tips
- Nail extension gel
- Base gel
- Top coat
- UV/LED lamp
- Nail art pen
- Slip solution
- Nail file
- Clean pads
- Tweezers (for placing charms)

1. File nails
Lightly file the surface of your natural nails to help the gel adhere better.

2. Clean nails
Rub with a clean pad or wipe to remove any dust or debris.

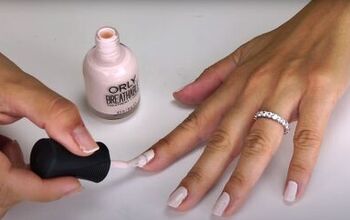
3. Apply base gel
Apply a thin layer of base gel to each nail.

4. Cure base gel
Cure the nails under a UV/LED lamp according to the instructions.

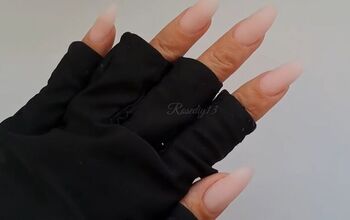
5. Choose false tips
Select a suitable size and shape false nail tip.

6. Apply gel
Spread nail extension gel on the nail mold with a nail art pen and slip solution.

7. Stick on tips
Press the nail mold onto your natural nail, ensuring full adhesion. Then, proceed to do this on all of your other nails. Once done, cure the applied nail extensions under the UV/LED lamp.

8. Remove tips
Carefully remove the false nail tips once cured.

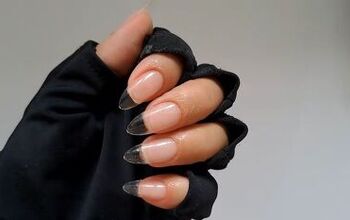
9. Shape nails
Trim, buff, and shape the nails to your desired length and shape.

10. Add glue for rhinestones
Use super crystal extension gel as glue for rhinestones; apply with a thin brush.

11. Add rhinestones
Place your chosen nail rhinestones and/or charms onto the gel. Once done, cure the nails under the UV/LED lamp to secure the nail art.

12. Apply top coat
Apply a top coat to seal your design and add shine. Finish off by curing the top coat under the lamp for 60 seconds.

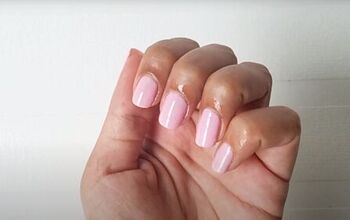
DIY white flower nail extensions
And there you have it! You’ve created stunning gel nail extensions using false tips and gel.
This method not only enhances your nails but also allows for creative designs, including beautiful simple white flower nail designs.
Enjoy your gorgeous new nails, and feel free to share your results as you explore more at-home gel nail extensions!
Next, Create This STUNNING Fairy-Butterfly Nail Design in 10 Minutes.
The author may collect a small share of sales from the links on this page.


Comments
Join the conversation