DIY Jersey Dress: How to Make a Simple Jersey Dress With Pockets

Sometimes you just need a simple jersey dress. This DIY jersey dress is so easy to make and easy to wear.
Perfect for the summer by itself, or you could even wear it over a long-sleeved t-shirt and jeans in colder weather.
Here’s how to make and sew a jersey dress simple enough for beginners!
Tools and materials
- 1 yard or more jersey fabric
- Your own well-fitting t-shirt
- Tailor’s chalk
- Scissors
- Clips/pins
- Measuring tape
- Curved ruler
- ½-inch-wide elastic
- Paper
- Iron
- Sewing machine

1. Make the pattern
Lay the jersey fabric down. Fold it in half so the wrong side is facing up. Fold your t-shirt in half so both sleeves are lying on top of each other. Place the t-shirt close to the top of the fabric.
Trace the outline and as you pass the waist, make sure the bottom is wider than your hips. Make it to whatever length you like.
Add a ¼-inch seam allowance all over.
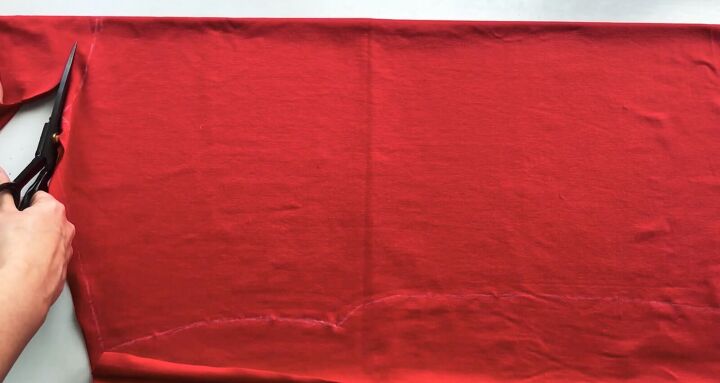
Cut the fabric. Cut the front neckline lower than the back.
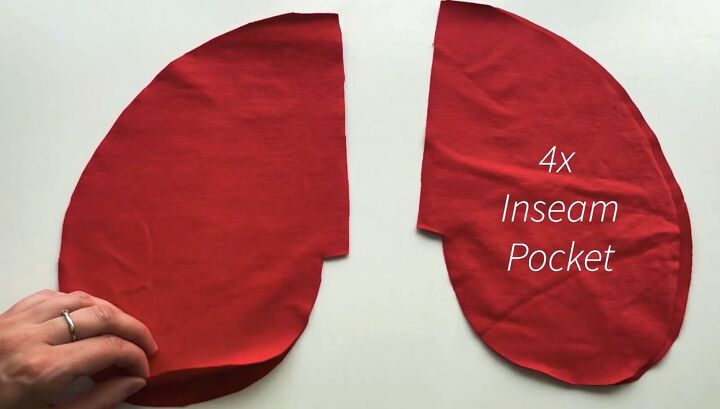
Cut 4 inseam pockets that fit your hand. Round the edges.

Cut a small front pocket.
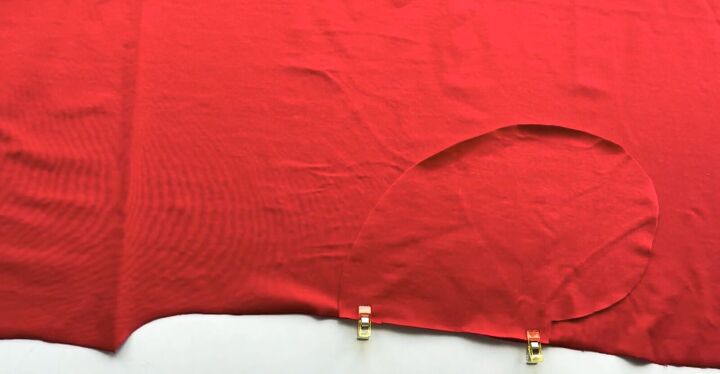
2. Add the pockets
Mark the pocket placement on the side seams below the waist. Clip and sew the pockets to each of the side seams with a ¼-inch seam allowance.

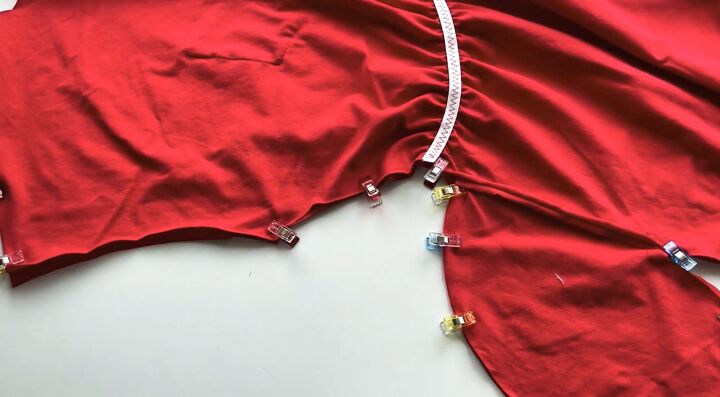
3. Elasticize the dress
Mark the waistline for the elastic: straight across at the back, and slightly curved in the front. Have the curve looking down towards the hem of the dress.
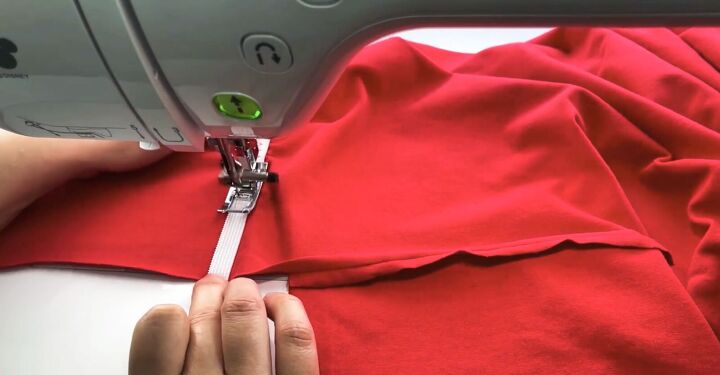
Cut the elastic to fit your waistline.
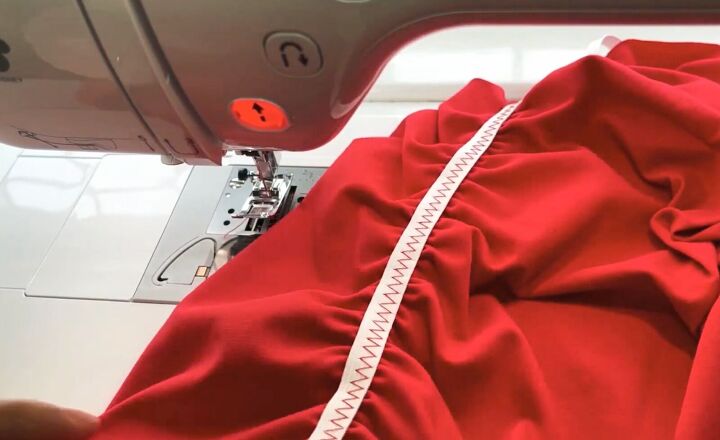
Sew the elastic to the wrong side of the fabric stretching the elastic whilst sewing.
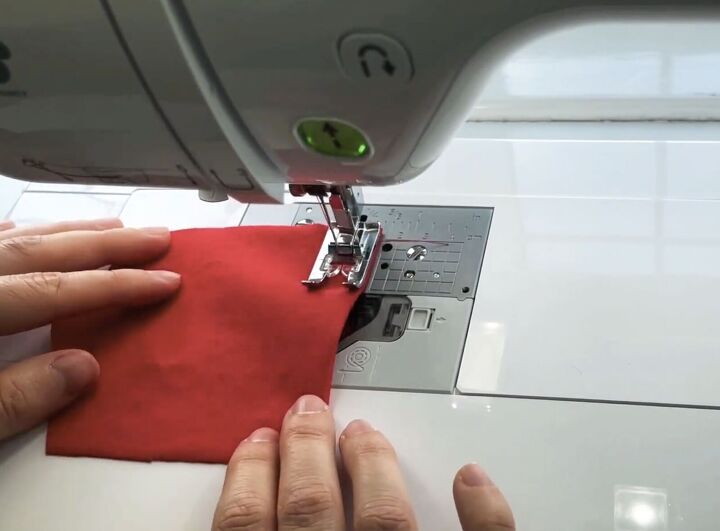
4. Add the front pocket
Fold the front pocket at the top towards the wrong side of the fabric. Topstitch the fold. If your sewing machine has decorative stitches, this is the time to use it!
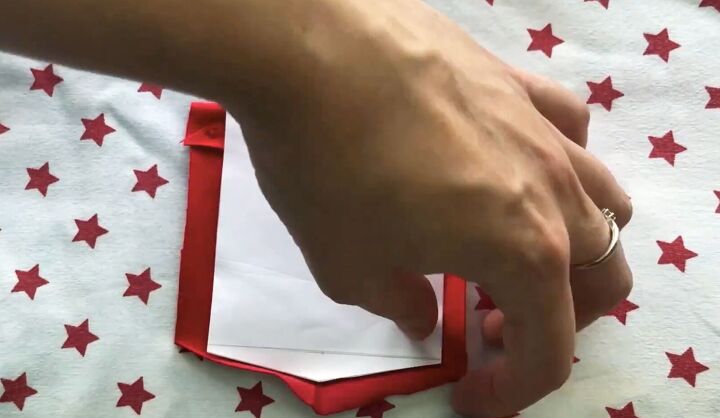
Cut a piece of paper a bit smaller than the front pocket mirroring the outline of the pocket.
Place the paper on the wrong side. Fold the pocket fabric around the paper and iron in place to create a clean, professional edge.
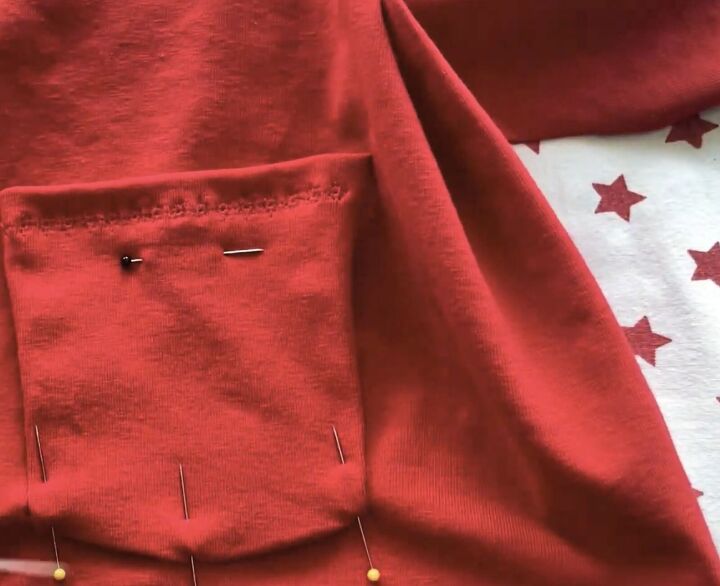
Place the front pocket on the right side of the front of the dress. Pin place. Sew on 3 sides, leaving the top open.
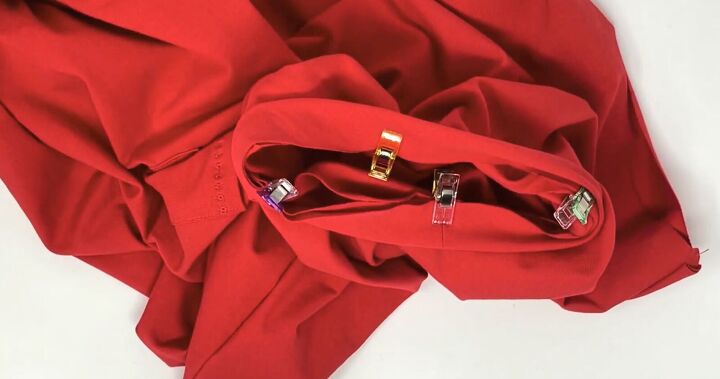
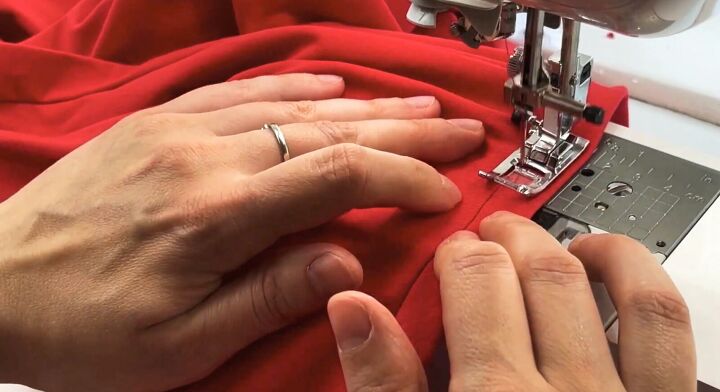
5. Sew your jersey dress
Place the front and back right sides together. Clip or pin in place. Sew the shoulders and side seams.
Sew the open pockets closed (you’ve already attached them previously). Backstitch over the pocket attachments when you reach that part when sewing the side seams.

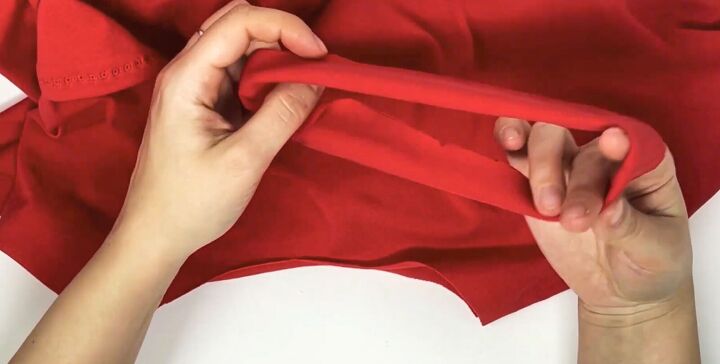
6. Create the neck binding
Measure the neckline on the dress. Whatever the measurement is, multiply it by 0.95 or 0.85 if the fabric is very stretchy to get the correct measurement for the neck binding.

Cut a 2½-inch-wide piece of fabric on the bias with the length matching this measurement. Fold the fabric to sew into a loop, with the right sides together inside.
Once the loop is sewn, fold into quarters to mark the notches. Snip at the front and back center and the two side seams.
Mark these notches on the neckline as well.
Fold the neck binding so the seam is inside and the right side is facing out. Slip the dress neckline into the neck binding.
Pin the seamed area to the center back, with the unsewn edges facing upward. Match the notches all around the neckline to the neck binding.
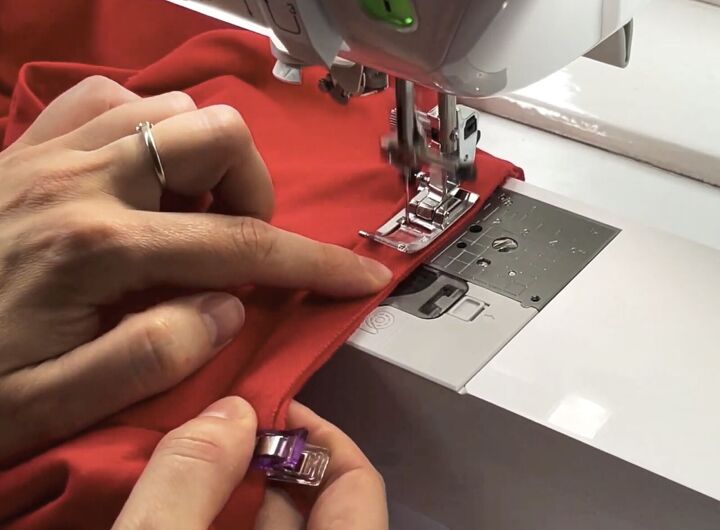
Sew the neck binding to the neckline, stretching the bias only and not the dress. Be careful not to stretch the bias too much to avoid getting wrinkles in the dress.
Once the neck binding is sewn, flip the dress to “stitch the ditch” or topstitch the neckline.
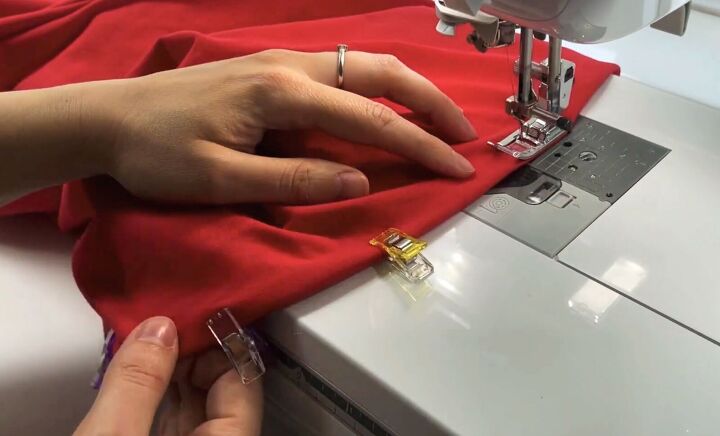
7. Hem
Fold the hem to the wrong side, clip or pin in place, and sew.

DIY jersey dress tutorial
Congratulations! You made a DIY jersey dress using this jersey dress tutorial! I hope you enjoyed learning how to make a jersey dress using this simple, easy method.
Please let me know in the comments if you made it.
The author may collect a small share of sales from the links on this page.


Comments
Join the conversation