How to Achieve a Fabulous Barbie Pedicure at Home

Hi everyone! Today we're tackling a bit of a foot situation. My feet need a serious makeover before I can rock that Barbie movie look. Follow along with my Barbie edition DIY pedicure.
Tools and materials:
- E-file
- Tiny sanding bit
- Detail drill bit
- Acetone or nail polish remover
- Rubbing alcohol
- Foot peel mask
- Cuticle pusher
- Nail clippers
- Nail file
- Buffing block
- Acrylic powder and monomer (optional for nail extensions)
- LED light (for curing)
- Base coat (optional)
- Barbie pink nail polish
- Top coat
- Rhinestones
1. Removing dry skin
Instead of traditional methods like pumice stones or graters, I'll be using an e-file to gently remove dry skin from the soles of my feet. This ensures a smoother finish without the harshness.

2. Prepping the nails
Next, it's time to remove any existing nail color. I do this by using a tiny sanding bit to remove shellac or stubborn polish.

3. Cleaning and detailing
Once the color is off, I clean the nails thoroughly and use a detail drill bit to remove dead skin around the cuticles. This step ensures a clean canvas for the polish and prevents any lifting.

5. Removing jagged edges
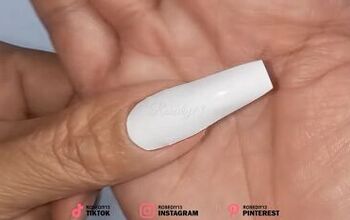
Now it’s time to tidy up any jagged edges on the nails. I go in with a pair of nail clippers to neaten those up. I’m also going to go in and add a slight extension to one of my toenails that I badly banged so it’s especially important that I get my nails nice and neat before this step.
6. Foot peeling treatment
A week before applying polish, I like to use a foot peel to exfoliate and hydrate my feet deeply. This step involves using a chemical peel sock to remove dead skin gradually over a few days.


7. Cuticle care
After the foot peel, I gently push back the cuticles and trim them if necessary. This step is crucial for a polished and professional finish for our Barbie pedicure. So don’t skip it!

8. Preparing the nail surface
To ensure the polish adheres well, I dehydrate the nails and lightly buff the nail plate. This step will help your Barbie pedicure to last much longer — and who doesn’t want that?

9. Applying nail color
I skip the base coat and go straight for the color. Each coat is cured using an LED light to ensure durability and quick drying.

10. Adding sparkle
To make this Barbie pink pedicure extra special, I’m using the top coat as glue to affix rhinestones in a chic design. This step adds sparkle and really enhances the overall look of this Barbie pink pedicure.

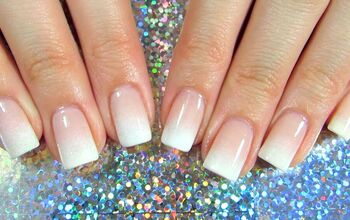
DIY Barbie pedicure
And there you have it — a Barbie pink pedicure achieved right at home!

I hope you enjoyed this tutorial. If you did, please leave a comment down below!
The author may collect a small share of sales from the links on this page.


Comments
Join the conversation