Easy Ribbon Tutorial (with a Pearl Included) 🎀
Hey guys! Welcome to this ribbon tutorial. I am going to show you how to take a simple ribbon and use it to easily create a gorgeous hair clip.
Tools and materials:
- Ribbon
- Elastic thread
- Pearl bead
- Bobby pin
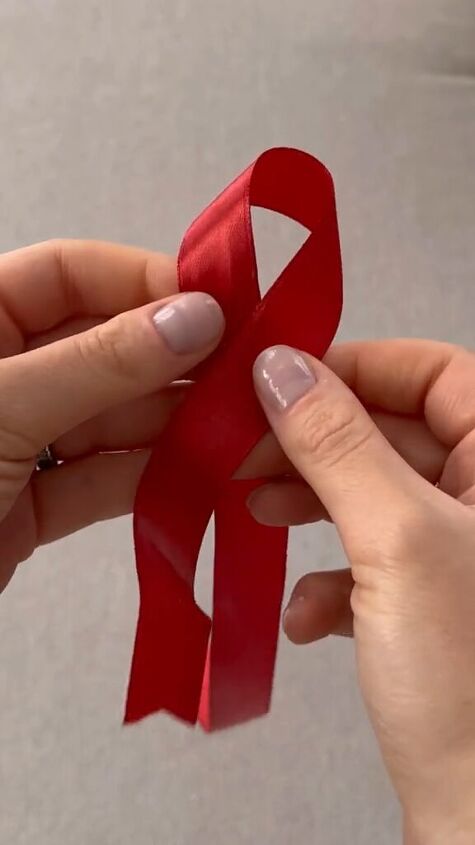
1. Create the first bow loop
Find the center of the ribbon and fold it in half. Put one side over the other creating a small loop at the top.
Take one side and cross it over the other in front and take it around back.
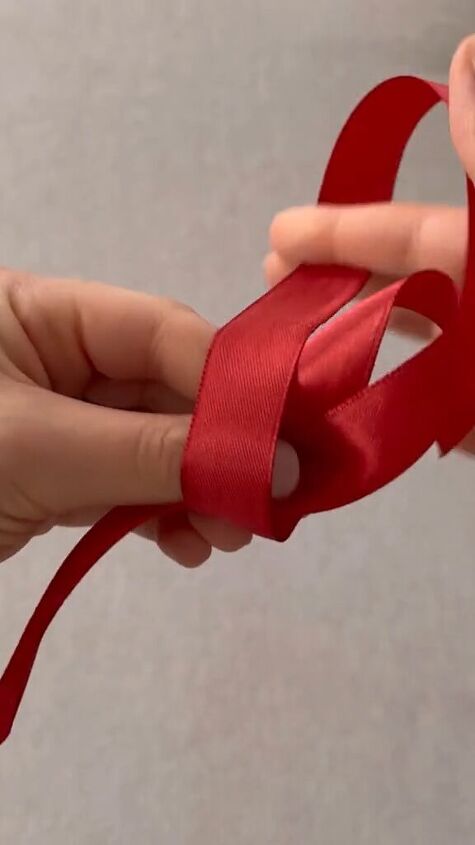
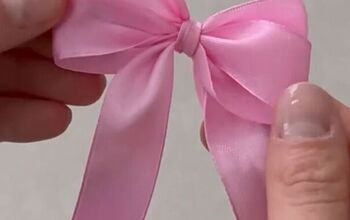
2. Create the second bow loop
Then fold it in and half before sliding it through the crossover you created in front.
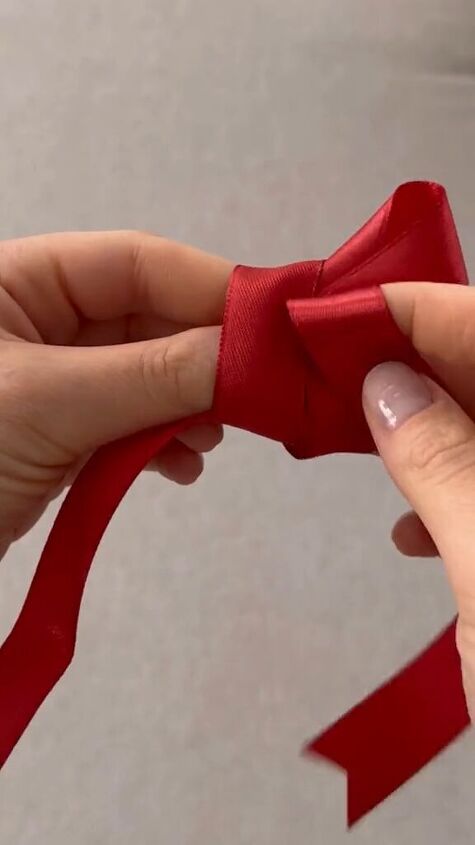
Pull it through and tug at both loops to tighten.

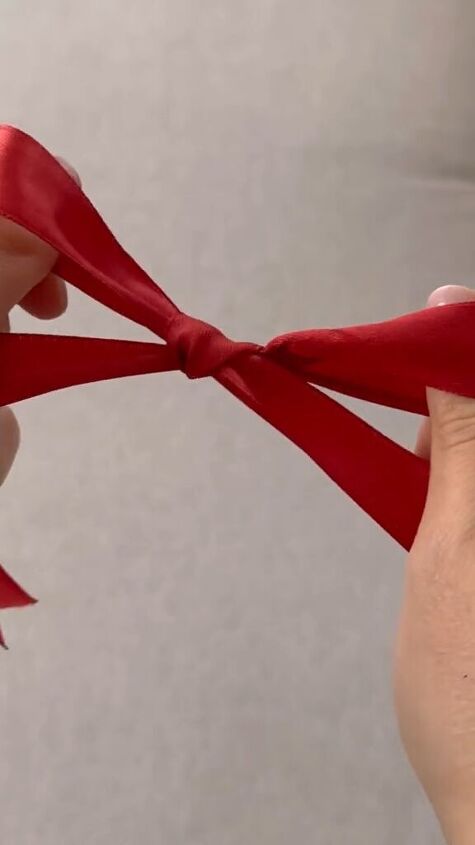
Pull the ends and the loops so they are all evenly distributed.

3. Add embellishments and bobby pin
Take some nylon thread, fold it in half to double it, and slide it through a pearl bead.

Pull the loop of the folded thread over the bead to secure it to the thread.


This will also create a little loop of thread to the bead so you can easily secure it to the knot at the center of the bow.
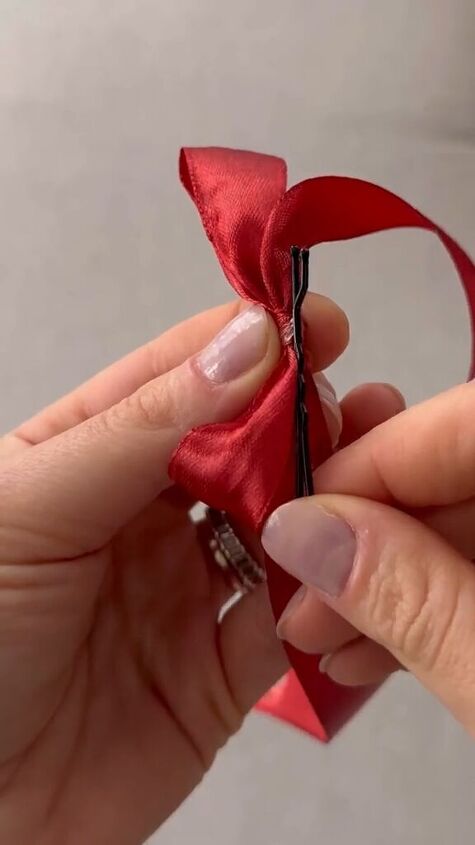
Slide a bobby pin through the nylon string at the back of the bow.


Ribbon tutorial for a DIY pearl ribbon bow
You’ve just made an adorable hair clip. I love how easy this is. Play with different color ribbons and different style beads to make it your own.
Leave me a comment to let me know what you think.
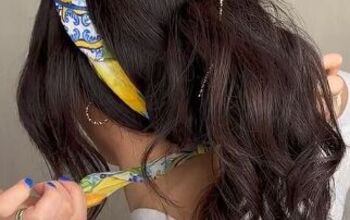
Next up, Start With a Bubble Braid to Get This Waterfall Look.
Follow me on Instagram: @ayseacun
Follow me on TikTok: @ayseacun
Check out my YouTube channel: Ayse Acun
The author may collect a small share of sales from the links on this page.


Comments
Join the conversation