Easy Sewing Tutorial: How to Add Belt Loops to Pants

If you need to add a belt to your shorts or pants to stop them falling down, it’s useful to know how to add belt loops for trousers.
My customer’s issue was that the draw cord wasn’t keeping his pants up, so I suggested this solution.
I didn’t have exactly the same fabric, so I used a strip of cotton drill for one pair and an upholstery fabric for the other.
Tools and materials:
- Heavyweight scrap fabric in matching or contrasting shade
- Narrow double-sided tape (optional)
- Fabric clips or pins
- Scissors
- Ruler
- Fabric marker
- Sewing machine
- Needle size 18 (110)
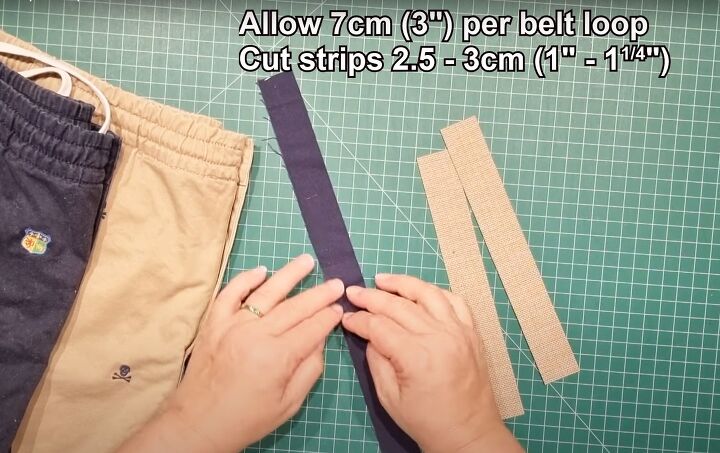
1. Cut the fabric strips
Allow 2.5 inches (7 cm) length of fabric per belt loop and you’ll need five or six of them.
Cut your strips 1 inch to 1.25 inches (2.5 to 3 cm) wide.
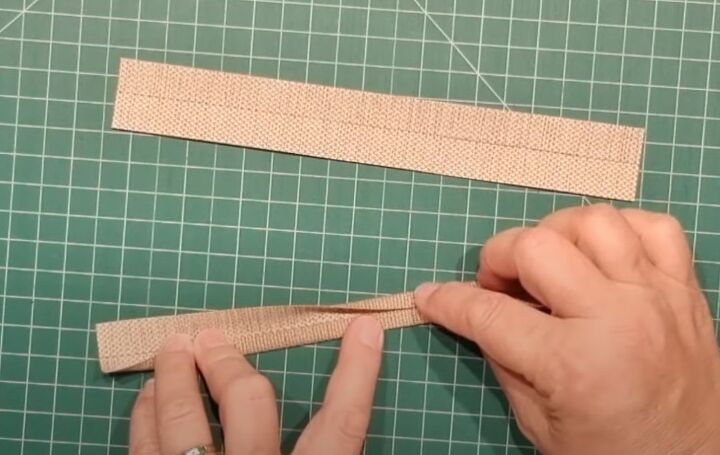
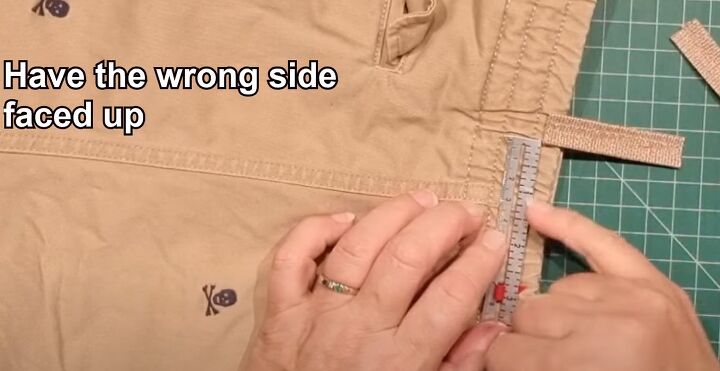
2. Fold the strips
Draw a line down the center of the fabric strip on the wrong side, to make it easier to see what you’re doing.
We’re going to fold the long edges into the center line, with the wrong side inside.
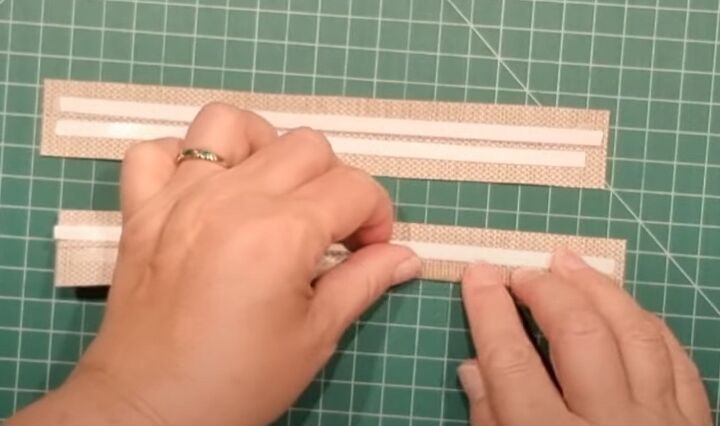
With a firm fabric like this, I like to use double-sided tape to hold the edges in place before sewing.
You can of course use pins or fabric clips instead.
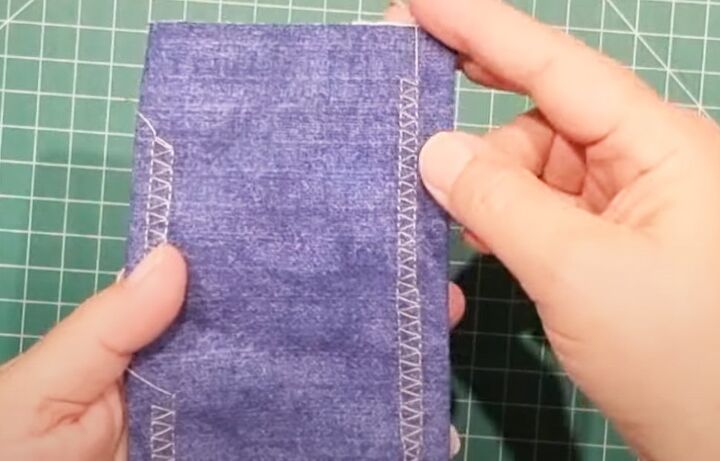
3. Secure the folds
Garment manufacturers use a cover stitch machine to sew a line of stitches down each side and oversew the raw edges on the wrong side at the same time.
However, I’m going to use a regular sewing machine for this. You want a stitch that gives a line of stitches on either side and a zigzag stitch in the center.
I tried out several different tensions on scrap fabric first.
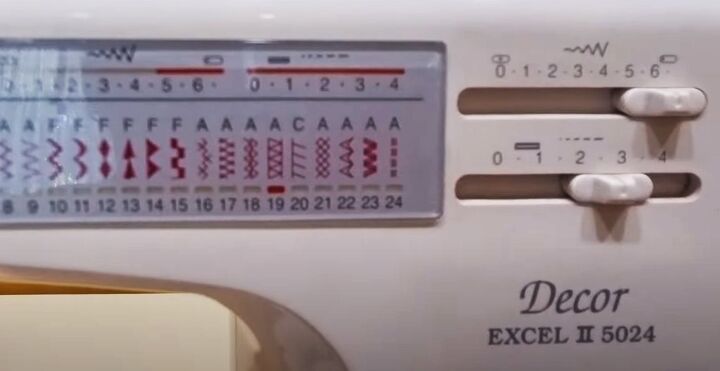
The stitch I’m using is #19 on my machine. I set it to the largest width possible and a length of just under 3.
You should have a similar stitch on your machine and I do suggest that you try out different lengths and widths on scrap fabric first.
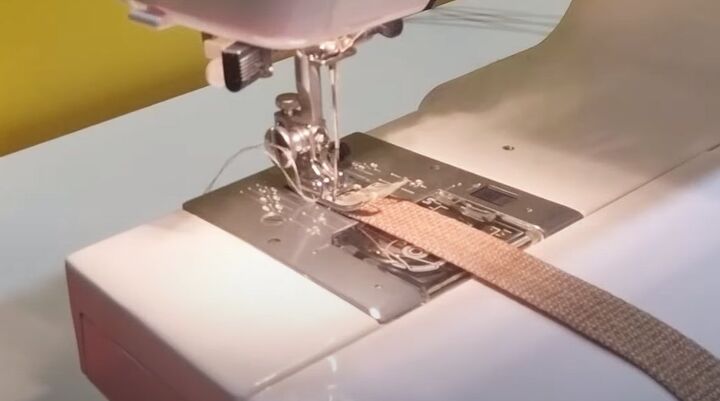
Position the strip centrally under the presser foot, with the right side uppermost.
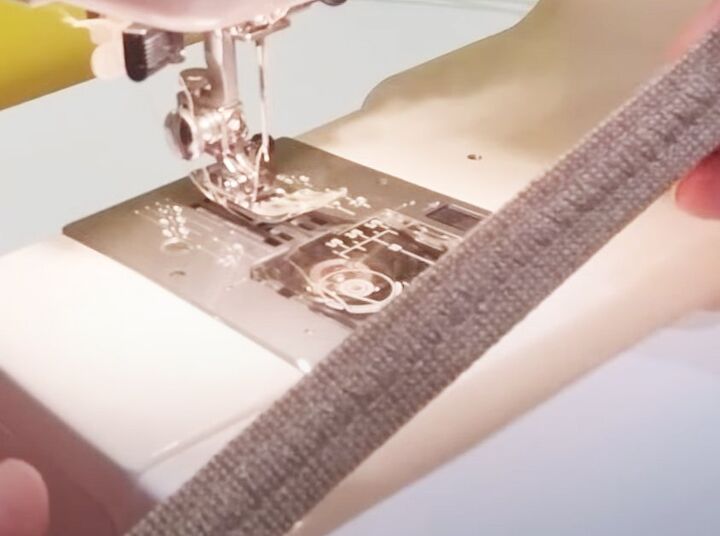
If you use matching thread, the stitches will be almost invisible.
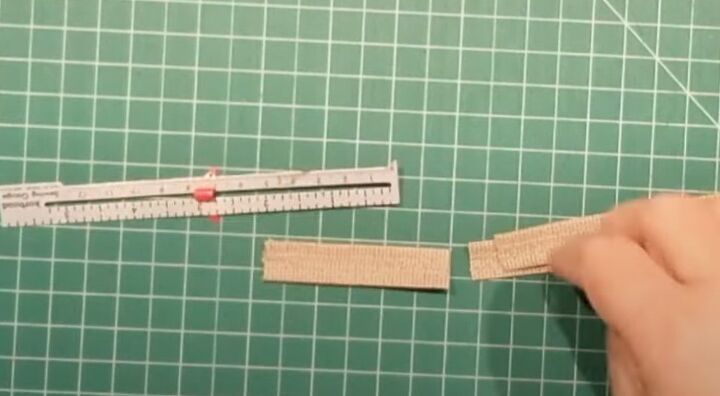
4. Cut the strips to length
Cut the first strip to 2.5 inches (7 cm) then use that as a template to cut the rest.
I decided to use all six strips on the shorts.
5. Arrange the belt loops
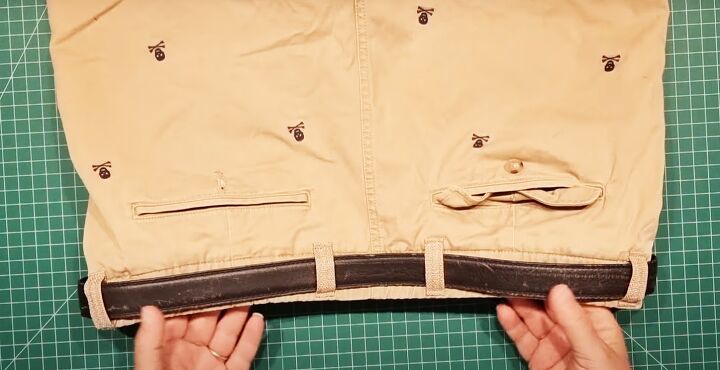
The center back usually pulls the most, so pin two loops in place an equal distance either side of the center back seam, with the wrong side uppermost.
I found about 1.25 to 1.5 inches (3 to 4 cm) from the center was about the right position.
Place them about half an inch (1 cm) down from the top edge.
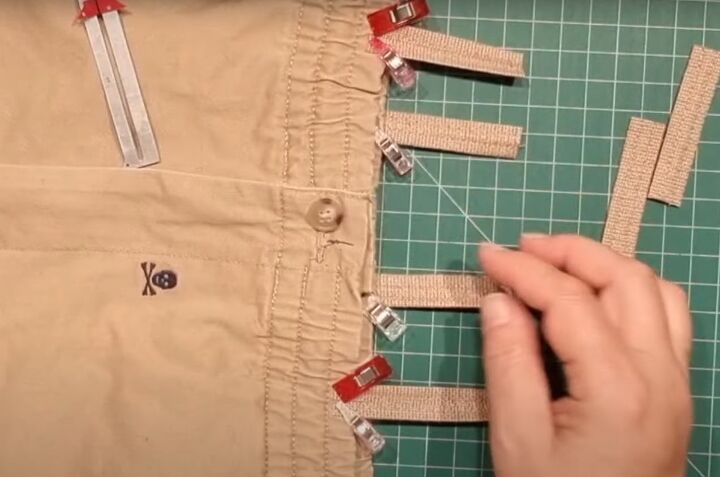
Pin two more loops equally either side of the center front, a bit further apart.
For the last two belt loops, I matched the back and front loops on each side and put a loop centrally between them.
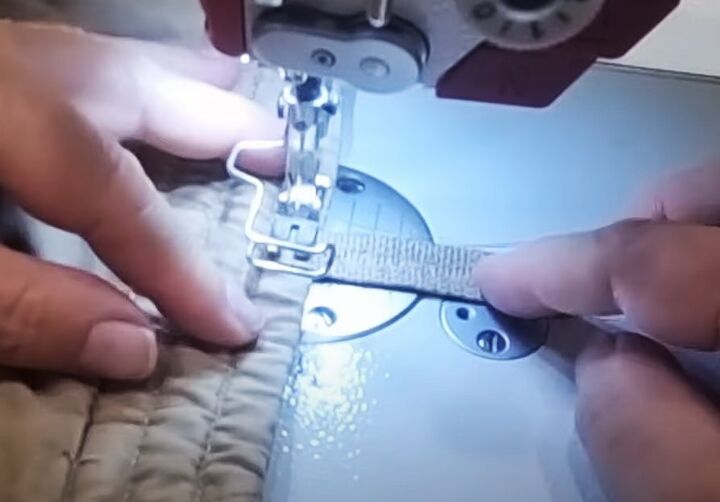
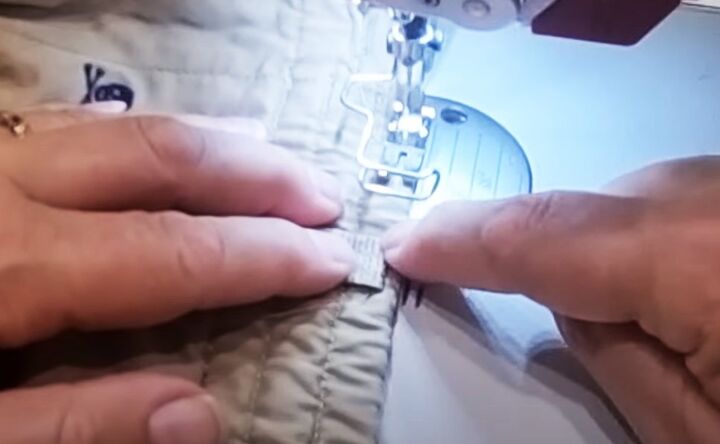
6. Sew the tabs in place
Sew the tabs close to the top edge of the shorts, making sure not to sew through the draw cord or elastic.
Use a straight stitch and sew forwards and backwards a few times.
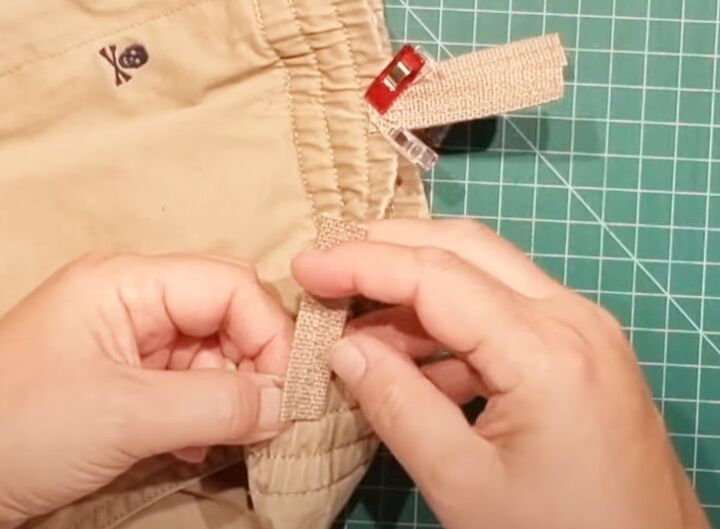
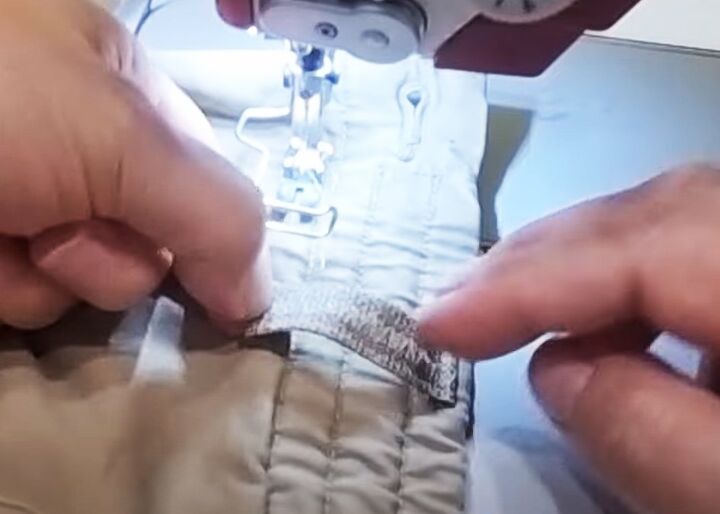
Fold the tab down over the waistband at the stitch line.
Stitch it down close to the fold on the right side.
Turn the free end under and place it at the bottom of the waistband, leaving enough room to put the tip of your finger through the loop.
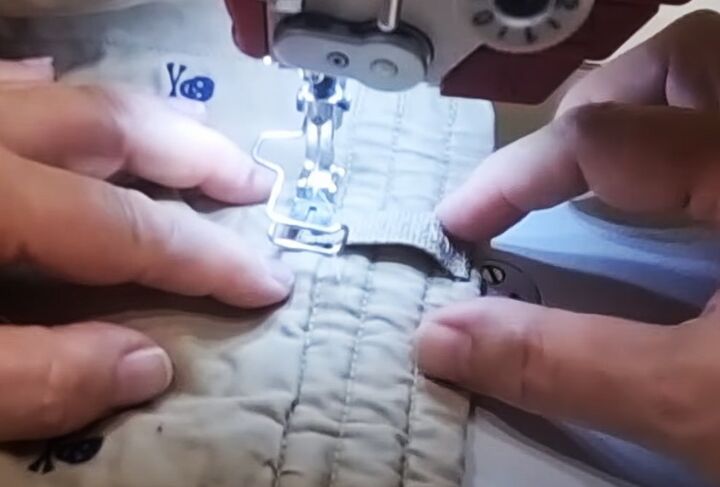
Make sure it’s straight and secure it by sewing close to the fold line.
Repeat for the remaining belt loops.
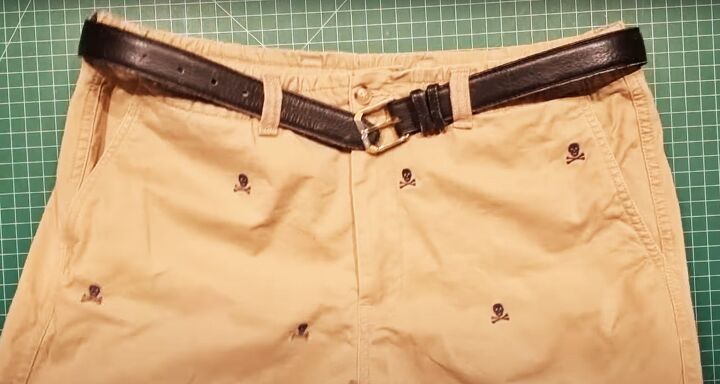
DIY belt loops
This is such a useful alteration to be able to make!
The whole job for both pairs of shorts took me just over 50 minutes from start to finish.
Of course, you would use exactly the same method to add belt loops to pants or trousers.
Using the double-sided tape makes the job a lot quicker and easier too.
Have you ever tackled something like this? I’d love to know. Drop me a comment below.
Next, check out my Quick and Easy DIY Scrunchie Tutorial.
The author may collect a small share of sales from the links on this page.


Comments
Join the conversation