How to DIY a Cute and Fun Crossbody Bag

This DIY crossbody bag has a canvas outer with a contrast denim front panel pocket and a cotton lining.
Use a canvas or jeans needle in your sewing machine and place a folded piece of fabric behind the presser foot to help get your sewing started.
I also recommend fabric clips rather than pins.
Best fabric scissors!
Tools and materials:
- 12 oz canvas fabric
- Denim fabric
- Cotton lining
- Fusible interfacing
- 17 inch (43 cm) double zipper
- 1 inch (2.5 cm) webbing strap 51 inches (130 cm) long
- 2 D rings 1 inch (2.5 cm) wide
- 2 swivel hooks 1 inch (2.5 cm) wide
- 1 strap adjuster 1 inch (2.5 cm) wide
- 2 magnetic buttons
- Hand sewing needle and thread
- Long pins
- Fabric clips
- Ruler
- Fabric marker
- Scissors
- Iron
- Sewing machine
- Canvas sewing needle
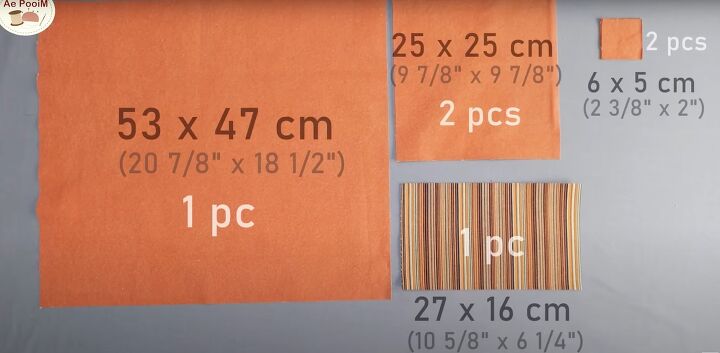
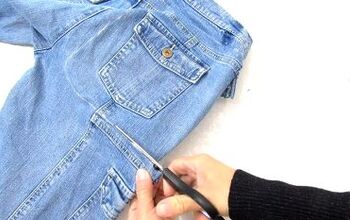
1. Cut out the fabric pieces
For the outer bag, cut one piece of canvas 21 by 19 inches (53 by 47 cm), two pieces 10 inches (25 cm) square and two pieces 2.5 by 2 inches (6 by 5 cm).
Cut a piece of denim 10.75 by 6.5 inches (27 by 16 cm) for the front panel.
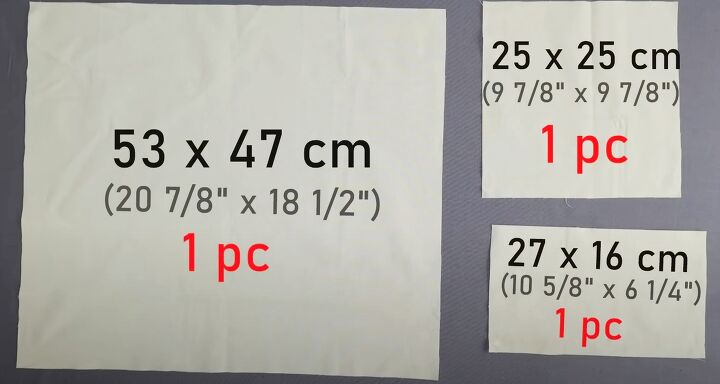
Cut one each of the three largest canvas pieces from the lining fabric and 4 strips each 8.75 by 1.75 inches (22 by 4.5 cm).
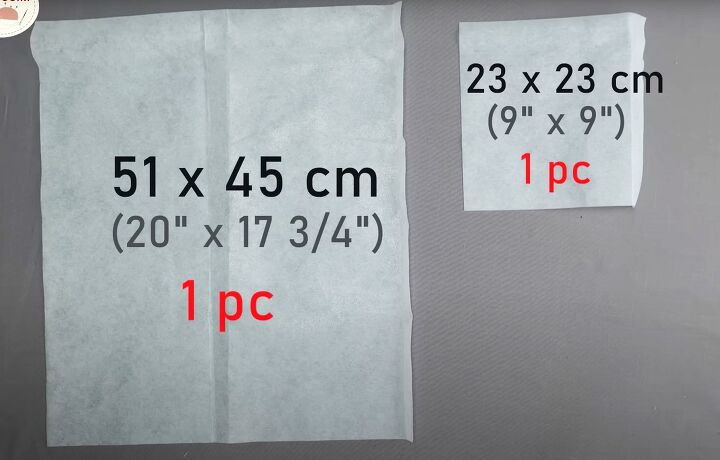
You will also need a piece of interfacing 20 by 18 inches (51 by 45 cm) and another 9 inches (23 cm) square.
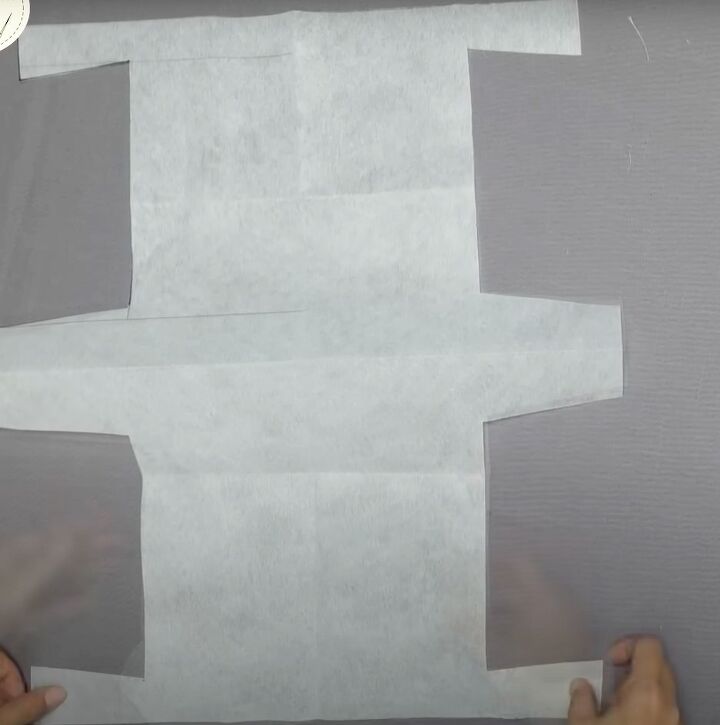
2. Crossbody bag pattern
Watch the video from 1:11 to 2:17 to see how I draft the bag shape onto the interfacing.
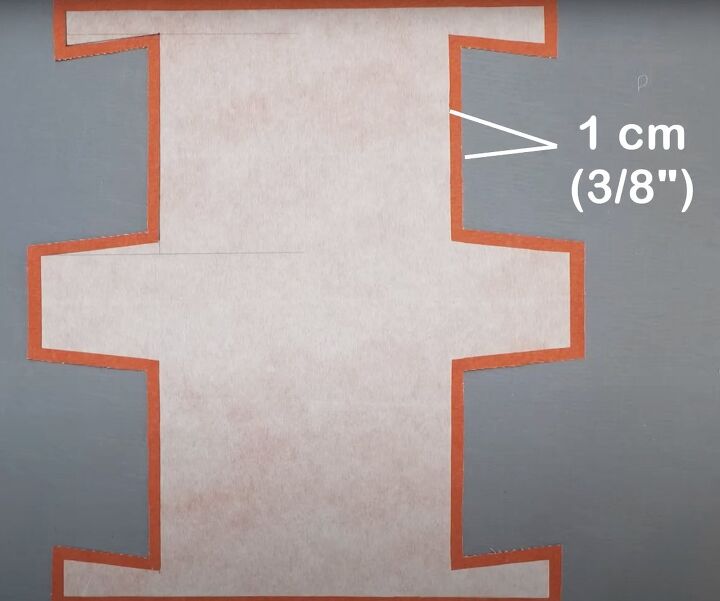
Iron the interfacing to the wrong side of the large canvas piece.
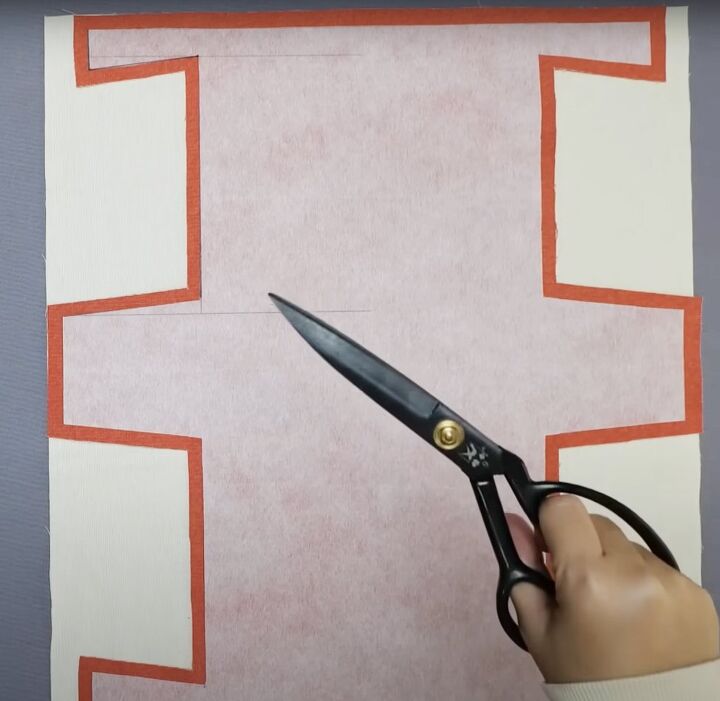
Cut around it adding a half inch (1 cm) seam allowance on all sides.
Use this piece as a template for the lining.
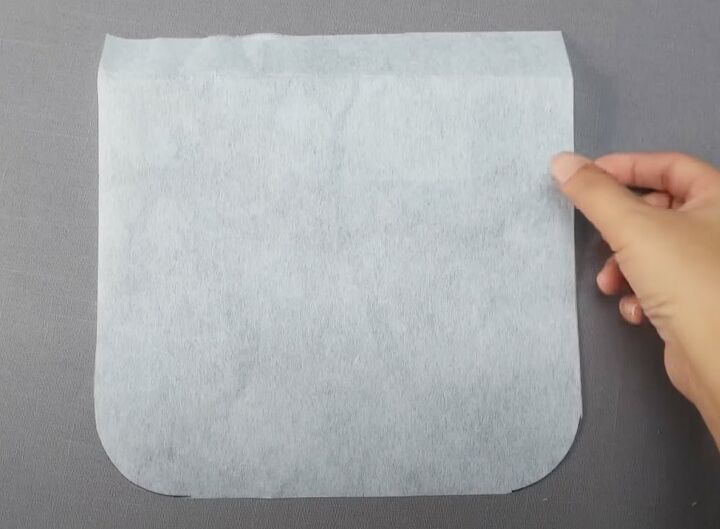
Curve two corners of the square of interfacing.
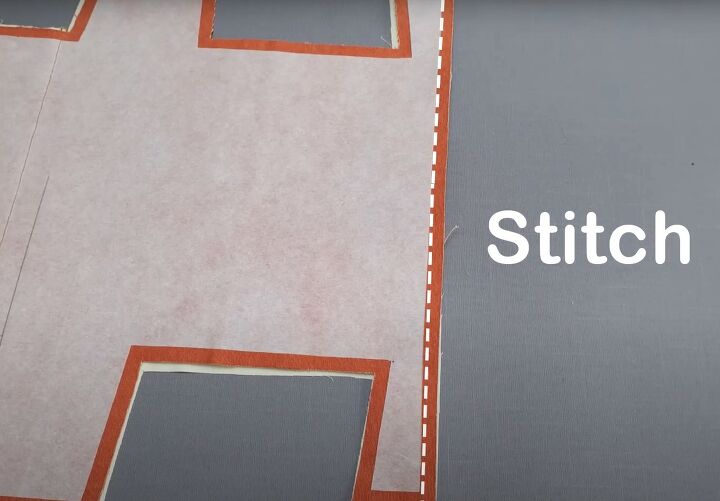
Iron the interfacing centrally to the wrong side of one of the canvas squares.
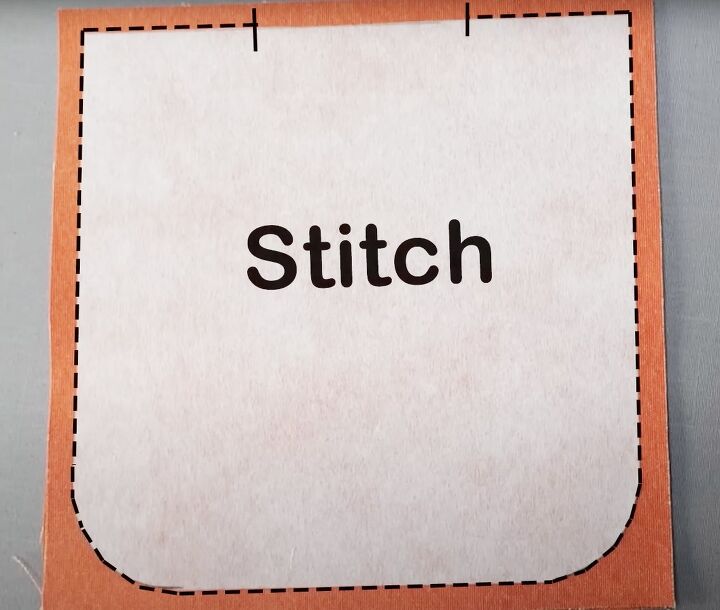
Place the two squares together with the right sides facing. Sew around the perimeter of the interfacing, leaving an opening in the top edge.
Notch the curved corners. Turn the squares right side out.
Topstitch all the edges.
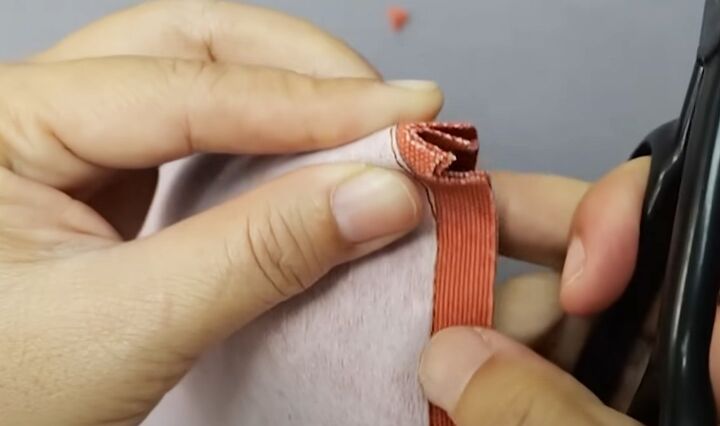
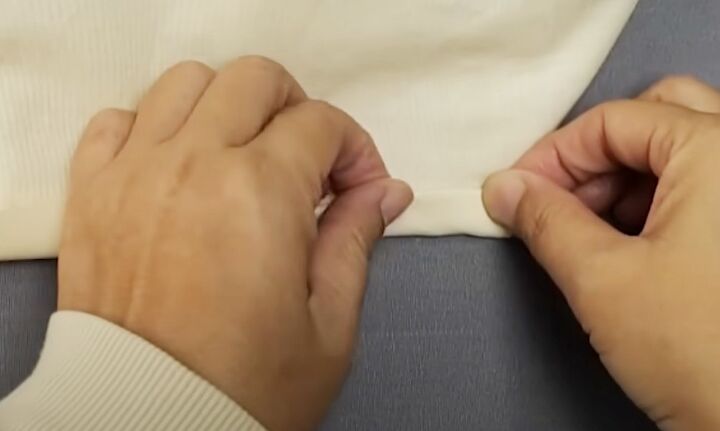
Press the longer edges of the small canvas pieces to the wrong side and sew them.
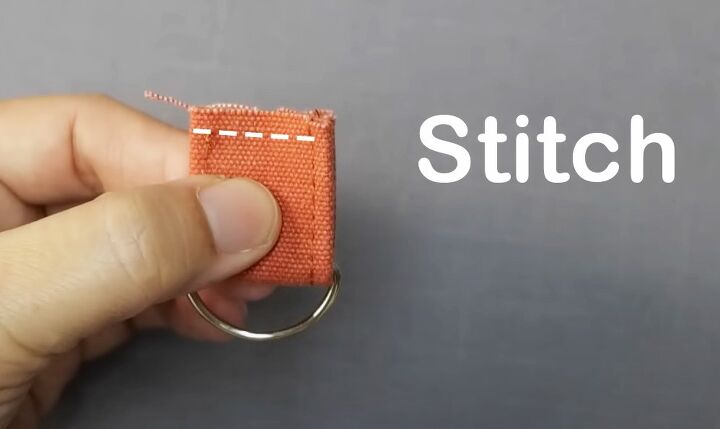
Thread each through a D ring and sew in place.

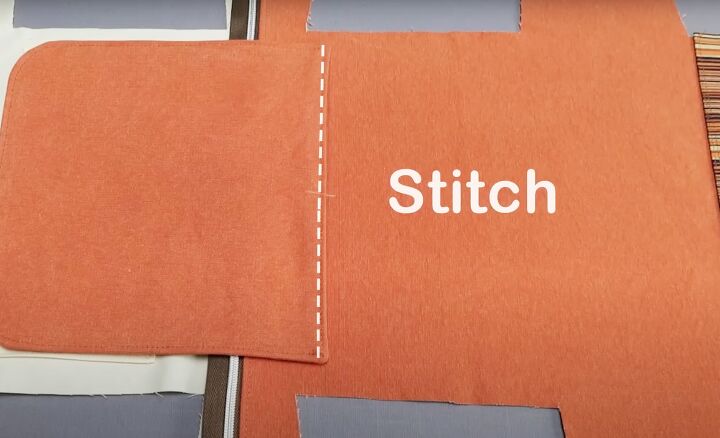
3. Outer pocket
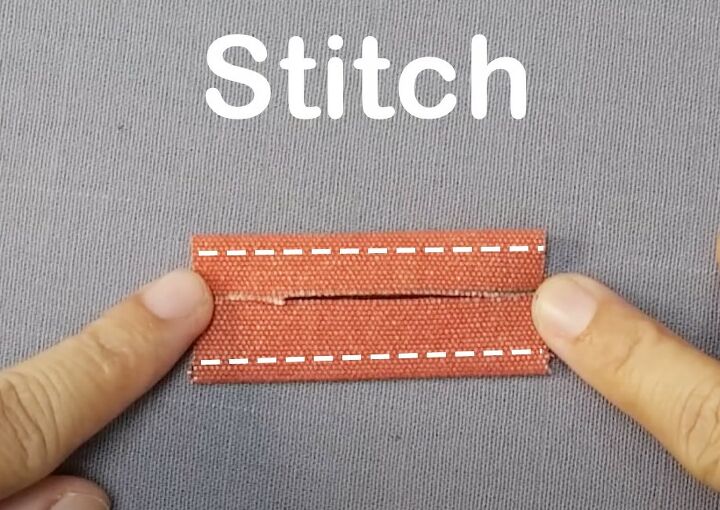
Sew the lining to the long edges of the front panel with the right sides facing.
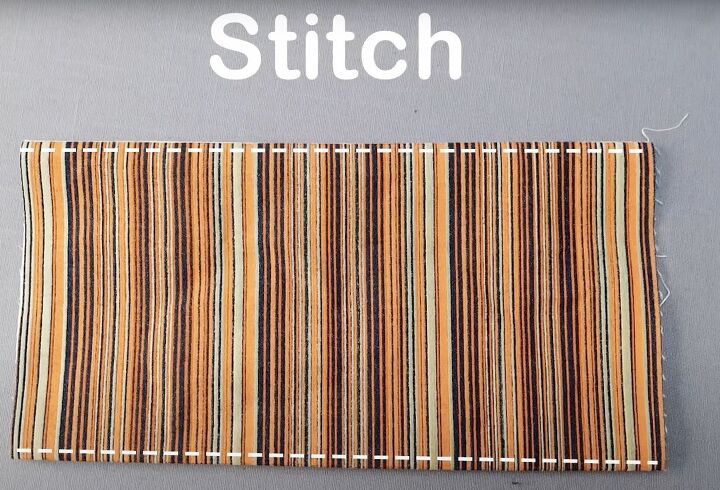
Turn the tube right side out and top stitch the seams.
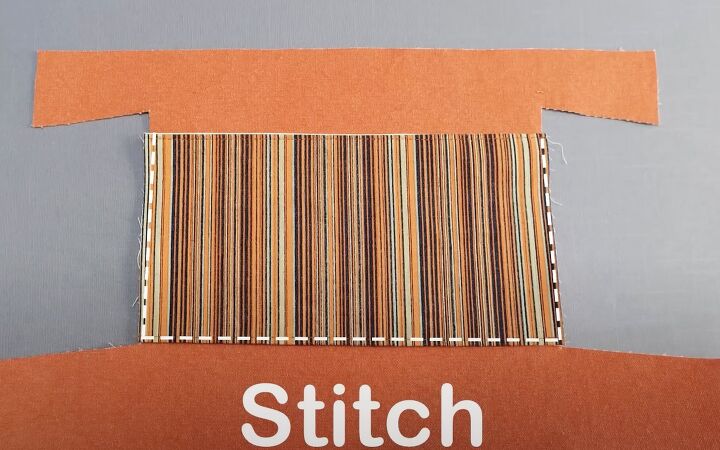
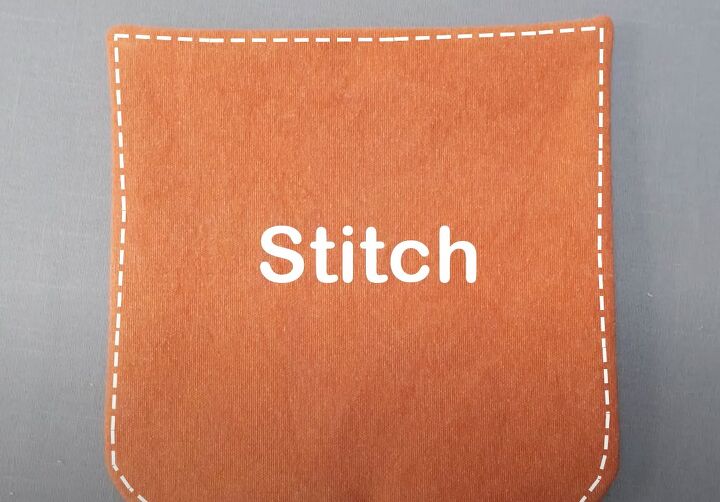
Sew the pocket to the top section of the outer bag.
4. Inside pocket
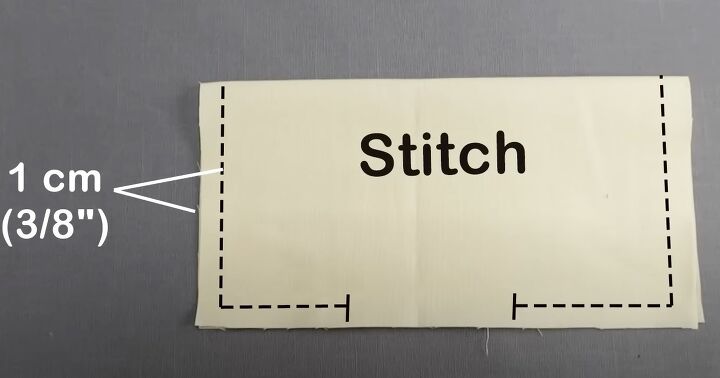
Fold the large lining square in half with the right side inside. Sew the open edges, leaving an opening in the long edge.
Turn the pocket right side out and topstitch the folded edge.
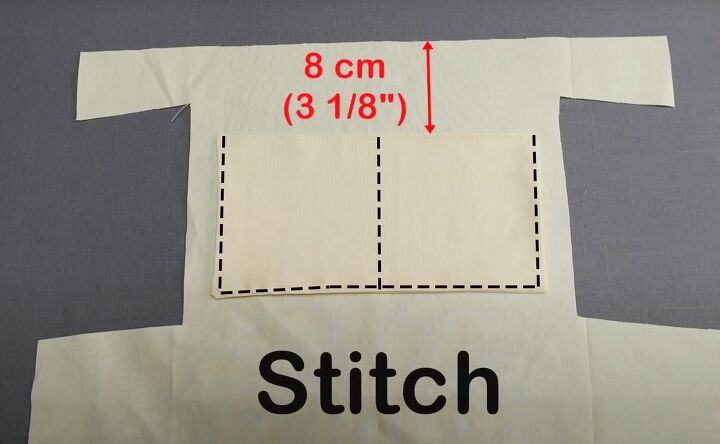
Sew it to the right side of the lining, 3 inches (8 cm) from the top.
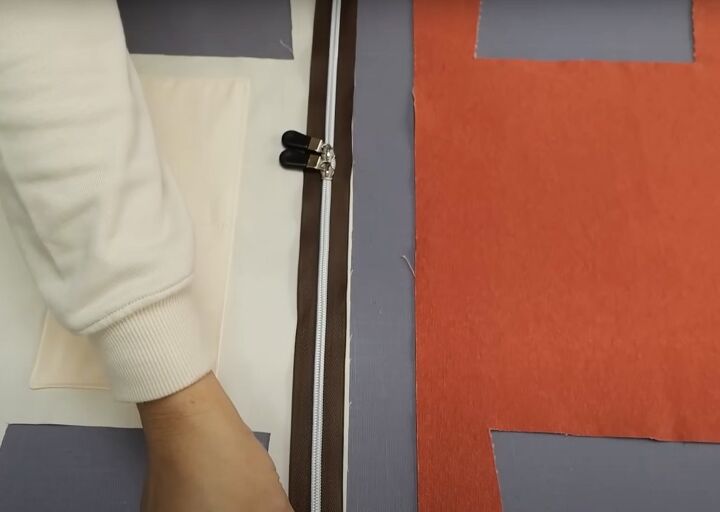
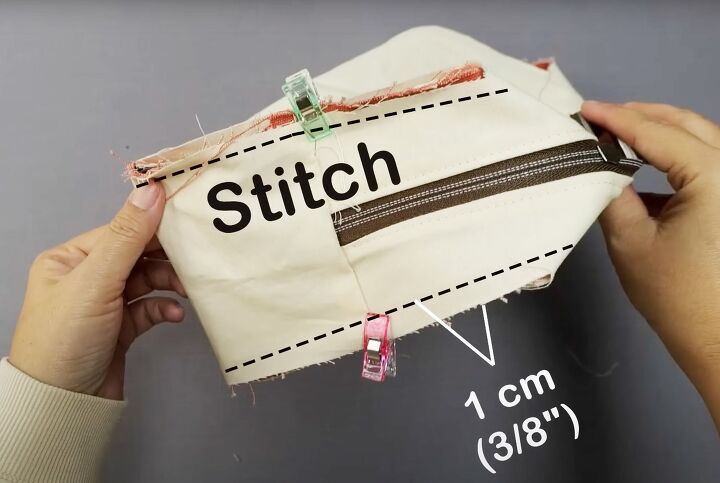
5. Zipper
Place the zipper to the top edge of the lining.
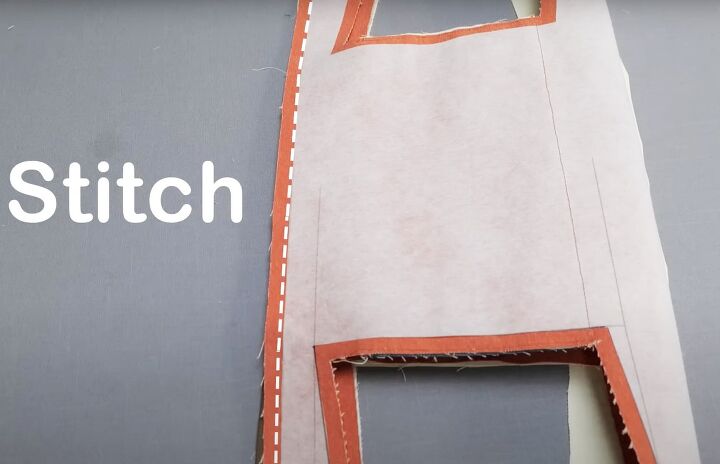
Lay the outer bag over it with the right sides facing and the top edges aligned. Sew close to the interfacing.

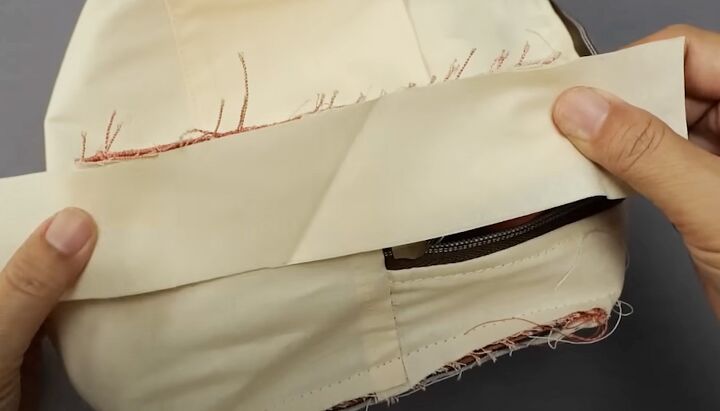
Refold the bag with the right side uppermost and topstitch the seam.
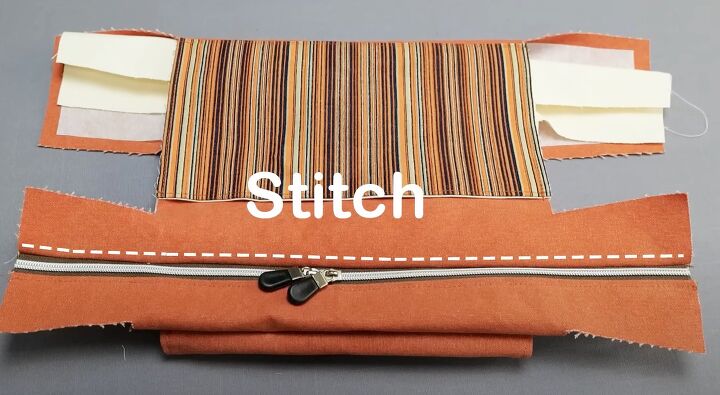
Sew the flap centrally to the outer bag, 2 inches (5 cm) from the topstitching.
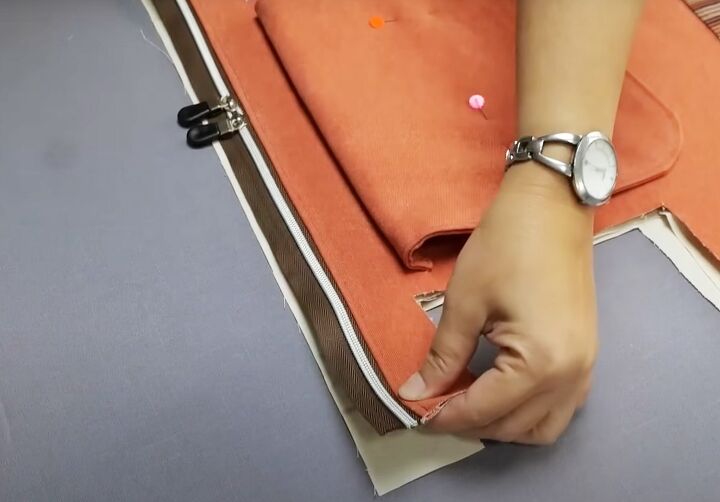
Fold the flap to the right side and pin in place.
Line up the free edge of the zipper tape to the far end of the lining.
Fold the other side of the bag over it, with the right sides together and sew close to the interfacing.
Turn the canvas section right side out and topstitch the seam.
6. Assemble the bag
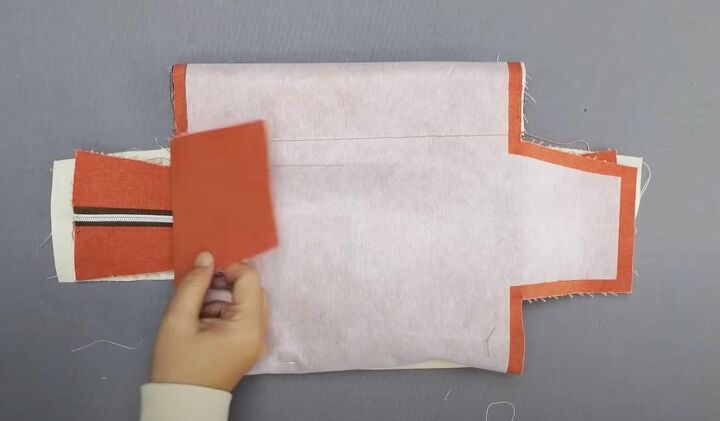
With the canvas and lining the wrong side out, fold the sections so the center panels line up.

Clip a D ring to each end of the zipper.

Sandwich it between the outer and lining panels.
Sew in place.
Remove the pins from the flap.
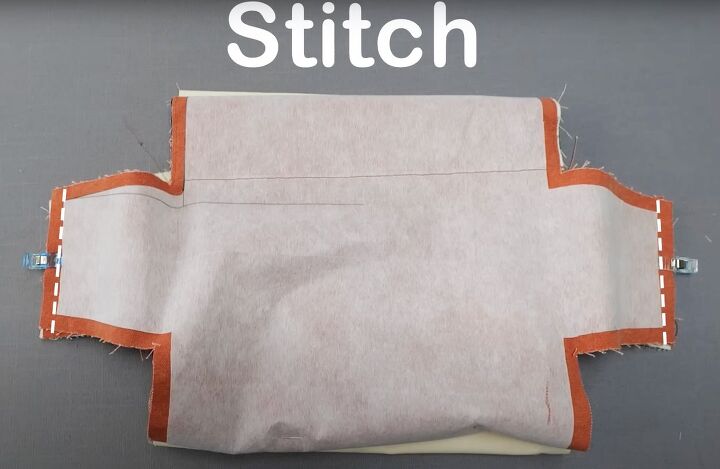
Refold the bag so the lining is on the outside.
Align the raw edges of each cut-out and clip and sew them together through all the layers.
7. Bind the seams
Pin one edge of a lining strip to one side of each seam and sew in place, 0.25 inches (0.7 cm) from the raw edge.

Trim the binding to length.
Fold in the short edges to cover the corners.
Turn the binding over the raw edge. Fold in the long edge and pin and sew to the seam.
8. Finishing
Turn the bag right side out.
Hand sew a magnetic closure to the lower edge of the flap on each side.
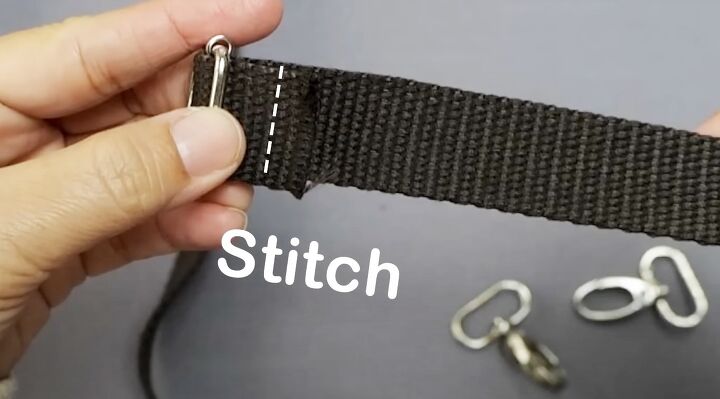
Thread one end of the webbing strap through the strap adjuster and sew in place.
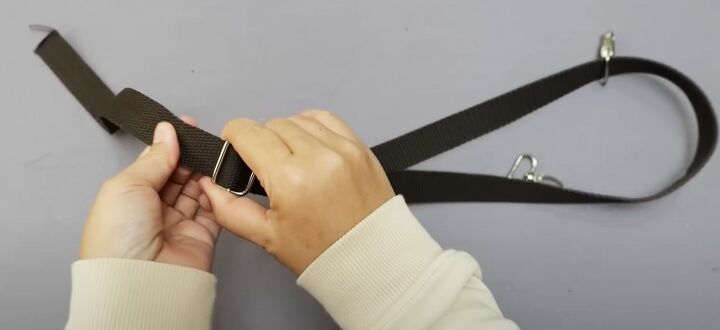
Thread the other end through one of the swivel hooks and then through the adjuster.
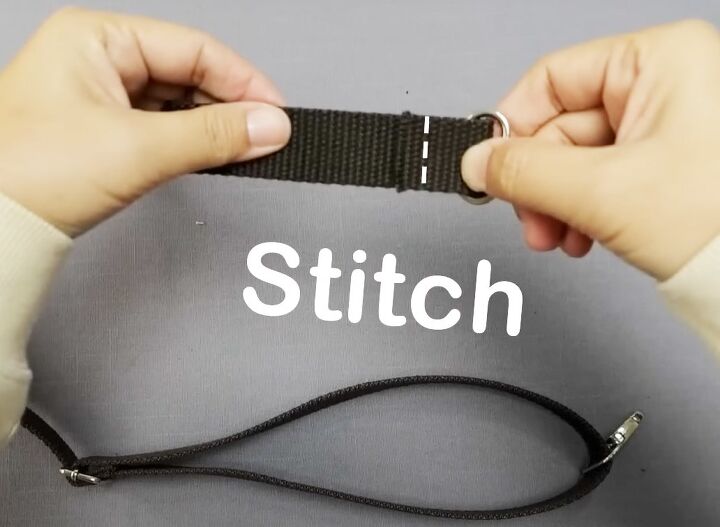
Pass the free end through the other swivel hook and sew.
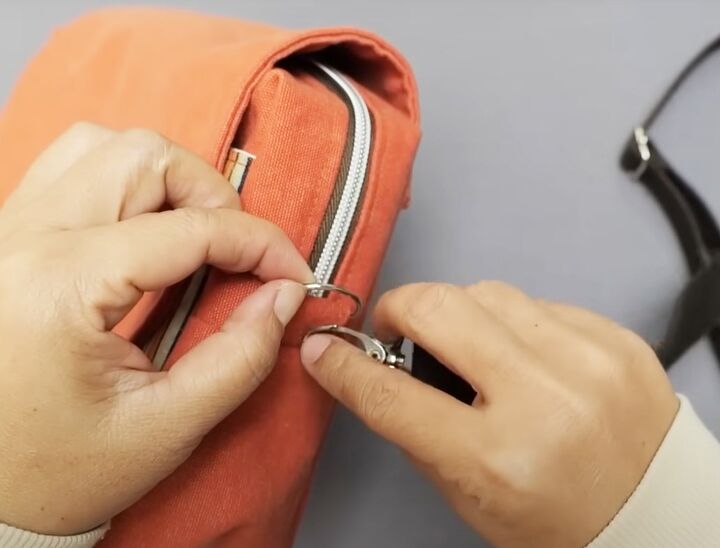
Adjust the strap length and clip the hooks through the D rings on the bag.
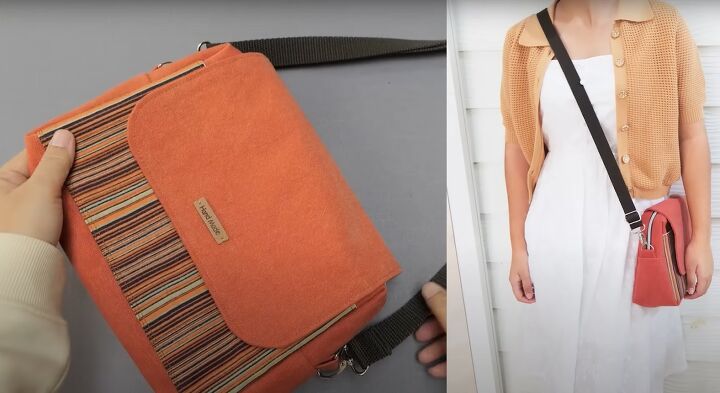
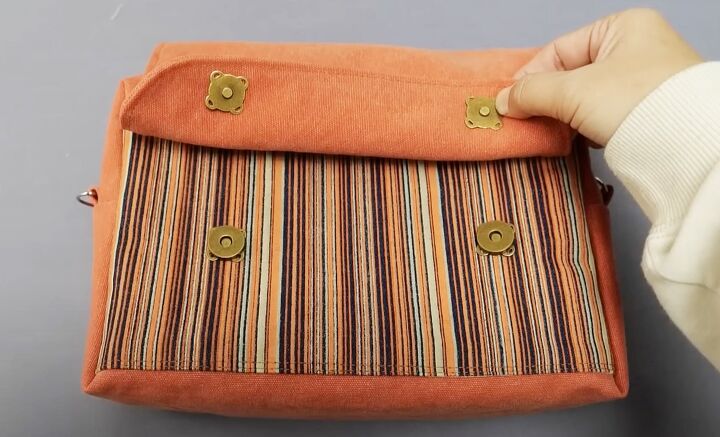
DIY crossbody bag
I hope you’ve enjoyed seeing how to sew a crossbody bag with a zipper. Of course, you can also wear this as a shoulder bag if you prefer.
I found it a very satisfying project to make.
I’d love to know what you think of it in the comments below.
Next, learn How to Sew a Hobo Bag That Will Look Great With Every Outfit.
The author may collect a small share of sales from the links on this page.


Comments
Join the conversation