How to Sew a Reversible Coat: 2 On-Trend Coats in 1 DIY

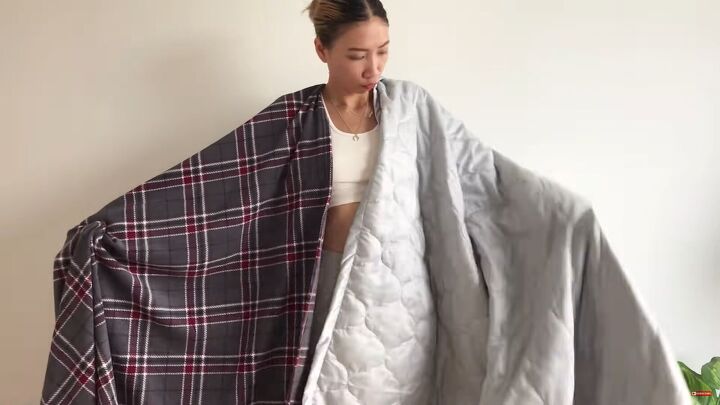
In this tutorial, I'll show you how to sew a reversible coat! Two trends in one? Yes, please!
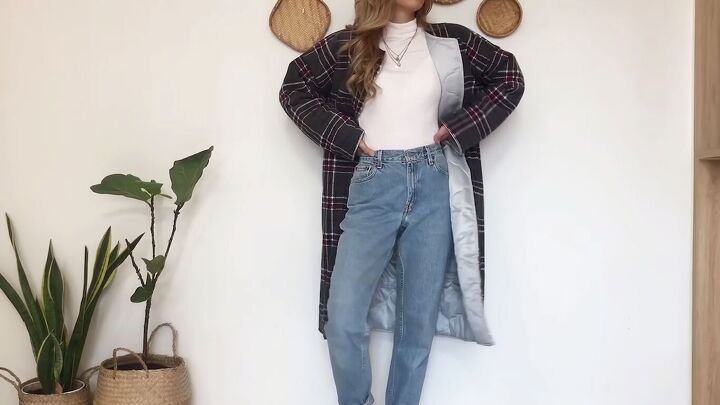
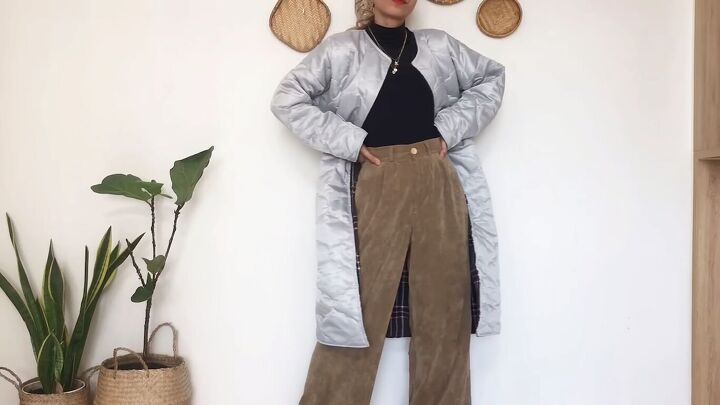
I gathered some inspiration from two of the trendiest blanket-like coats this season. Instead of making two coats, I combined them into one DIY by making the coat reversible. Let's get started!
Tools and materials:
- Sewing machine
- Pins
- Matching thread
- Two blankets (or fabric)
- Measuring tape
- Ruler
- Overlocker (optional)
- Paper
- Pen
- Scissors
1. Choose your blankets
I chose two different blanket styles for this DIY.
2. Make the reversible coat sewing pattern
Next, I made the pattern. There are a lot of steps, but it's worth it for a good fit.
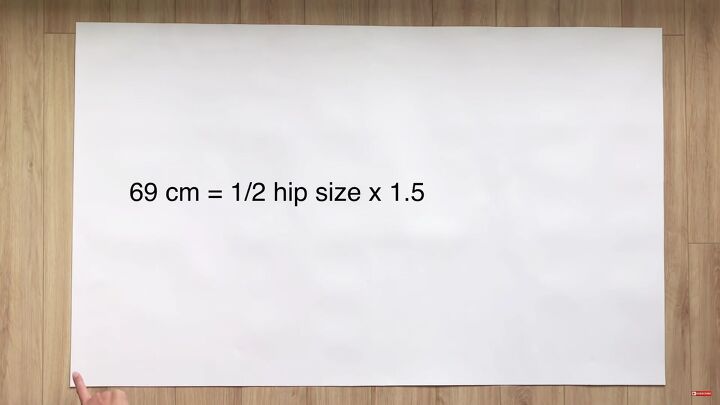
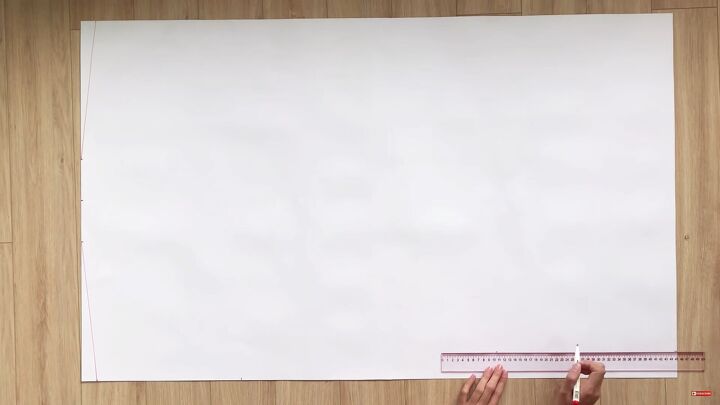
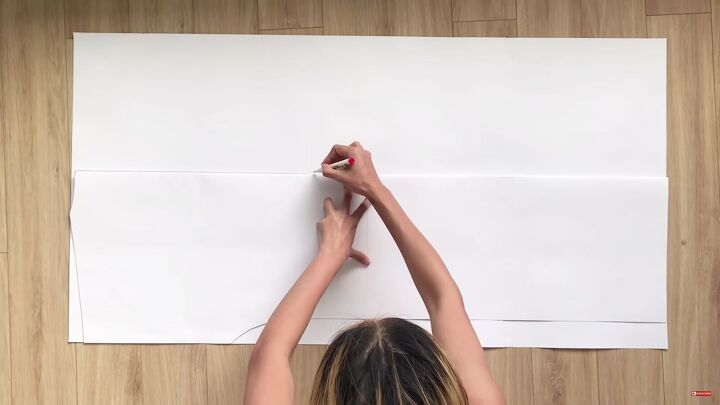
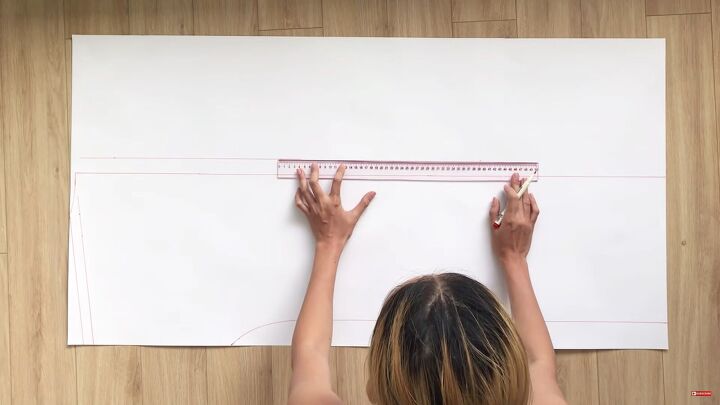
First, cut a big rectangle that measures 69cm (27.16 inches). To get your custom measurement, simply measure your hip, halve the number and multiply by 1.5.
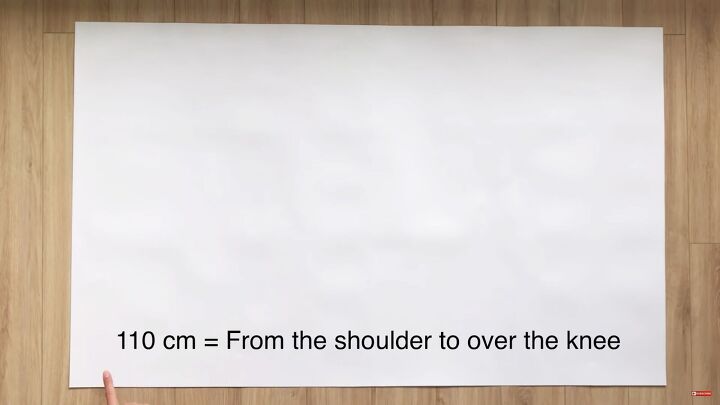
The length is the measurement from the top of your shoulder to your knee. Mine was 110cm (43.3 inches).
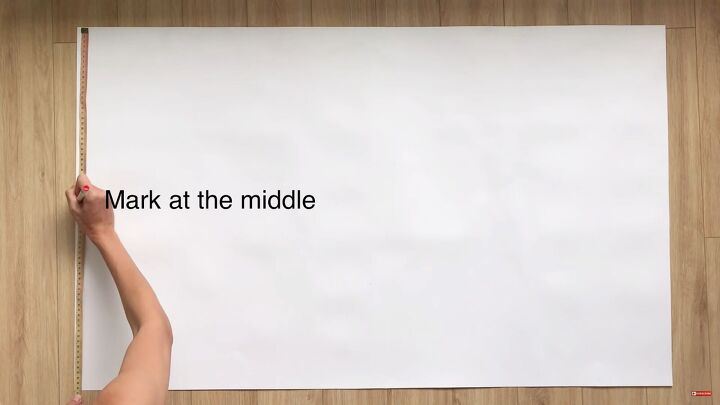
Mark the width line in the middle.
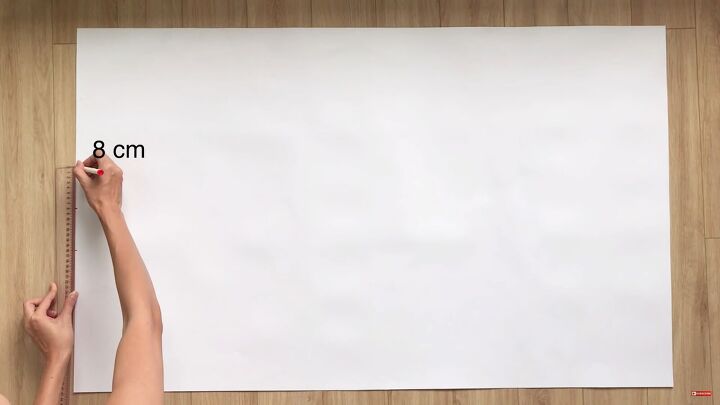
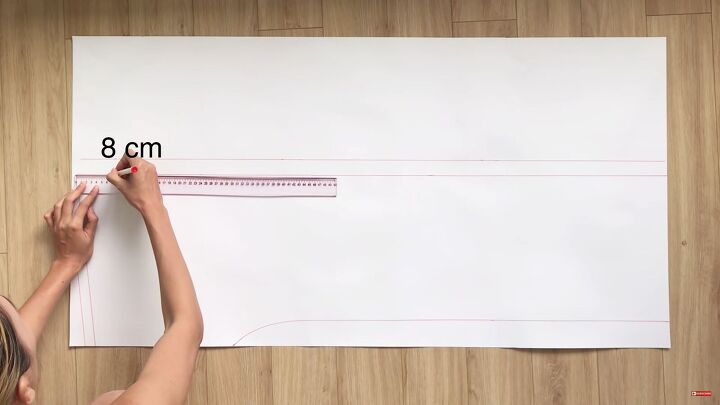
From the center point, measure 8cm (3.14 inches) downward and make a mark. Then, do the same on top. This is the width of the neck hole, which is 16cm (6.29 inches).
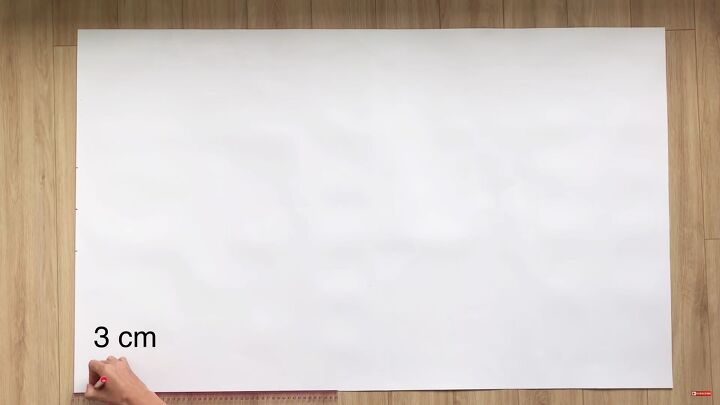
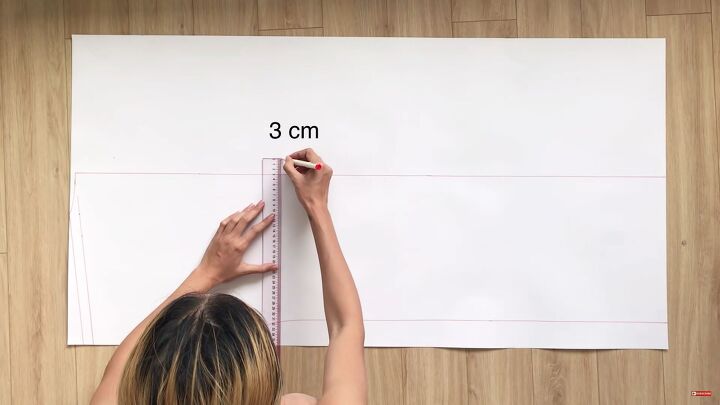
Mark 3cm (1.18 inches) lengthways.
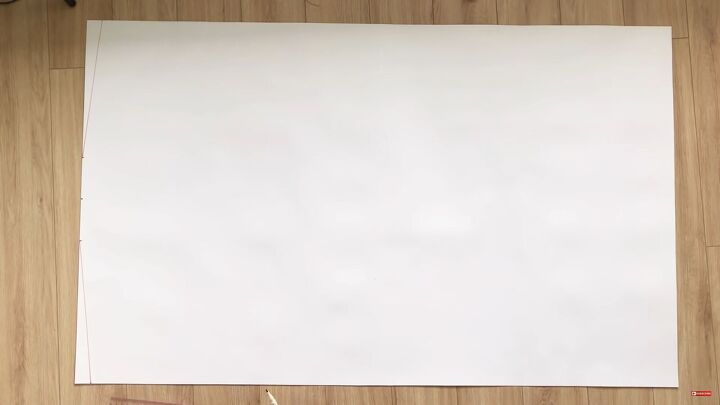
Connect that mark to the 8cm (3.14 inches) neckline mark; this will be the shoulder line. Repeat on the other side.
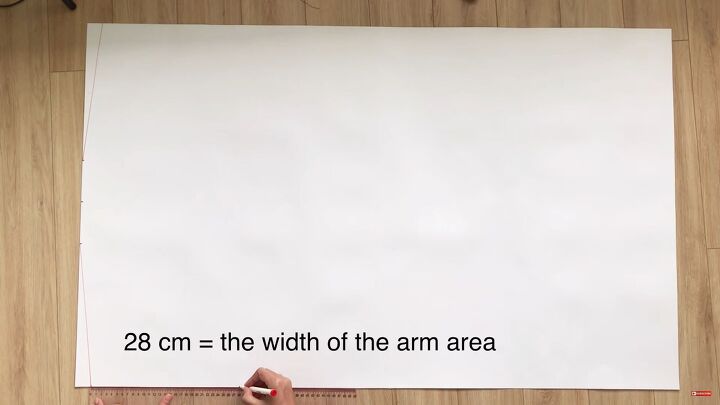
From the 3cm (1.18 inches) point, mark 28cm (11.02 inches) for the arm area’s width.
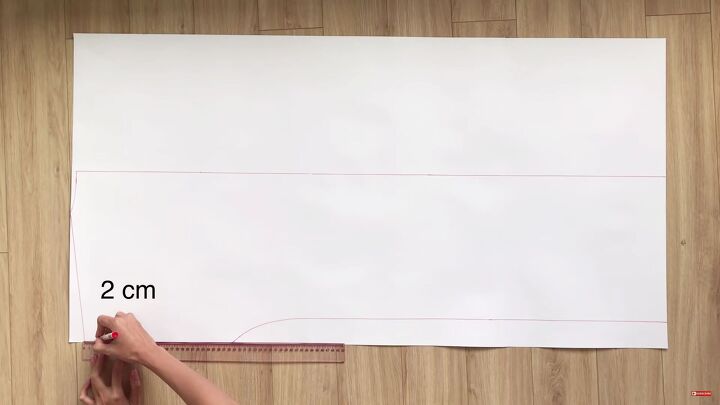
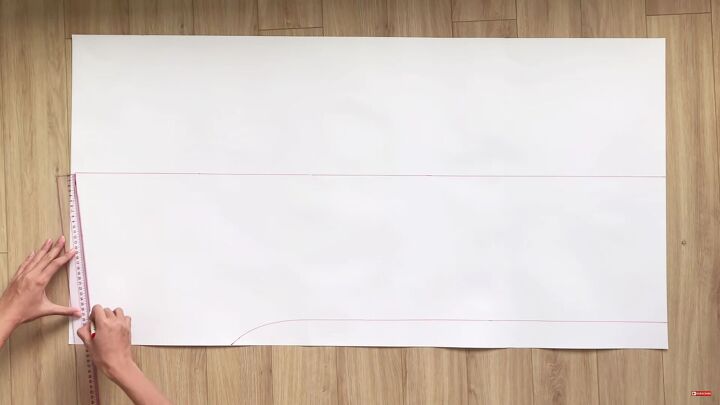
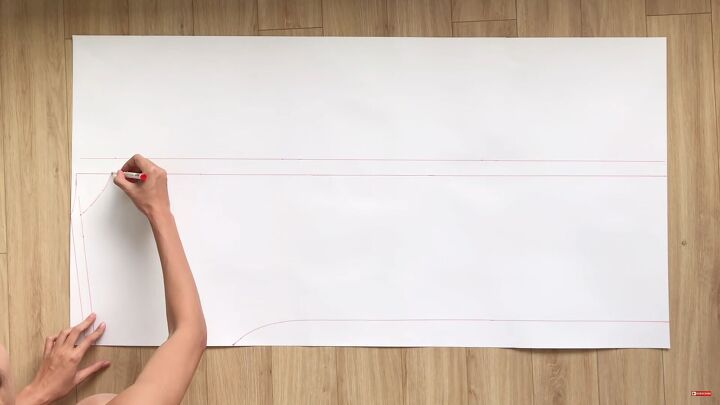
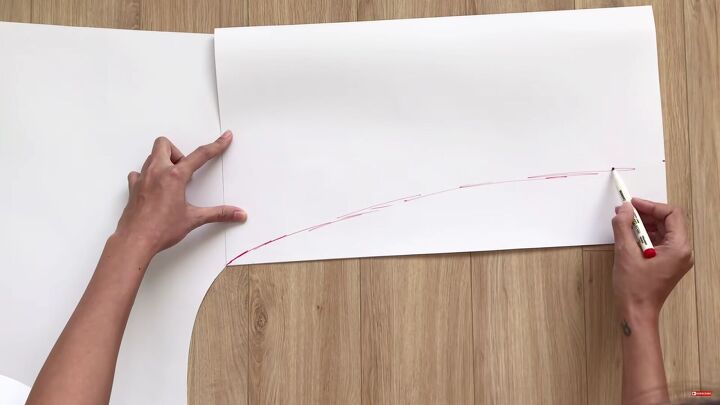
Measure 5cm (1.96 inches) from the bottom and draw a straight line across until you get to the arm line.
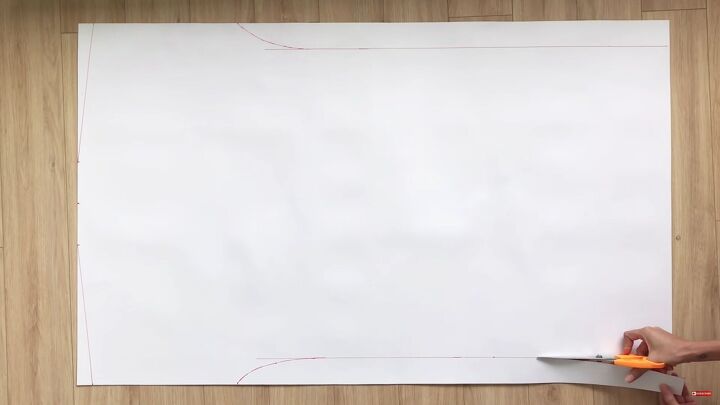
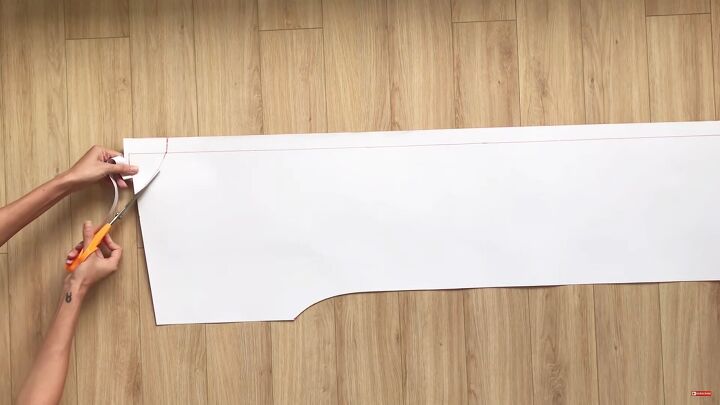
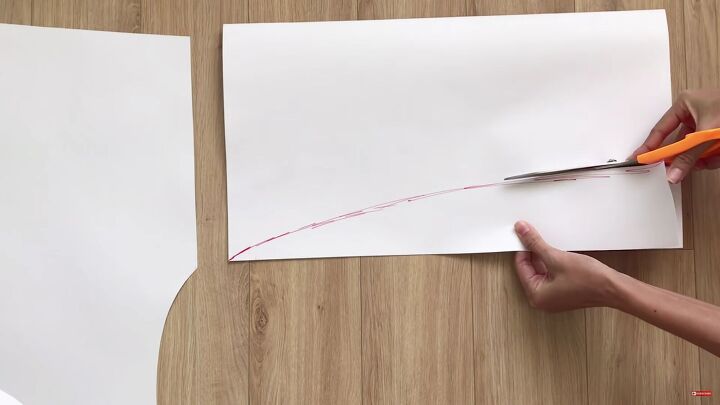
Draw a curve between the two points and cut (repeat on the other side). Also, cut out the shoulder lines.
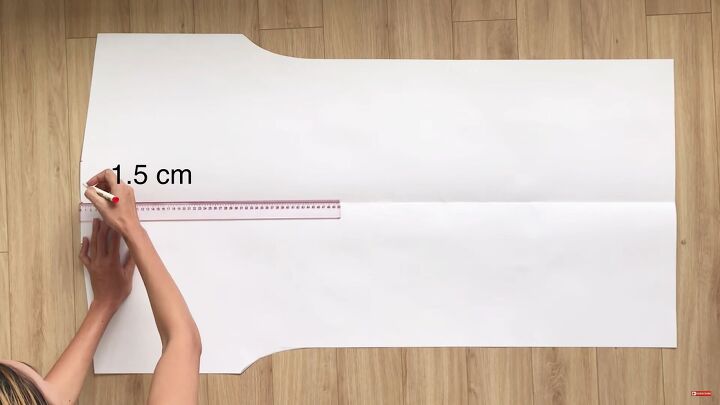
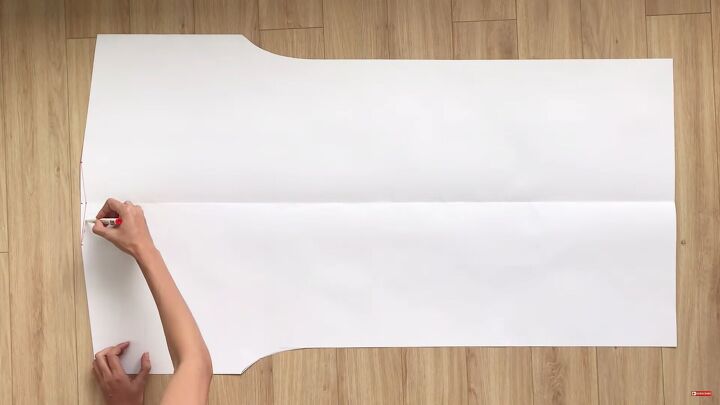
Draw a curved line at the neck area. Measure 1.5cm (0.59 inches) down from the centerline, and connect it to the side marks.
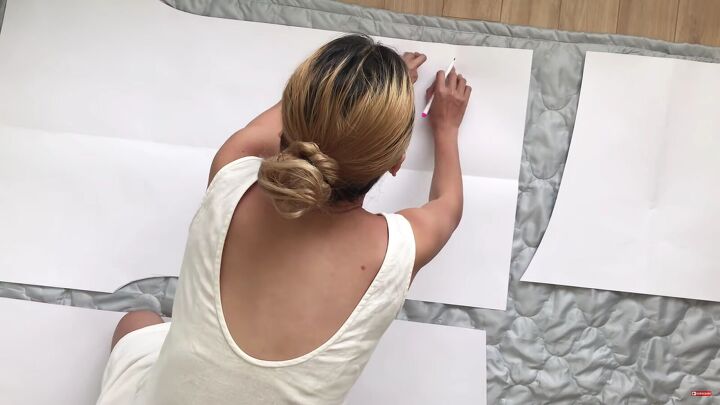
You now have the back coat pattern complete. Place it on another piece of paper and trace it around to make the front coat piece.
The difference is that the shoulder part will be 2cm (0.78 inches) shorter. So, measure and mark 2cm (0.78 inches) off accordingly.
Measure 3cm (1.96 inches) from the center line and draw another line. This will be the button placket.
Mark 8cm (3.14 inches) from the center and draw a curved line connecting it to the side line.
Now cut out the reversible coat sewing pattern.
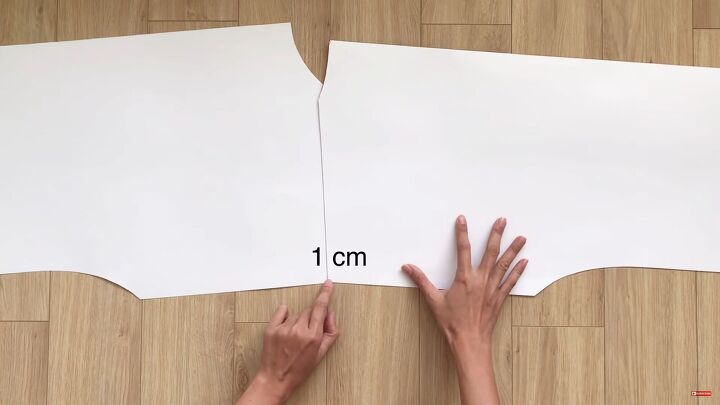
Connect the front and back patterns at the arm area, making the edges overlap by 1cm (0.39 inches).
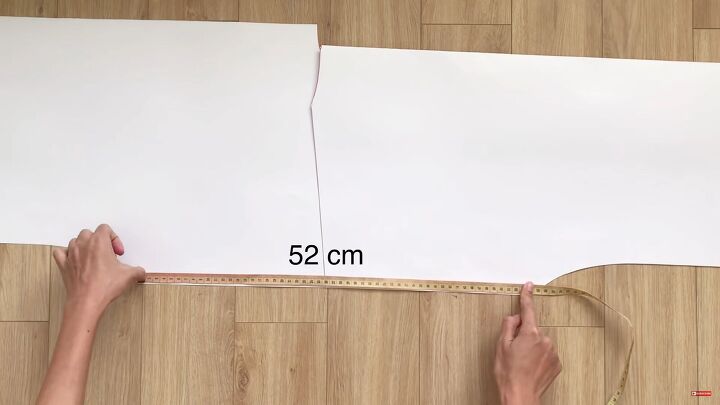
Measure the whole arm’s width. For me, it was 52cm (20.47 inches).
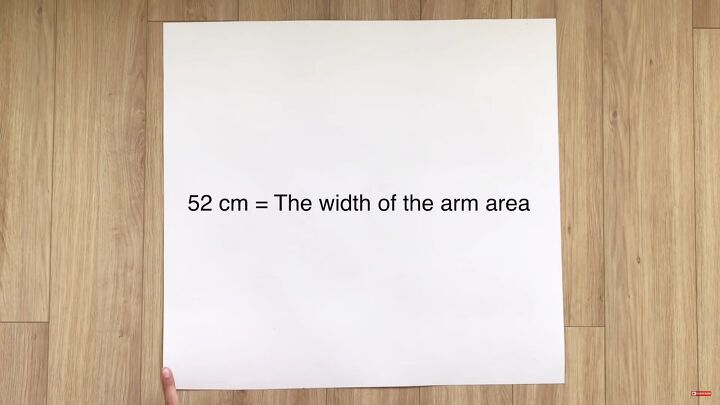
Cut out a square that measures 50cm (19.68 inches) wide (shoulder to wrist) and 52cm (20.47 inches) long (armhole).
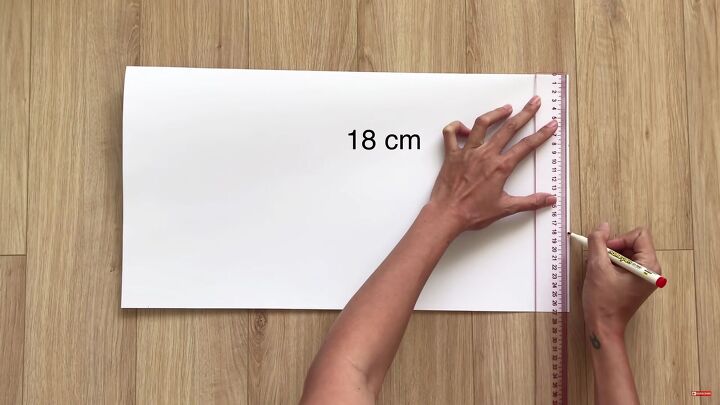
Fold the piece in half and measure 18cm (7.08 inches) from the fold.
Connect the pattern to the armhole and draw a line from the tip of the armhole to the wrist. Then, cut it out.
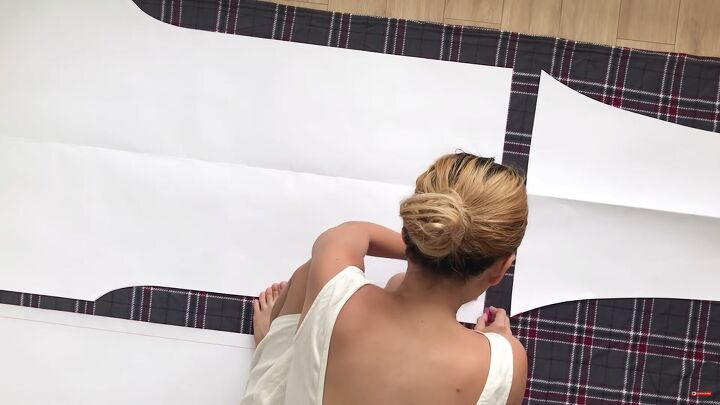
Trace the patterns on both blankets and cut.
3. Overlock
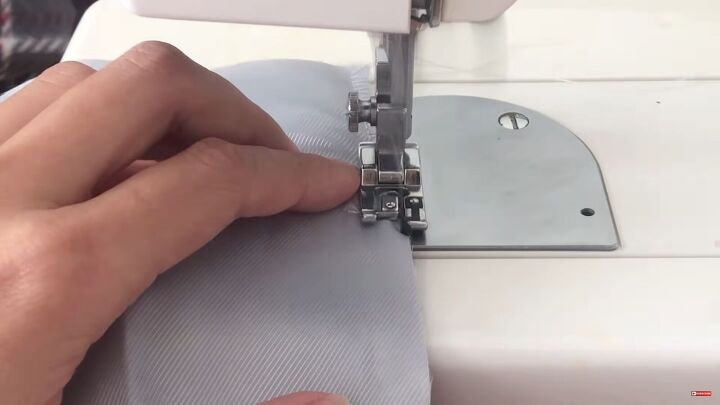
To avoid fraying, overlock the raw edges (or zigzag stitch).

4. Assemble the coat
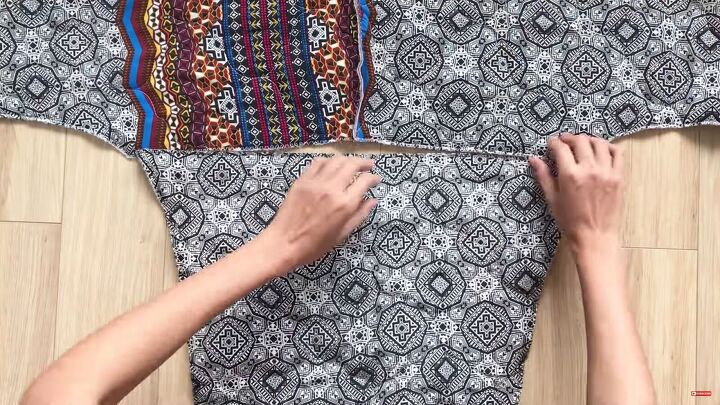
Connect the back and front part at the shoulder seams and sew.
Pin the sleeves to the armhole and sew.

Pin the sleeves and side seams together and sew.
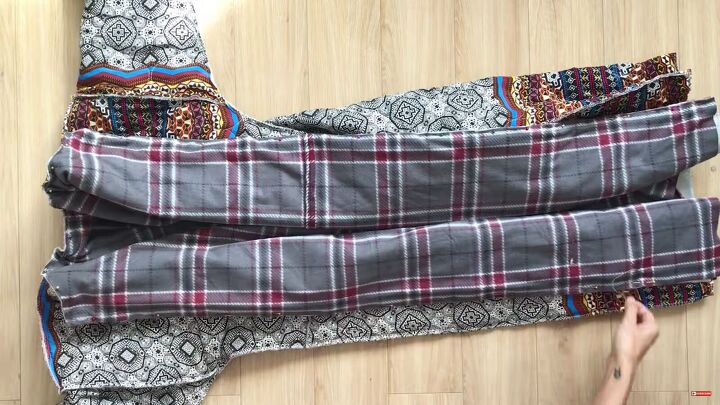
Now, repeat the whole assembling process on the second coat, making sure the fabric is right sides facing.
5. Assemble both coats
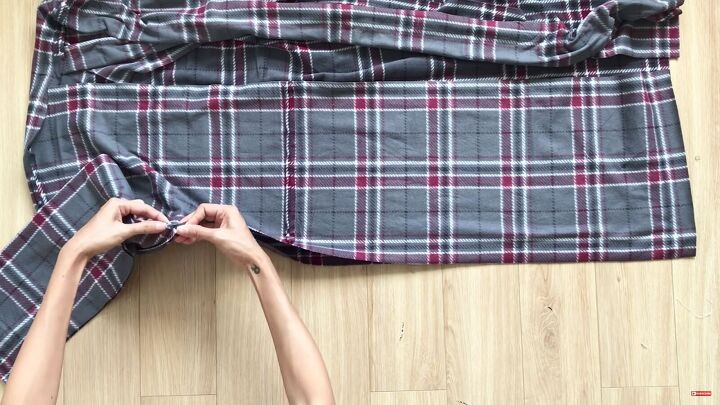
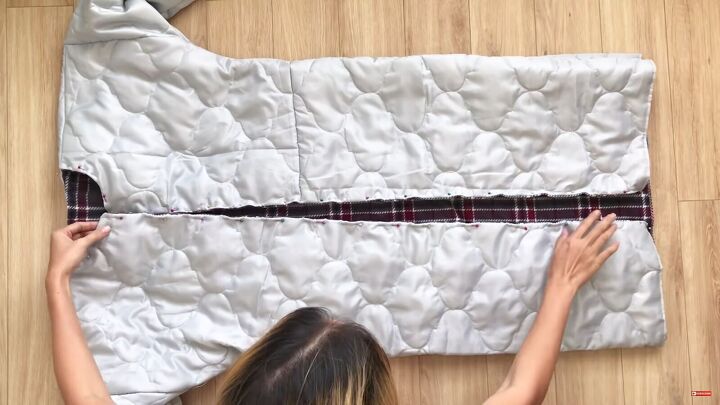
Now, let me show you how to make a reversible coat! Connect both coats, right sides facing. Pin them to the button and neck area.
Then, sew these pinned areas.
Turn the coat right sides out and pin the button and neckline area. Sew along the edge for a sturdier hold.
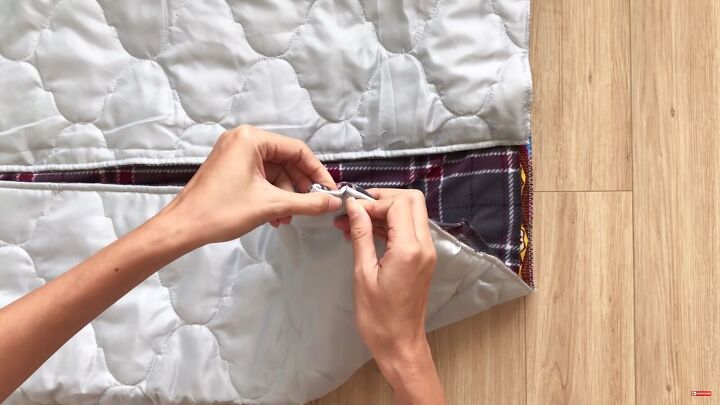
6. Hem the coat
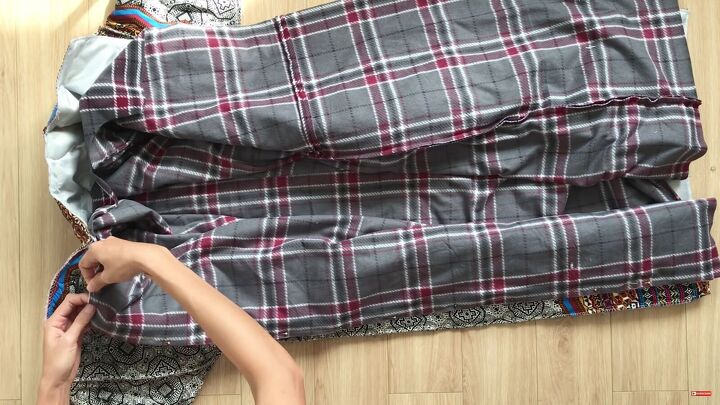
Fold both layers of the coat inward to hide the ends and pin.

Do the same for the sleeve area, making sure to align the seams. Sew the hems down.
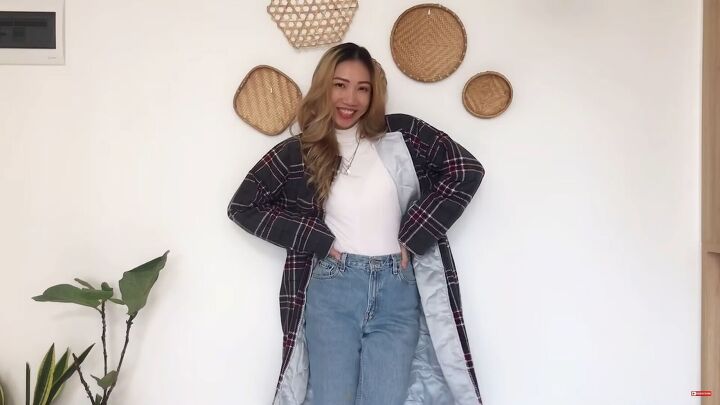
How to sew a reversible coat tutorial
That’s the end of my DIY on how to sew a reversible coat! I hope you enjoyed it as much I did!
The reversible coat sewing pattern entails extra focus as there are a lot of measurements to take, but assembling the whole piece is pretty straightforward and fun.
I hope you enjoyed this tutorial and good luck.
The author may collect a small share of sales from the links on this page.


Comments
Join the conversation
You're a genius! And the coat is beautiful!🤩
Love it!