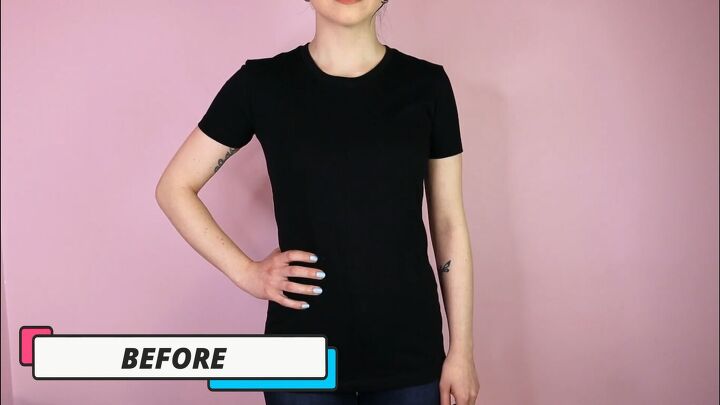
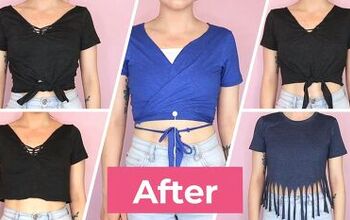
3 Easy No-Sew Ways to Make DIY Off-shoulder Tops From T-shirts

This tutorial will show you three different ways to make a DIY off-shoulder top from a t-shirt, which are all no-sew.
One of my favorite ways to revamp an old t-shirt is by just cutting it up. There are so many cool and trendy styles you can achieve with just some scissors and that shirt you have in the back of your closet.
Best fabric scissors!
Tools and materials:
- T-shirt
- Scissors
- Fabric chalk or marker
One-shoulder top
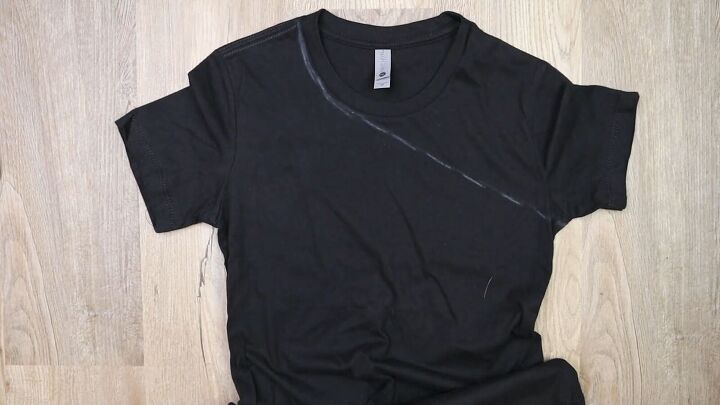
1. Mark your t-shirt for cutting
First, lay your t-shirt on a flat surface and, with fabric chalk or a marker, draw a line from under the armpit to the center of the collar, first, and then around the side of the collar.
This line is going to mark where we’re going to cut off the excess fabric, so choose which side you want your shoulder to be exposed.
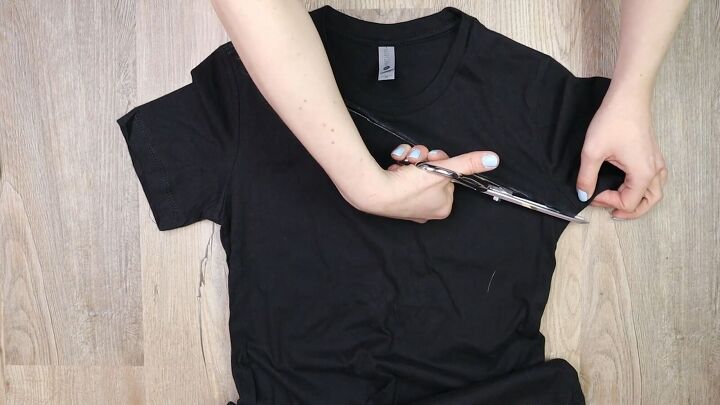
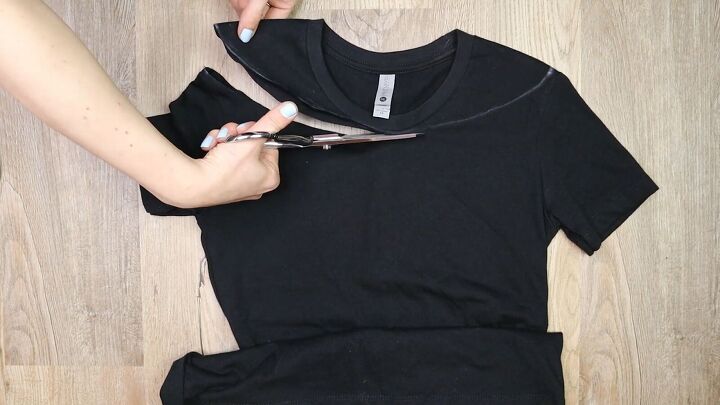
2. Cut along the line
Now, cut along the line you just drew through both the front and the back layers, remove the marked section entirely.
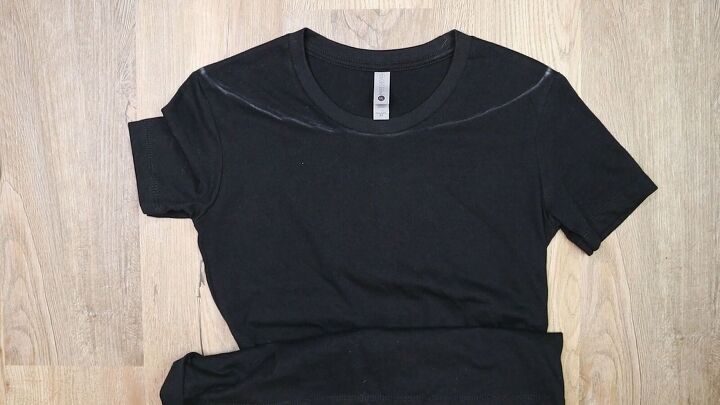
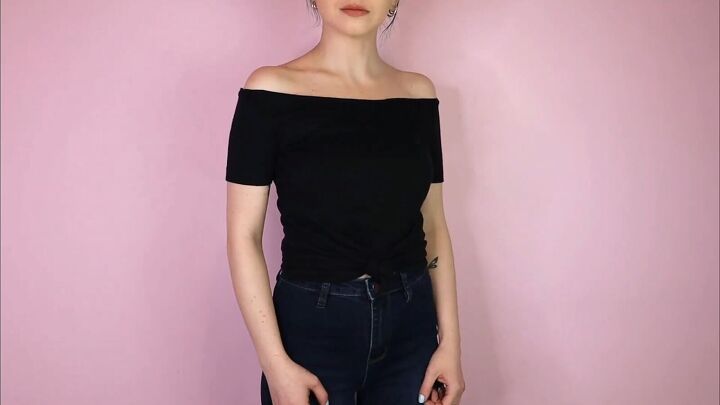
Here’s the final design for our first cut-off-the-shoulder t-shirt!

Off-the-shoulder top
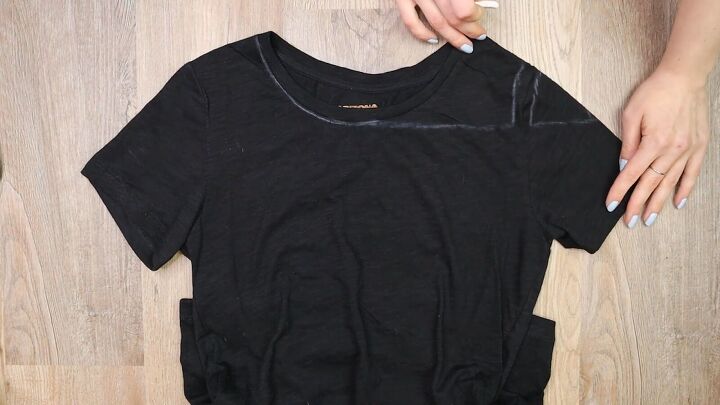
1. Mark your t-shirt for cutting
Lay your t-shirt on a flat surface and draw a curve from the seam of one shoulder to the other shoulder, marking underneath the collar.
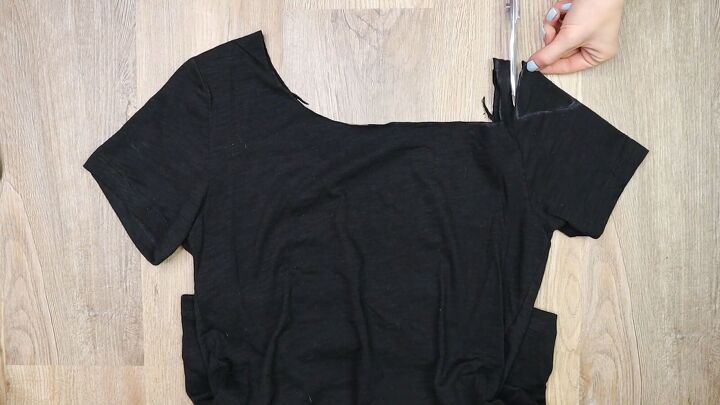
2. Cut along the line
Cut through both the front and back layers of the shirt and remove the marked section entirely.
All done! Here’s the finished design for our second DIY shoulder cut-out t-shirt.
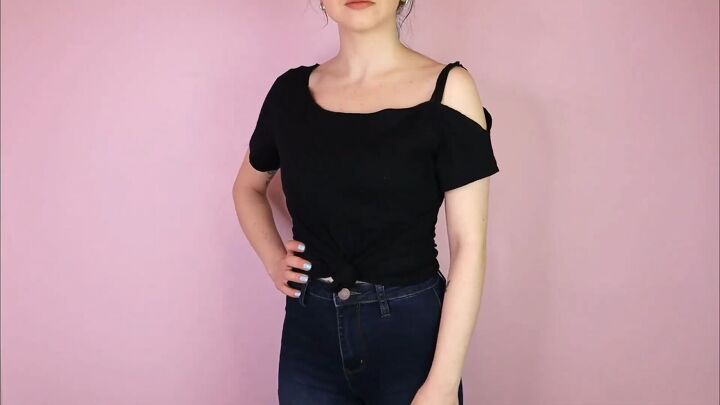
Cold-shoulder top
1. Mark your t-shirt for cutting
Lay your shirt on a flat surface along one side of the collar until you reach the center. Then, draw the line straight across the center of the shirt until you reach the sleeve.
Draw two lines on either side of the shoulder seam. Connect the second line to the end of the sleeve.
2. Cut along the line
Cut through both the front and back layers of the shirt and remove the cut sections. Cut along the lines, so the shoulder seam is still intact.
Here’s the final design of our final DIY cold-shoulder top.

DIY off-shoulder tops from t-shirts
I love these designs; they’re super trendy and fun. If you enjoyed this tutorial, comment down below and tell me which style is your favorite. Thanks for joining!
The author may collect a small share of sales from the links on this page.


Comments
Join the conversation
Hi! Would the t-shirt ravel when washed after it's cut? I'm assuming we could hand sew it down? This is a great idea and really cute!! thx!
Thx Unorthodoll! sooo simple and I Love your cute kitty!!! 😄